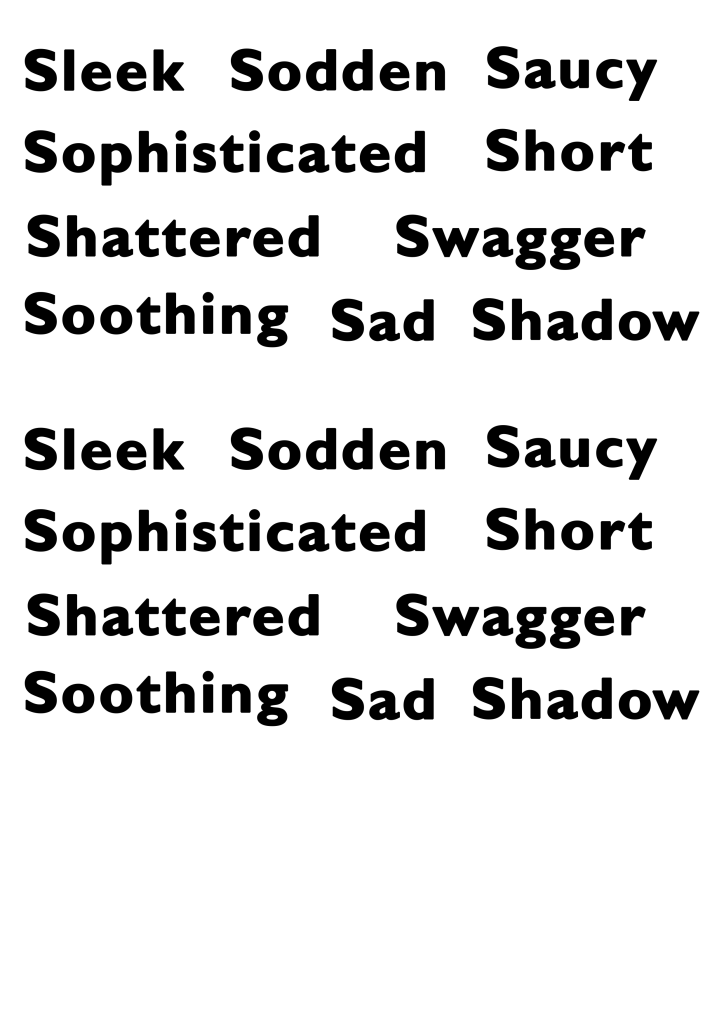
For this exercise, I was asked to experiment with typographical representations of words – showing their meaning creatively through how the word is designed. I was asked to first print the words in 48pt Helvetica and work on paper, then to repeat the exercise digitally with some freedom in which fonts I could use.
There were 30 words on the list, and I chose to do this exercise for 10 of them, as based on my experience with Understanding Colour, I knew I would quickly become bored and stop actually learning from my work. I also did not have access to Helvetica, so chose to use Gill Sans, as I felt it was similar enough and the main idea was that each word was identical to challenge how you use space. I printed two copies of each word so I could explore alternative options, and I began working in my sketchbook.
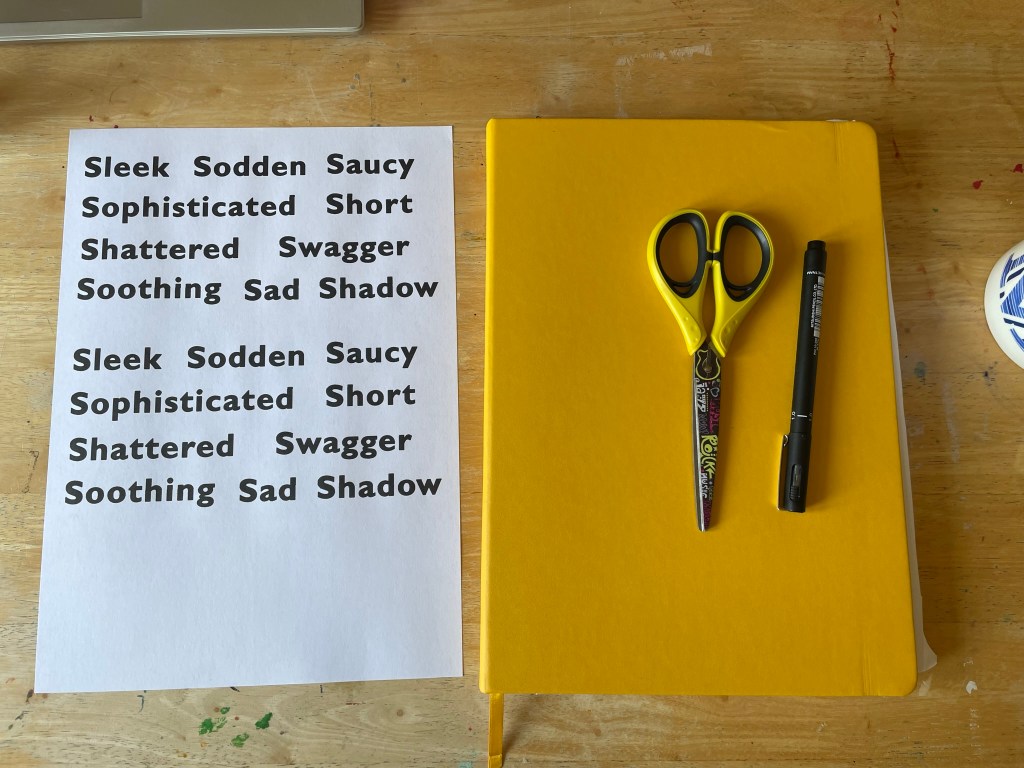
I struggled a bit with Understanding Colour as my interpretation of words isn’t always the dictionary definition, and I find it hard to conceptualise things without a guide like this. To combat that in this exercise, I decided to use the Cambridge dictionary website to obtain a definition of each word, and then develop my ideas from this definition. I had a lot of fun with this part of the exercise. I think my work in Abstract Cities has softened my frustrations with cutting and sticking, and I could play a bit easier.
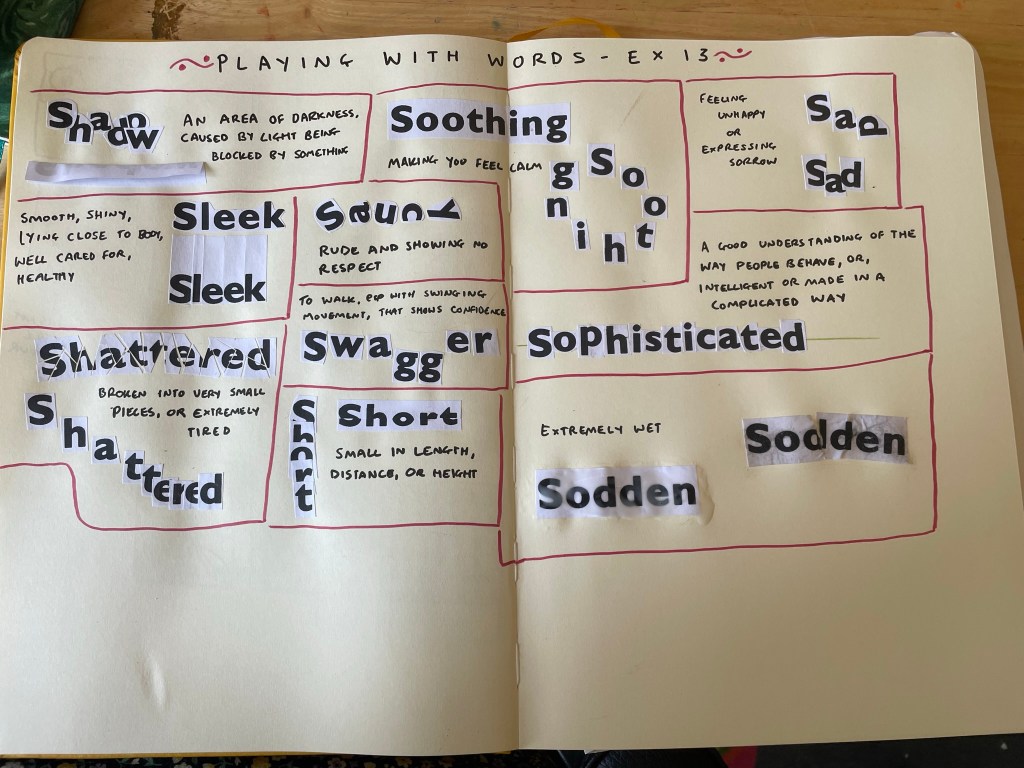
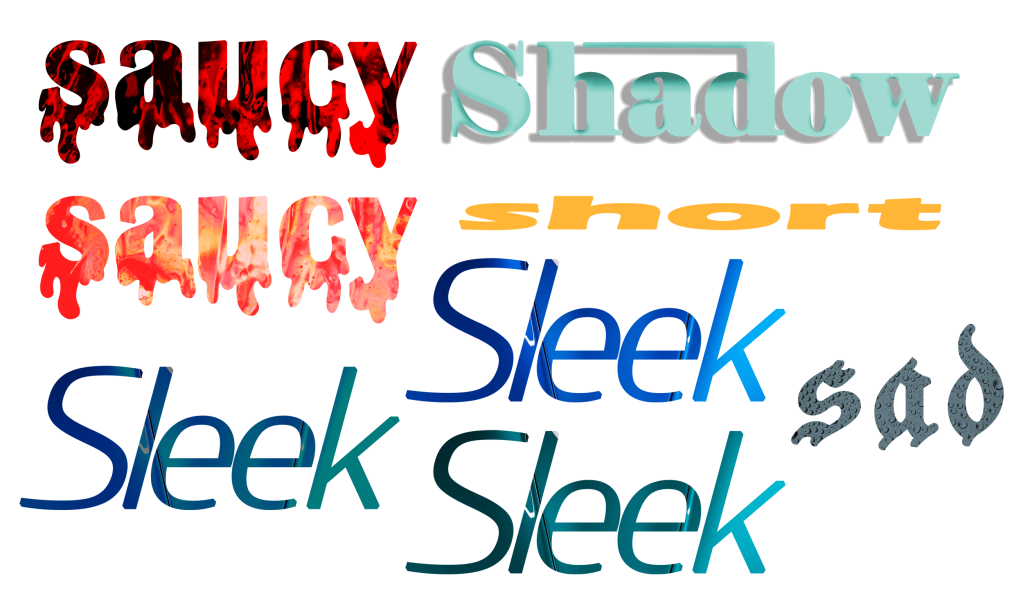
I began with shadow – overlapping each letter to block light from the others. It’s not quite a shadow, but I think it demonstrates the meaning of the word well. I then folded over the paper and stuck half of it down, so that the word itself creates a shadow. I really like this approach. Next, I moved on to sleek, which was tricky to work with in this format! I tried cutting the paper in a very smooth and rounded way, close to each letter, as the definition says, but it didn’t feel like it was emphasising the word. I then cut out each letter individually, very close to each letter, and leaving a lot of height above. I then stuck each piece very close to each other. I think this is much more effective.
Saucy was another difficult word to work with in this format. There were a few definitions, one referring to sex in a humourous way, and another being covered in sauce, but I chose to go for ‘rude and showing no respect’ which was fun to show off with mismatched letters ignoring the rules of where they’re supposed to be. For swagger, I felt that having each letter slightly spread out and descending the g’s emphasised the confident ‘swinging movement’ of walking with swagger. I like how both of these turned out.

For shattered, I began by very roughly and absentmindedly chopping up the word. I regretted this immediately, as I had to piece it all back together like a very confusing jigsaw. In the process, I couldn’t figure out where a few pieces went and ended up with some gaps. I actually think this was for the better, as it really looks like a broken mirror someone tried to fix. Shattered can also mean extremely tired – and this is the definition my brain first goes to when I think of the word – I tried to represent this, too. I wanted it to look like the word was ‘crashing’ into sleep, and I liked the outcome a lot.
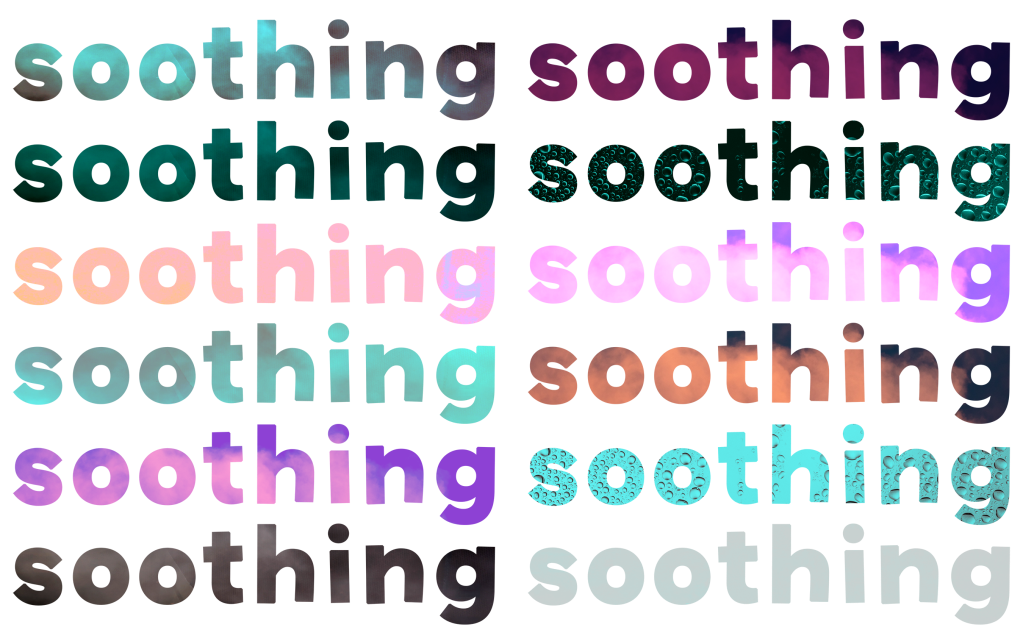
Short feels self-explanatory, and I really enjoy how it looks. I think I prefer the one cut horizontally to the vertical stacking, but I think this is likely due to the white bits on the paper blocking the letters. When I was trying to think of what to do for soothing, I struggled a bit. The definition was a bit abstract and simple. I began by just pasting the whole word in because looking at Gill Sans makes me feel calm. The font and word itself are soothing. I then arranged each letter into a circle, as this felt like another representation of something calming.
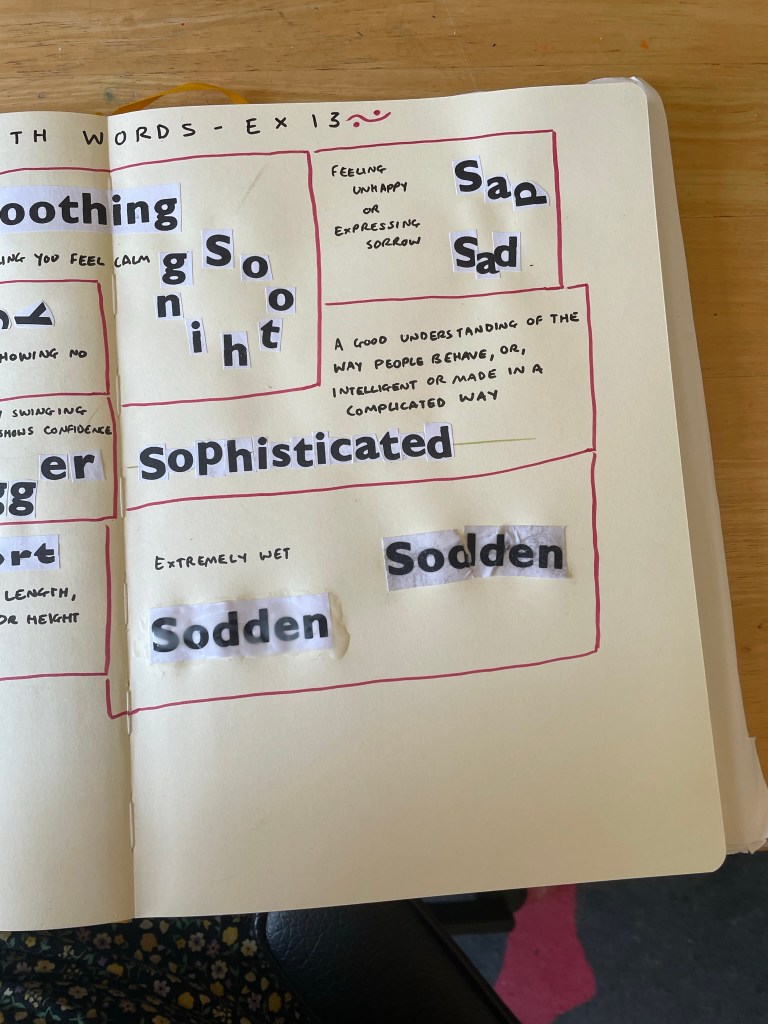
I tried to make the individual letters look like they were sad for the next word. I explored arranging them into a ‘sad face’ but this looked more happy, so I ended up with a ‘happy face’ and a depressed D. A friend said this represented the word well. Sophisticated was another tricky one, and I wish I’d explored it a bit further. I drew out a straight line and tried to place each letter on it so that it sat exactly in the centre. I felt this drew from the intelligent and complicated definition of the word.
And finally, for sodden, I simply dipped the paper in water and mushed it up until it really did feel soaked. I glued it down, then tried a second option, which was soaked in too much glue, both on top and underneath. I don’t think this is as effective as the one I dipped in water, which I think worked extremely well!
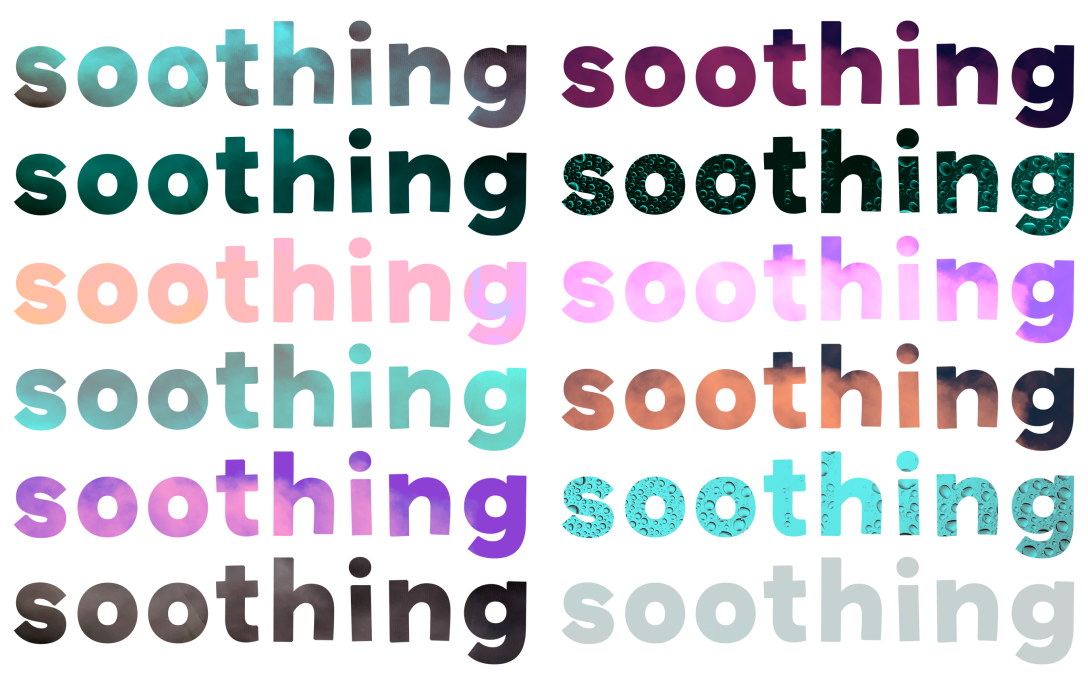
Once finished, I moved into Photoshop to design each word digitally. This had pros and cons. Currently, I’m trying to address an issue I have where I put far too much work into each individual exercise and burn myself out on repeat. As I’m less familiar with Photoshop, and have less capacity to work within it due to using a mouse vs. an Apple Pencil on my iPad, I was limited in what I could do. This helped me not overachieve, but it also made me feel really stressed and upset about the work I produced.
Going into this exercise, I anticipated creating beautiful illustrative designs for each word, and probably spending four times as long as needed. I repeatedly said ‘If I was using Procreate these would look so much better!!’ whilst designing for each word, and it’s true. They would. But I also would have spent two weeks perfecting them, which isn’t necessary. I am trying to push myself to use new software and also to let go of the need to produce professional standard work for every single thing I do.
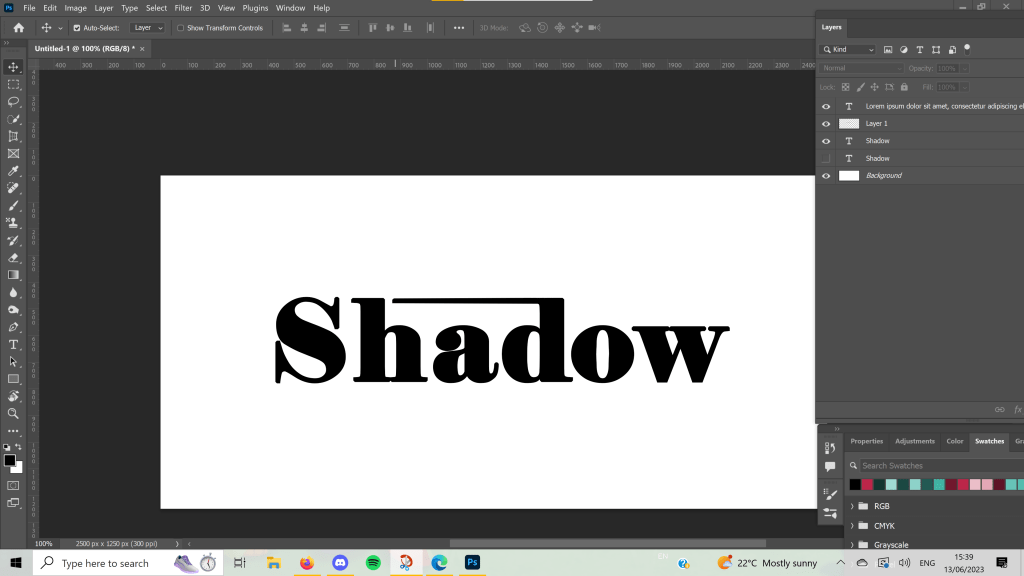
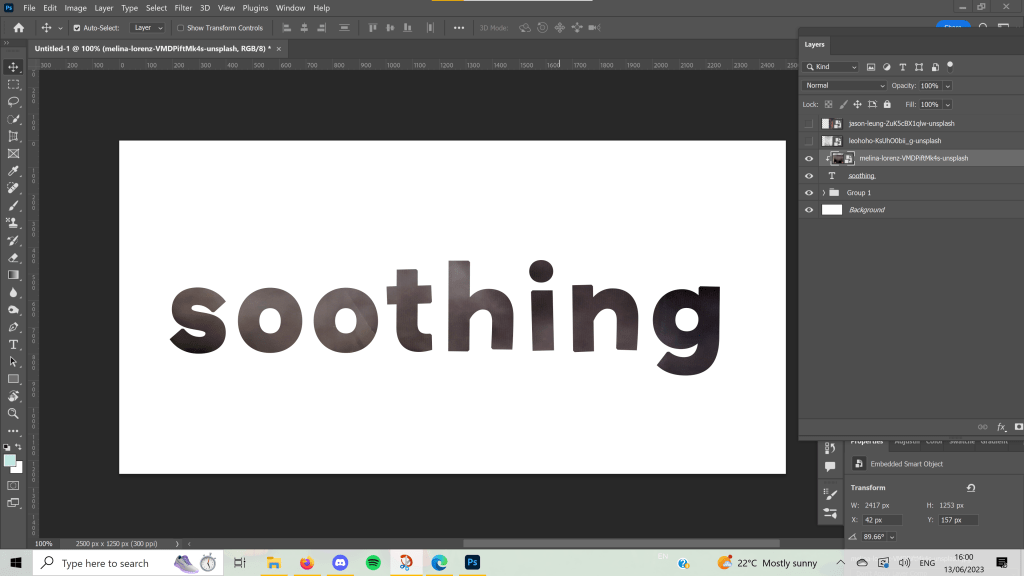

I mostly experimented with different fonts, sizes, placements, and overlays for these designs. I played around with kerning and alignment and added embellishments to help tell the story of each word. I referenced my sketchbook work throughout, and despite feeling like I pretty much re-invented Wordart, I enjoy how some of these turned out.
I know I have the capacity to create something better than this if I use software I’m more familiar with and spend more time on each piece, so I’m trying to be gentle with myself on what I produced here. In Key Steps in Illustration, I got a lot of experience working with typefaces and illustrative type especially, which I enjoyed very much. A similar exercise asked me to explore how to represent type in various illustrative ways, and the work I produced there is some of my favourite from the unit. I also loved producing type for the biscuit exercise.
It was nice to revisit this exercise, and I especially got a lot out of the paper-based work. I’m also really enjoying how Part 4 is setting me up for Assignment 4 so far. I feel like I’m learning a lot and starting to question my relationship with typography and what I enjoy about it.
