For this exercise I was asked to produce a series of illustrations for a new range of organic biscuits for children. The client wanted three different illustrations featuring extinct animals interacting ‘in some fun way’ with a biscuit for three different flavoured products: Raisin, Choc Chip, and Ginger. The illustrations needed to be in full colour using a palette which reflected the flavour of each product. I needed to produce thumbnails, visuals for all three designs, and a mock-up for one.
Normally when approaching briefs I take a lot of notes and write to-do lists and goals on various scraps of paper that I have lying around. I then write up my thoughts in my learning log by sifting through these scraps and compiling something that makes sense. This works for me, as the point of these notes and lists is to help me reach my goal, which I do every time. However, when approaching this brief, I decided to do this slightly differently. I took a piece of sketchbook paper and wrote all of my planning, research, notes, random thoughts, and idea development on this single sheet. I hoped that keeping it all together would streamline things a little, and maybe seeing all of my notes collectively would inspire me.
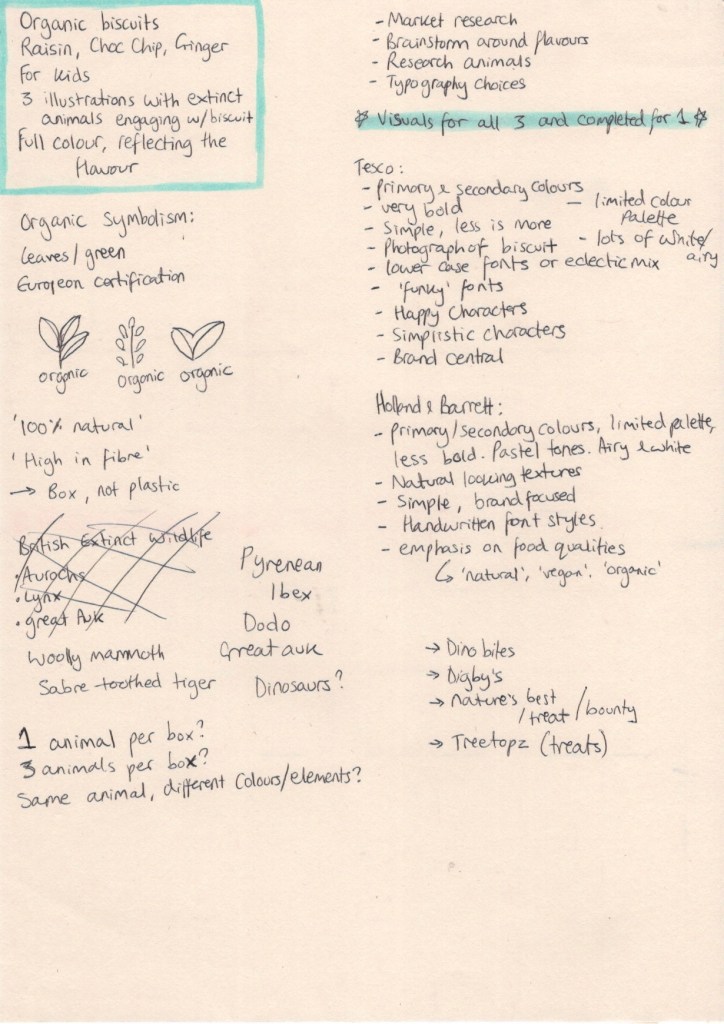
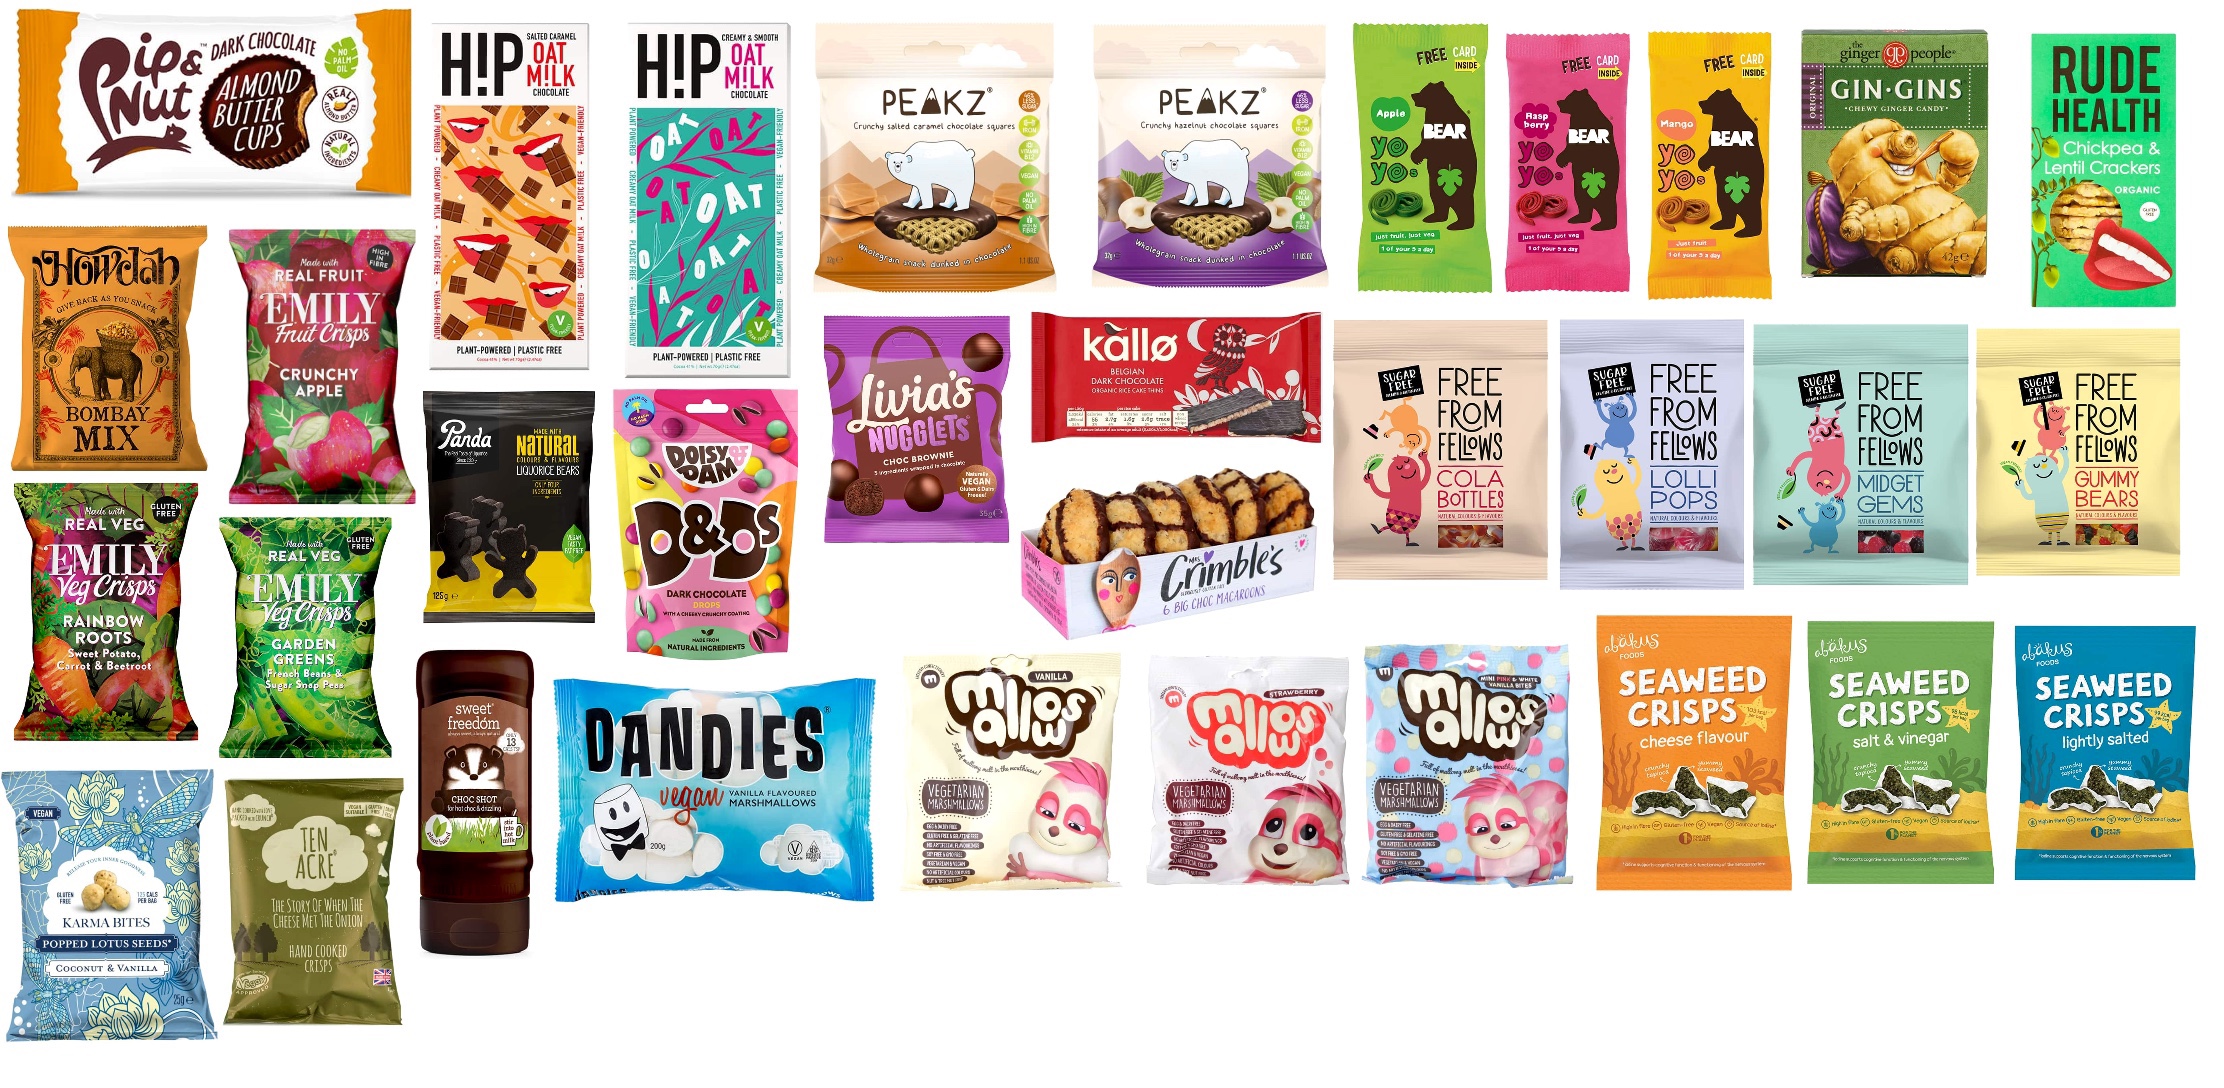
I started by writing down the expectations from this brief: the key words, important design features, and necessary information that I needed to include. I then made a list of things I needed to do going forwards – areas to research and brainstorm around. The first thing on the list was market research. I decided to look on the Tesco website to find out how biscuits are usually marketed to kids. I also wanted to look at the Holland & Barrett online shop as they specifically sell organic products, which was a key feature in the brief. I scrolled through both websites and saved images of products in order to compare them. My focus here was on products featuring characters, illustrations, or anything that felt obviously marketed to children, as well as ‘families’ of products.
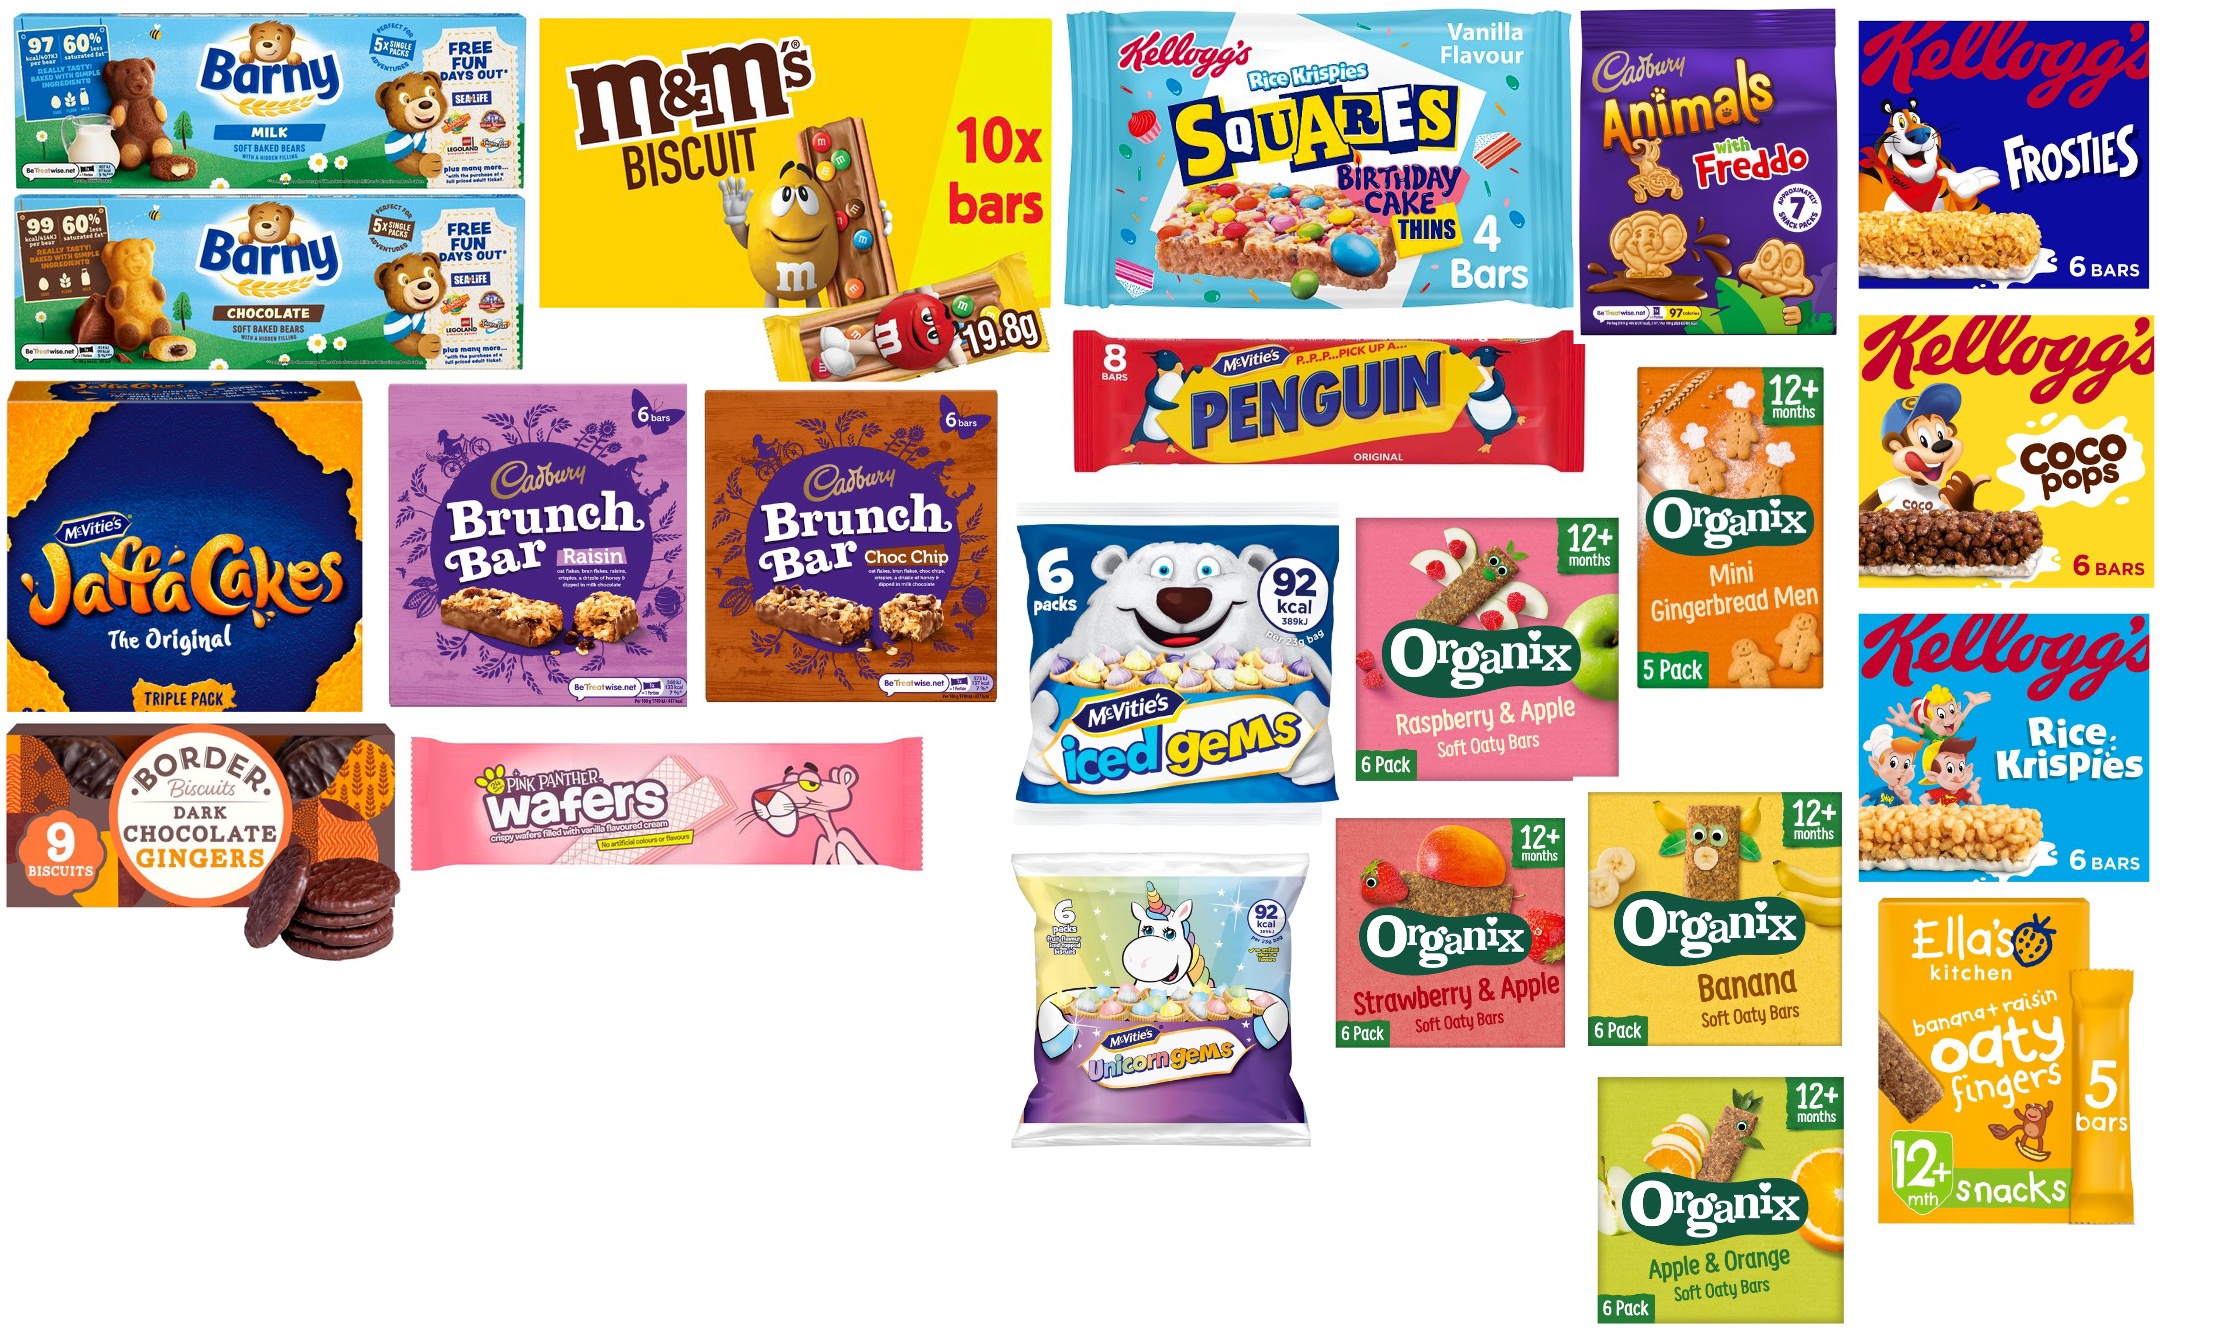
I compiled two reference boards – one for Tesco and one for Holland & Barrett – and began taking notes on the similarities within each. The designs of the products I found at Tesco typically featured very limited colour palettes of bold, primary colours, with occasional secondary colours featuring alongside them. White was a predominant colour used too, which made each product feel light and airy. The designs erred towards a ‘less is more’ approach and featured happy, simplified characters. Branding of the product was central to all designs, and there was usually a photograph of the product alongside the illustrations. Font-wise, most of the products used lower-case lettering or an eclectic mix of both upper and lower. The fonts were playful and ‘funky’.
Conversely, the packaging designs on Holland & Barrett products tended to feature softer colour choices. The palettes were still limited and focused on primary and secondary colours, but rather than being bright and bold they were pastel or muted. There was still an emphasis on the colour white, but not as much as before, with creams used more often and black being more overt in the designs. There was also an emphasis on the qualities of the food within, with scenes from nature and illustrations of plants, fruits, and vegetables commonly found throughout, and with text describing the ‘natural’ or ‘organic’ attributes clearly featured. The products were still very simple in design, with branding taking a central focus just like in the Tesco products. Unlike the diverse range of fonts used in the Tesco products, the majority of the text featured here was handwritten.
Looking at the differences between the produce sold by both retailers was extremely helpful. I wanted my product to be recognisable as organic and healthy, in order to capture the attention of parents, but also exciting and appealing to the average child. As someone who has complex food allergies, I remember feeling disappointed as a child that my snacks weren’t as fun as the ones I saw in regular food aisles. I think a common pitfall in designing ‘health’ foods is that they’re often made ‘boring’ in the process. This was something I was keen to avoid.
In order to satisfty parents, I decided my packaging would be made from a cardboard box, not plastic, as this indicates environmental concern. I would include indicators that the product is organic and vegan (this isn’t stated in the brief, but I felt it fit in well with the style, and could easily be removed), as well as catchphrases indicating the health benefits, such as ‘100% natural’ or ‘naturally high in fibre’. I would use natural-looking textures in my design, and aim to hit a middle ground between the bold and bright colour palette of mainstream markets, and the dulled down palette of the ‘health conscious’ market.
To enamour children, my characters would be simple, recognisable, happy, and fun. They would be engaging with the biscuits in exciting ways, and the box overall would be fun and interesting. All three boxes would be consistent in theming so that children could instinctively recognise them and be drawn to each of the different flavours. The font would be hand drawn, fun, and branding central to the design. I felt like after doing this research I had a really solid plan for the content of my illustrations to ensure they fit the right market, but would still stand out. I moved on to filling the gaps I had in my plan: which animals would I use? What should I name the brand? Are there pre-existing logos for organic certified produce? And perhaps most importantly: What is my design even going to look like?
I started with what I thought was the easiest of these questions to answer, the matter of logos and symbolism. A quick Google showed that there are many different ways to portray this, so I loosely sketched out some ideas of my own inspired by this search. I then moved on to identifying extinct animals. Initially I began looking at animals that were made extinct in the UK specifically, however the majority of these animals are not extinct globally and therefore, I felt, didn’t fit the brief. I jotted down some animals that do fit the brief and narrowed my choice down to 2 options – dinosaurs, or ice age animals. I wanted the three animals that I chose to fit together and ‘make sense’. I didn’t want to just pick three random animals that have no correlation to each other besides being extinct.
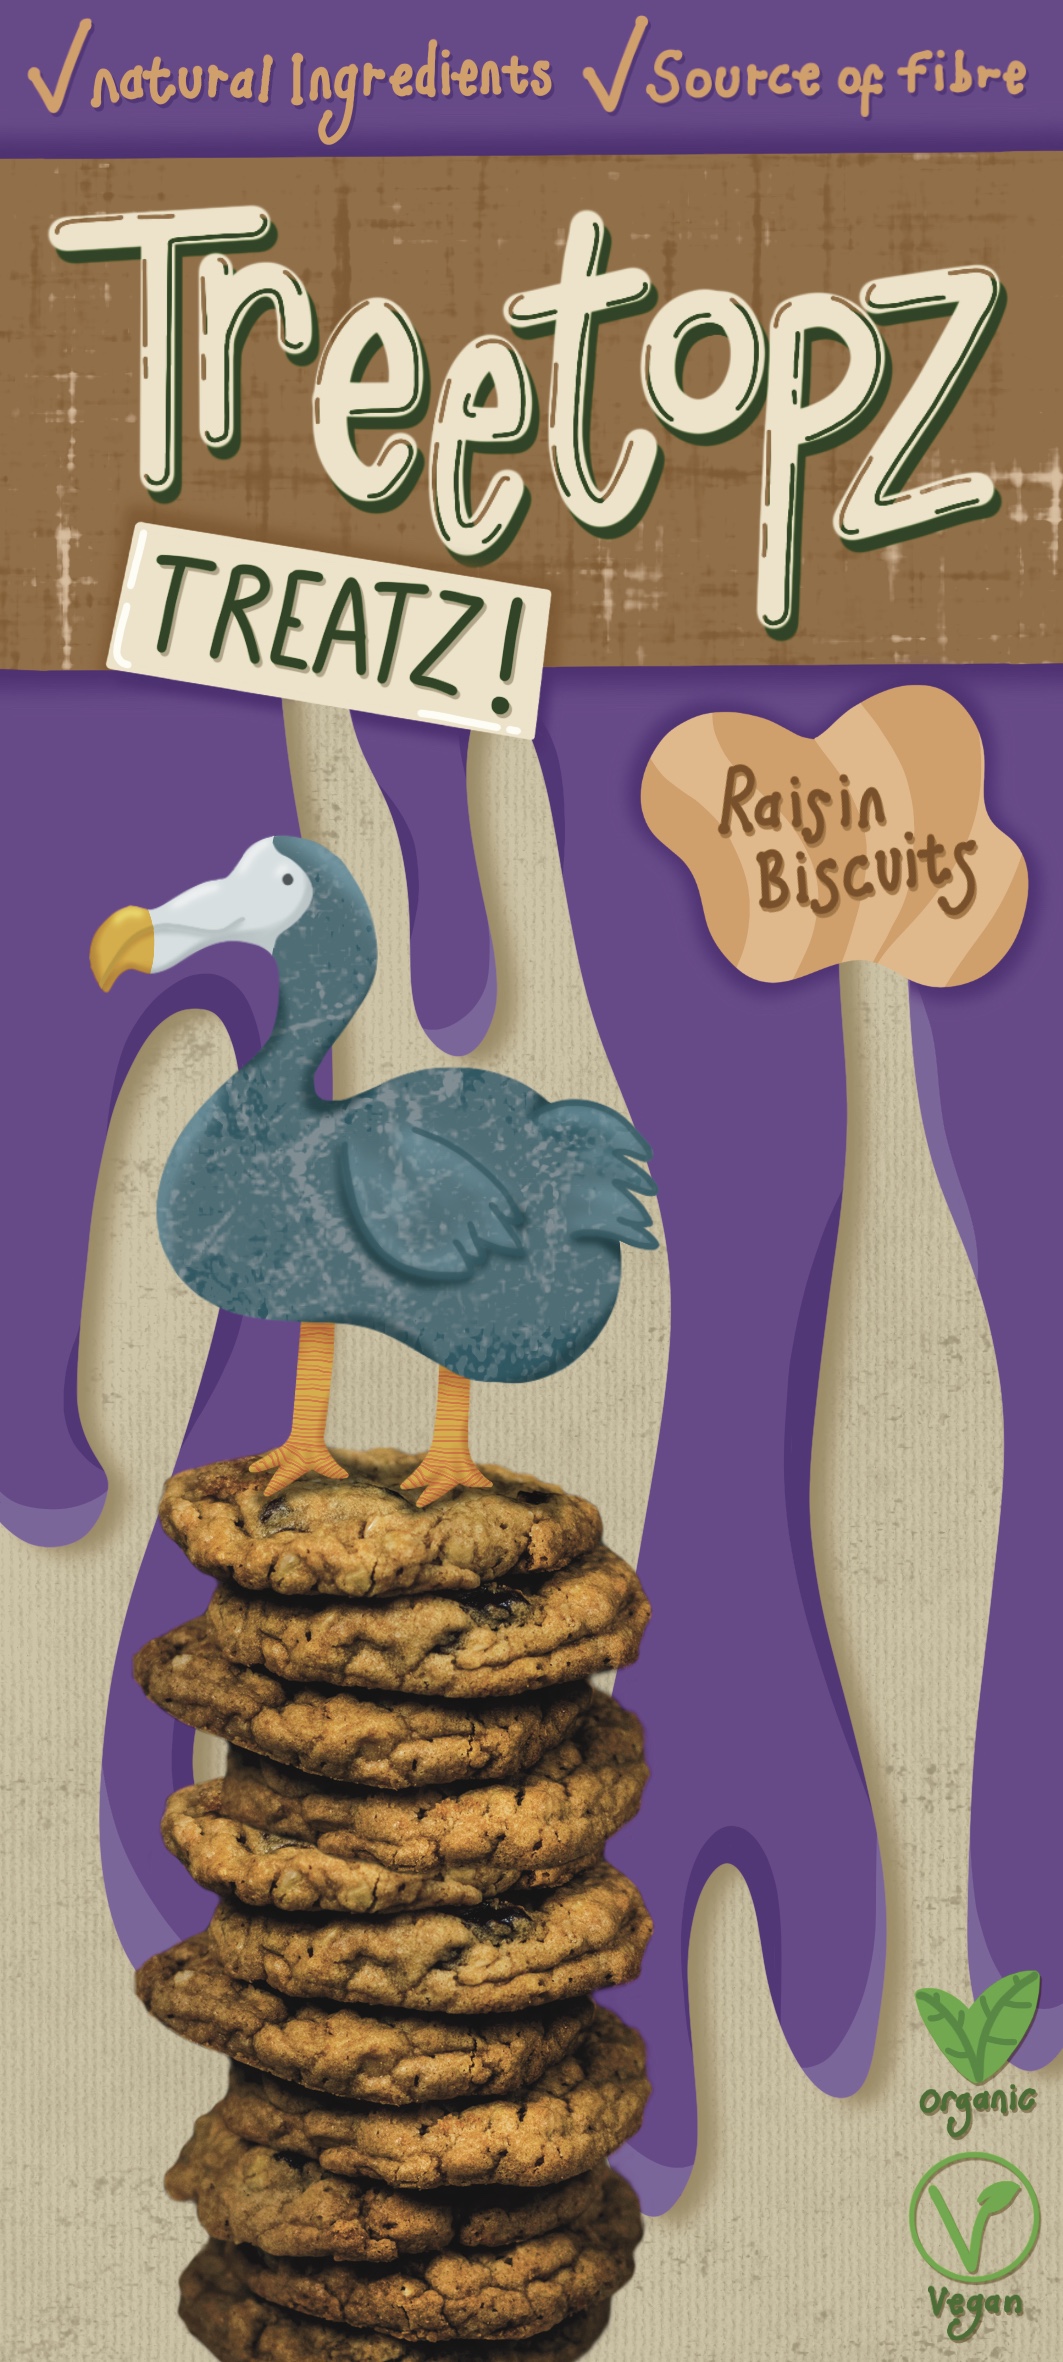
I then began brainstorming naming for my brand. This was quite tough for me. In a real-world situation the branding would be provided for me and I would work from there. Having to come up with my own branding felt overwhelming, as I felt it was important the naming matched the theming of both my illustration and the concept itself. I talked it over with a friend and we brainstormed together, which I found enormously helpful. I landed on ‘Treetopz’ as a ‘main brand’ and ‘Treatz’ as the individual product, making them Treetopz Treatz. This felt child-friendly, exciting, and fun. It also felt quite realistic and believable as a brand.
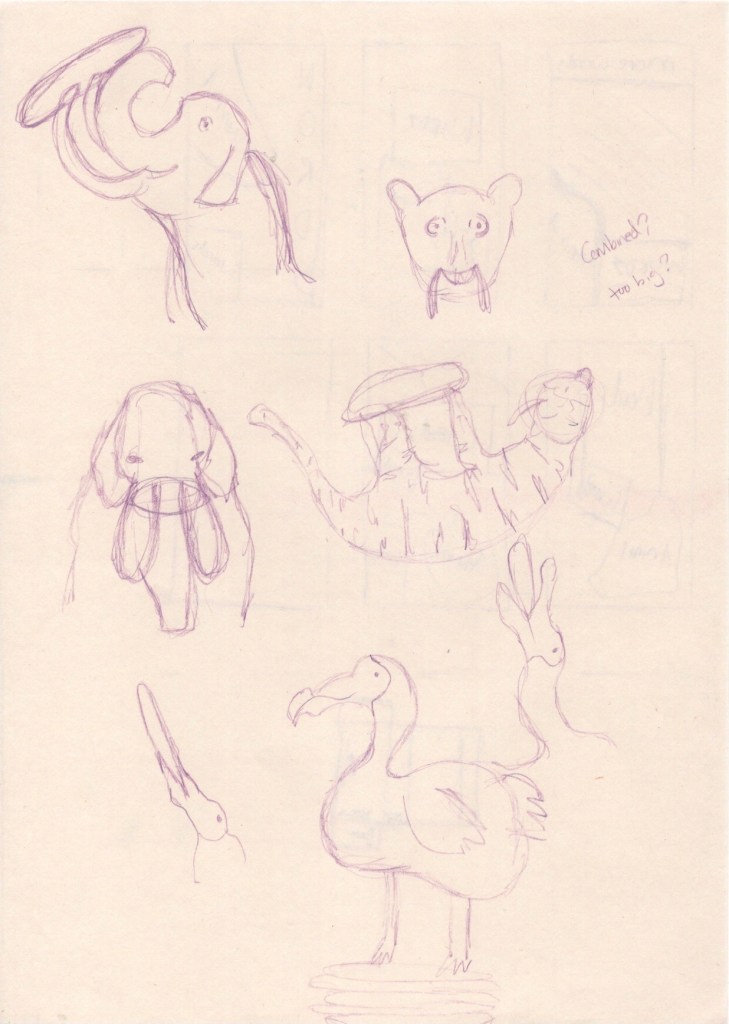
I decided next to look at references for my animal characters and finally decide which group I would be working with. After looking at the options further in depth, and discussing them with friends, I decided to choose the ice age animals. I felt they were more suitable for a wider age group, their colours lended themselves to the different flavours easily, and they felt unique for the branding. Other than the well-known Ice Age franchise, I don’t recall seeing such animals used in branding, whereas dinosaurs seem to be everywhere. I started sketching out ideas for my characters, focusing on making them simple, friendly, and playful, seeing how they could be posed to interact with the biscuits. This was actually quite a challenge for me. I haven’t quite mastered the ability to look at a reference and then draw a stylised version of it. I focus too much on making my illustration ‘match’ the reference. I wanted my characters to be cartoonish, not realistic.
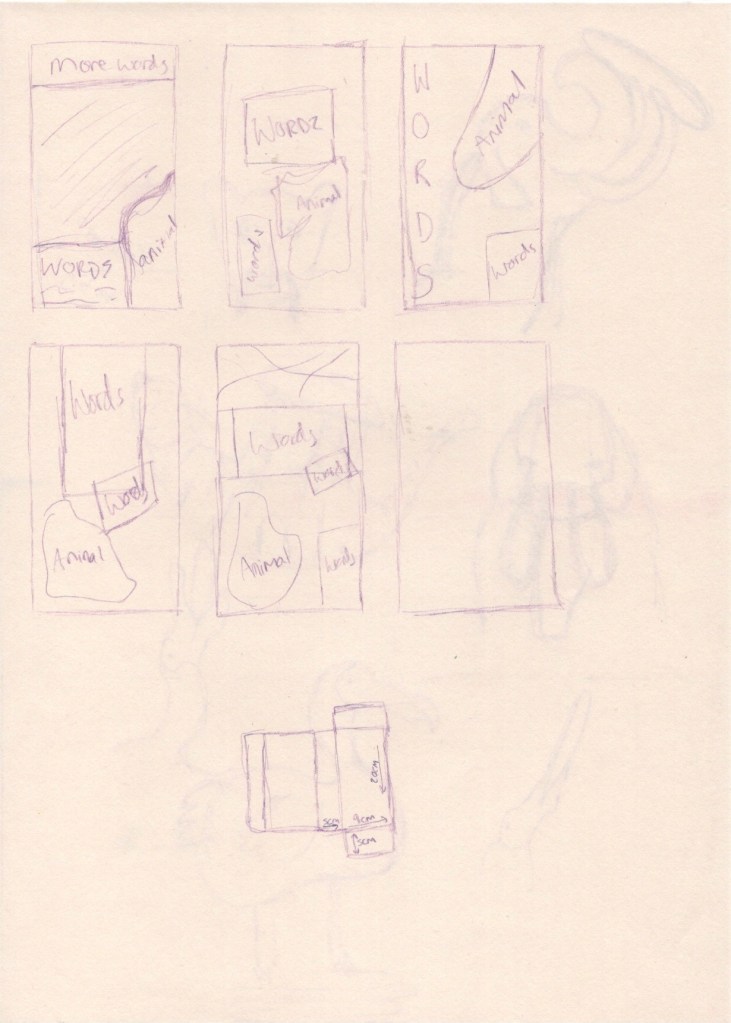
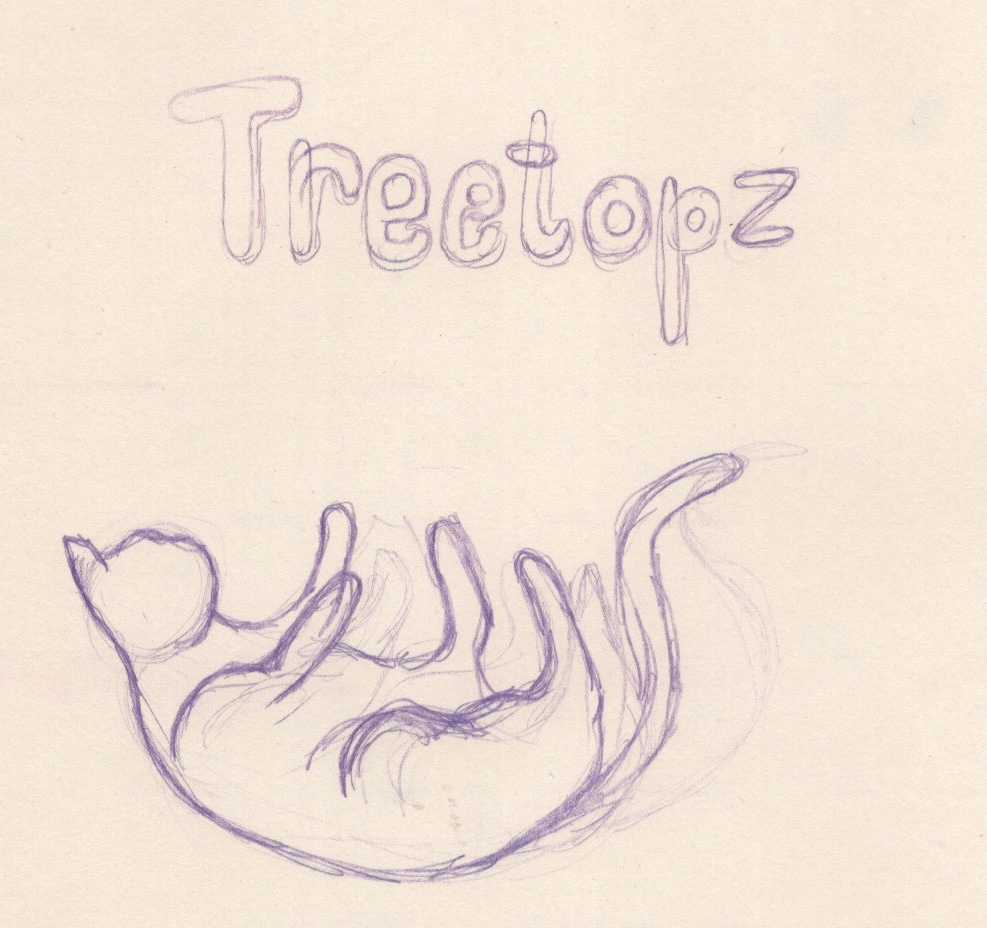
I felt like I achieved this really well, and I was extremely excited to take these designs forward. I especially loved the dodo sketch I had done – it was simply a scribbly little outline intending to capture the essence of the animal, and it ended up communicating exactly what I wanted to in my characters. I decided to thumbnail some layouts on the back of this sheet of paper, figuring out where each element would go and how they would interact with eachother. At this point, I decided I needed a physical point of reference for the shape of my packaging. I found a box originally used for cake slices, and measured its dimensions. It felt a little large for biscuits, but it was the best I had!
Next, I opened a canvas in Procreate at the size of the front of my reference box. I roughly sketched out roughly my favourite layout and in doing so I realised I had forgotten an important research and development step: fonts. I decided to go to 1001freefonts.com as it has a fantastic feature where you can type in the word you intend to use the font for and see exactly what it would look like. I typed in ‘Treetops’ (unintentionally misspelling my own brand name) and browsed the first 5 or so pages, screenshotting where I found fonts that I felt best fit. I was simply looking for inspiration here, not intending to use any of the fonts I was viewing, but instead wanting to create my own by drawing from various elements I enjoyed.
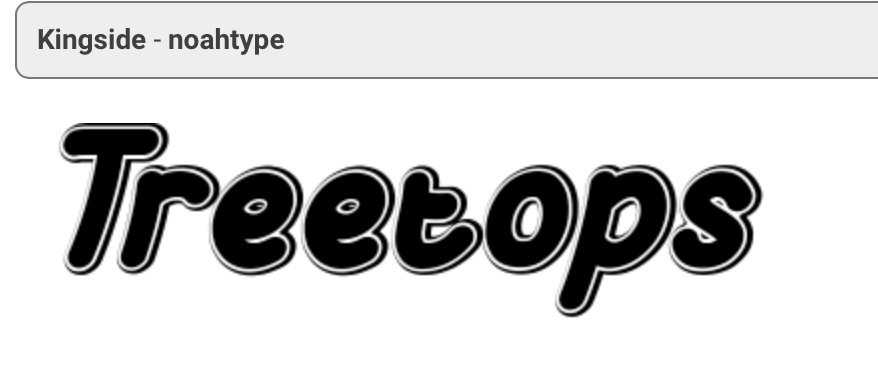
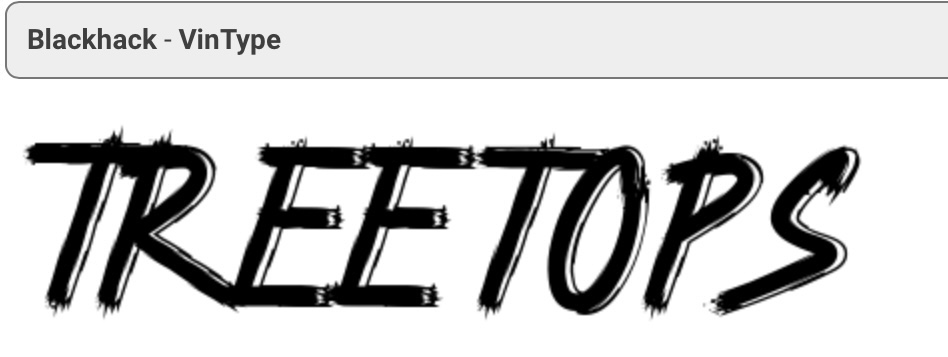
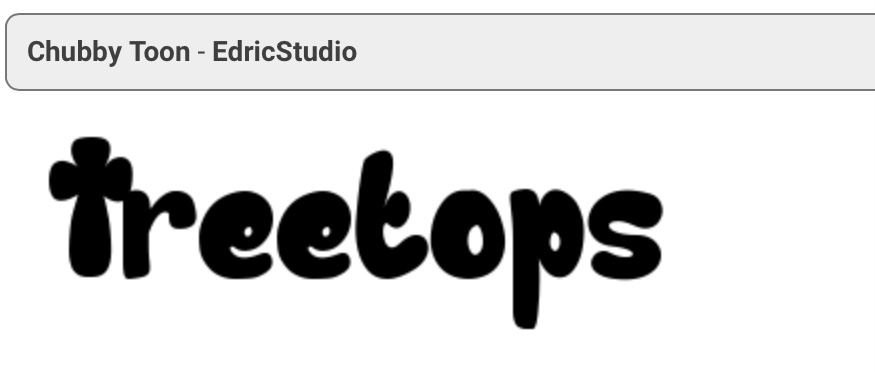
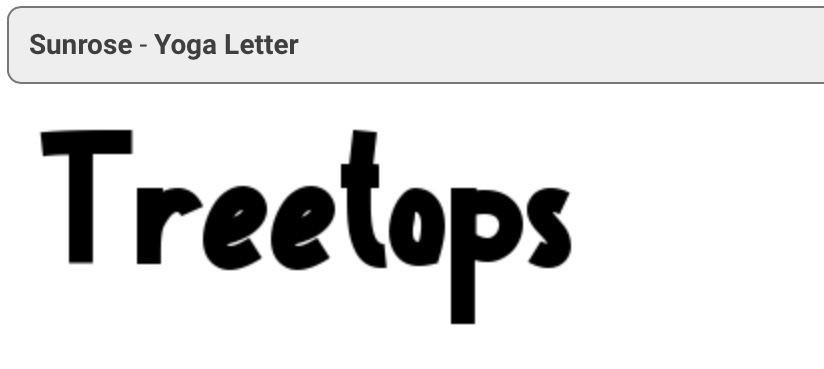
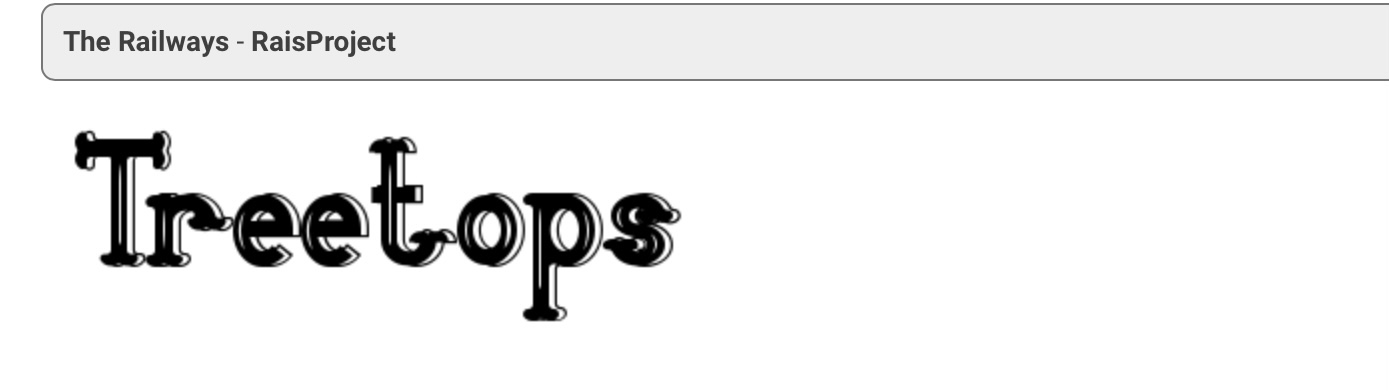
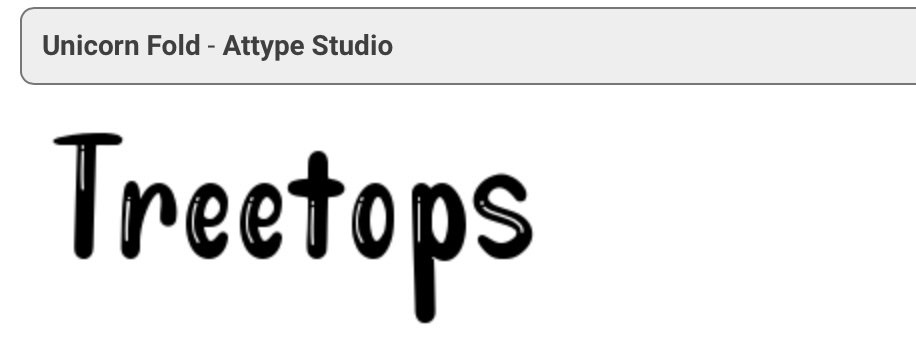
This is a process I have been through many times – typically, I follow this process whenever I produce my own typography. I took a new sketchbook sheet and began loosely sketching out how I envisioned the text to look. I was particularly inspired by the decorative qualities of the ‘kingside’, ‘railways’, and ‘unicorn fold’ fonts, and liked the shapes of the ‘chubby toon’ and ‘sunrose’ fonts. After roughly outlining the text, I began designing a more solid concept in Procreate. I then began to build my idea up around it, mainly focusing on layout and colour palettes. The main difference between my three boxes would be the colours, the characters, and the biscuits displayed. I wanted the background and branding to be consistent between them, so I focused on getting this perfect.
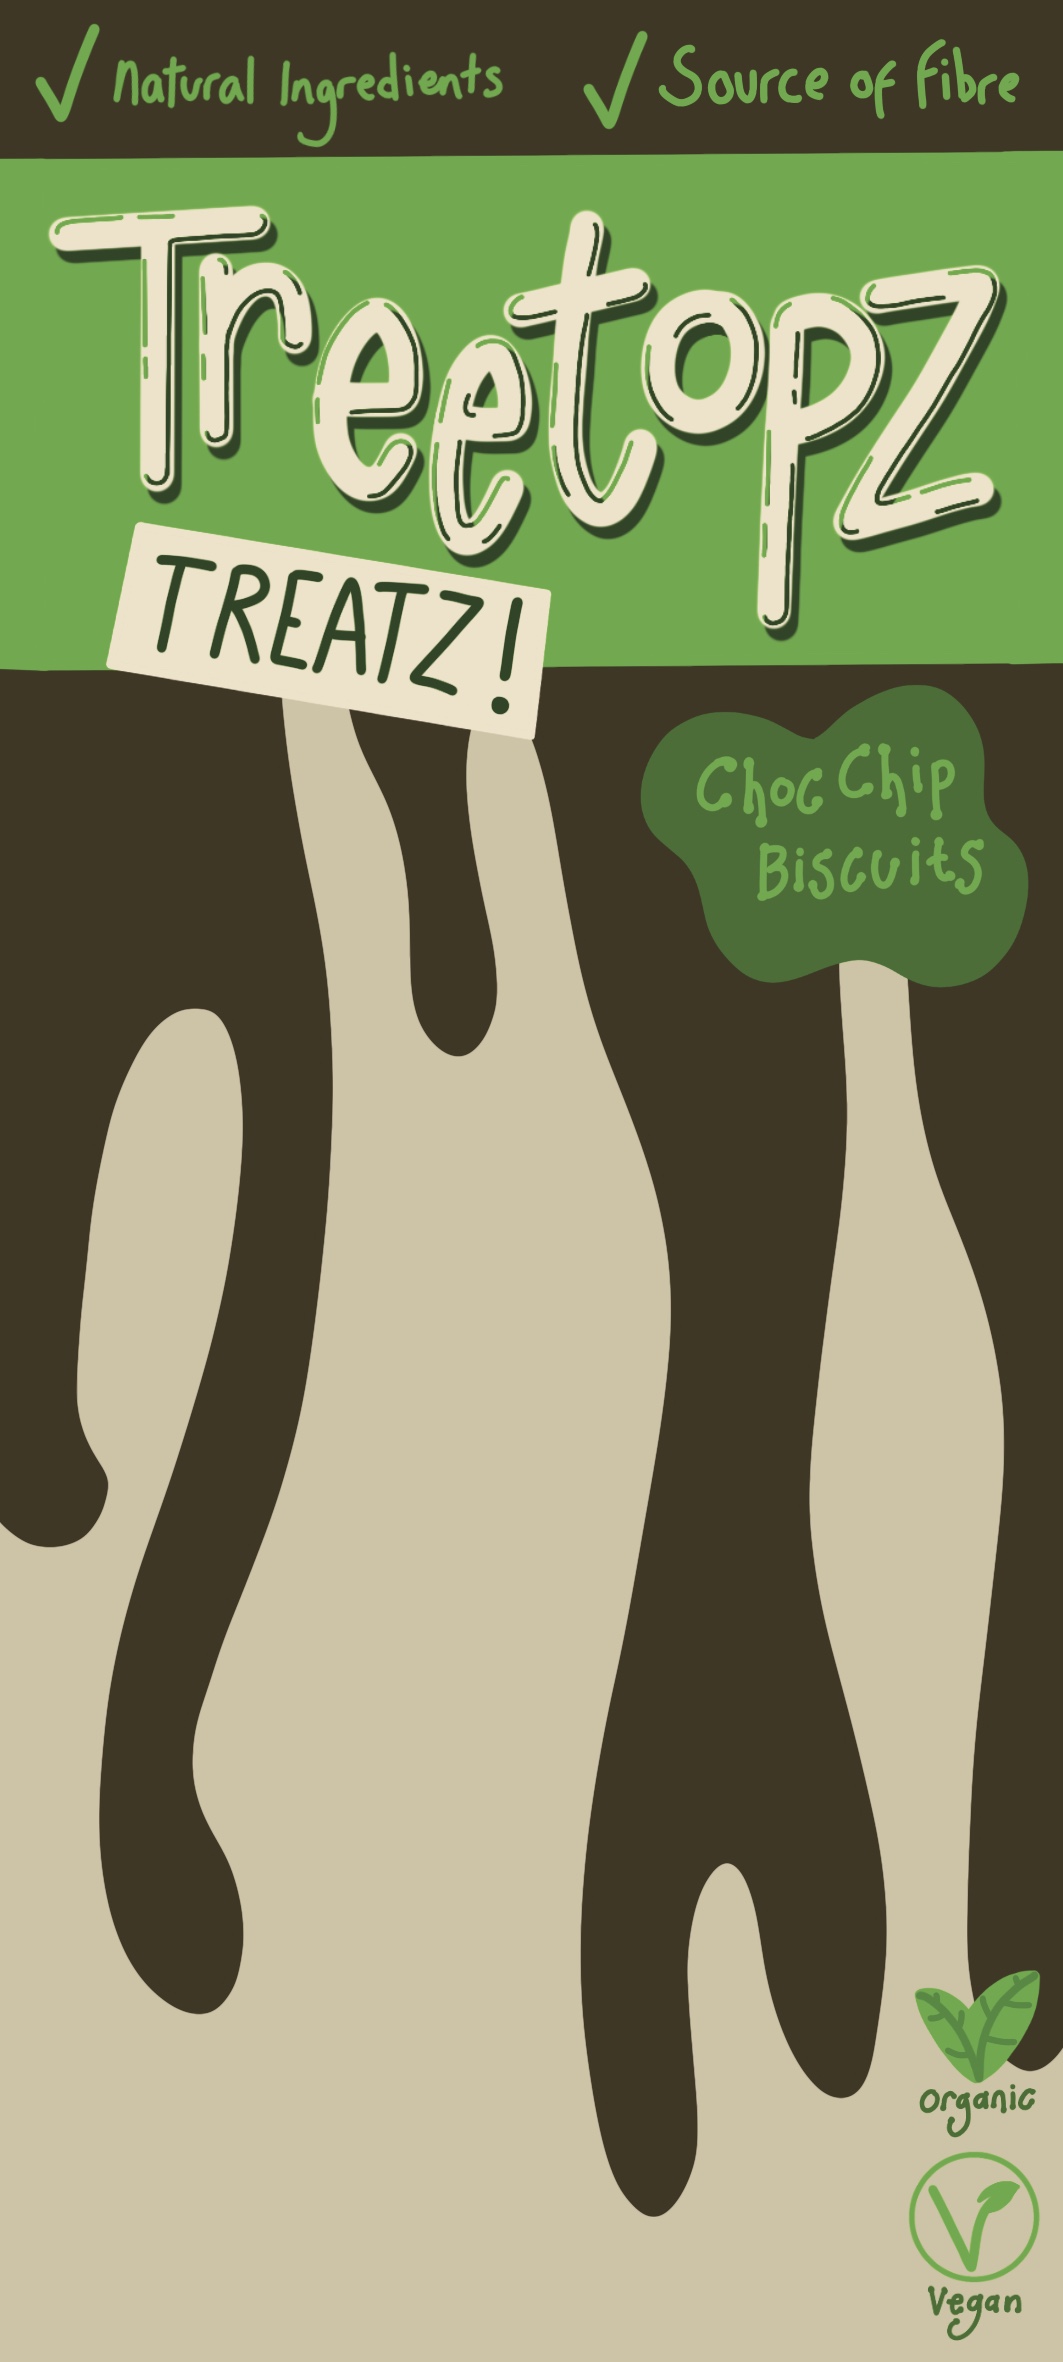
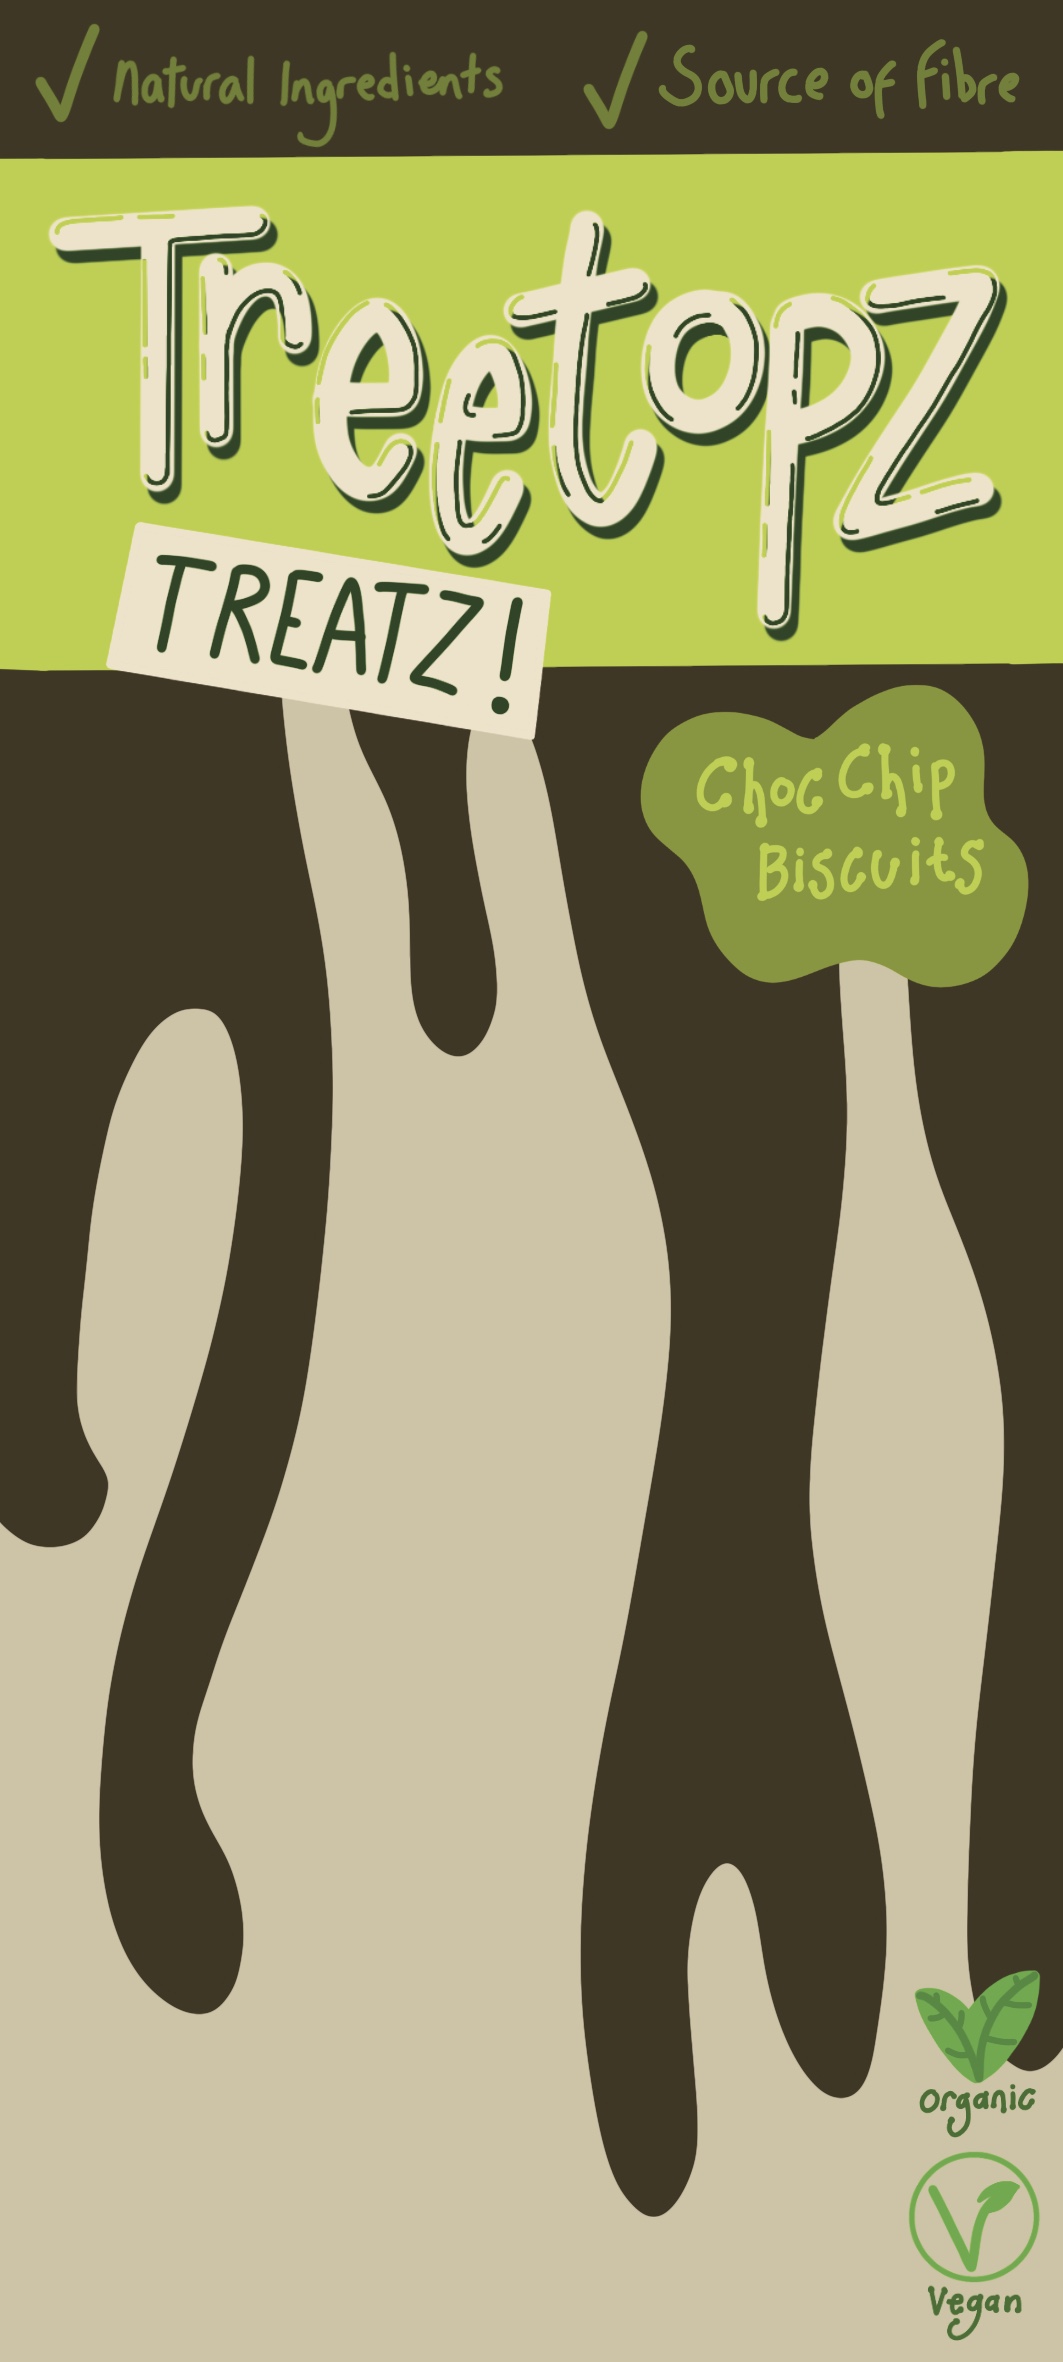
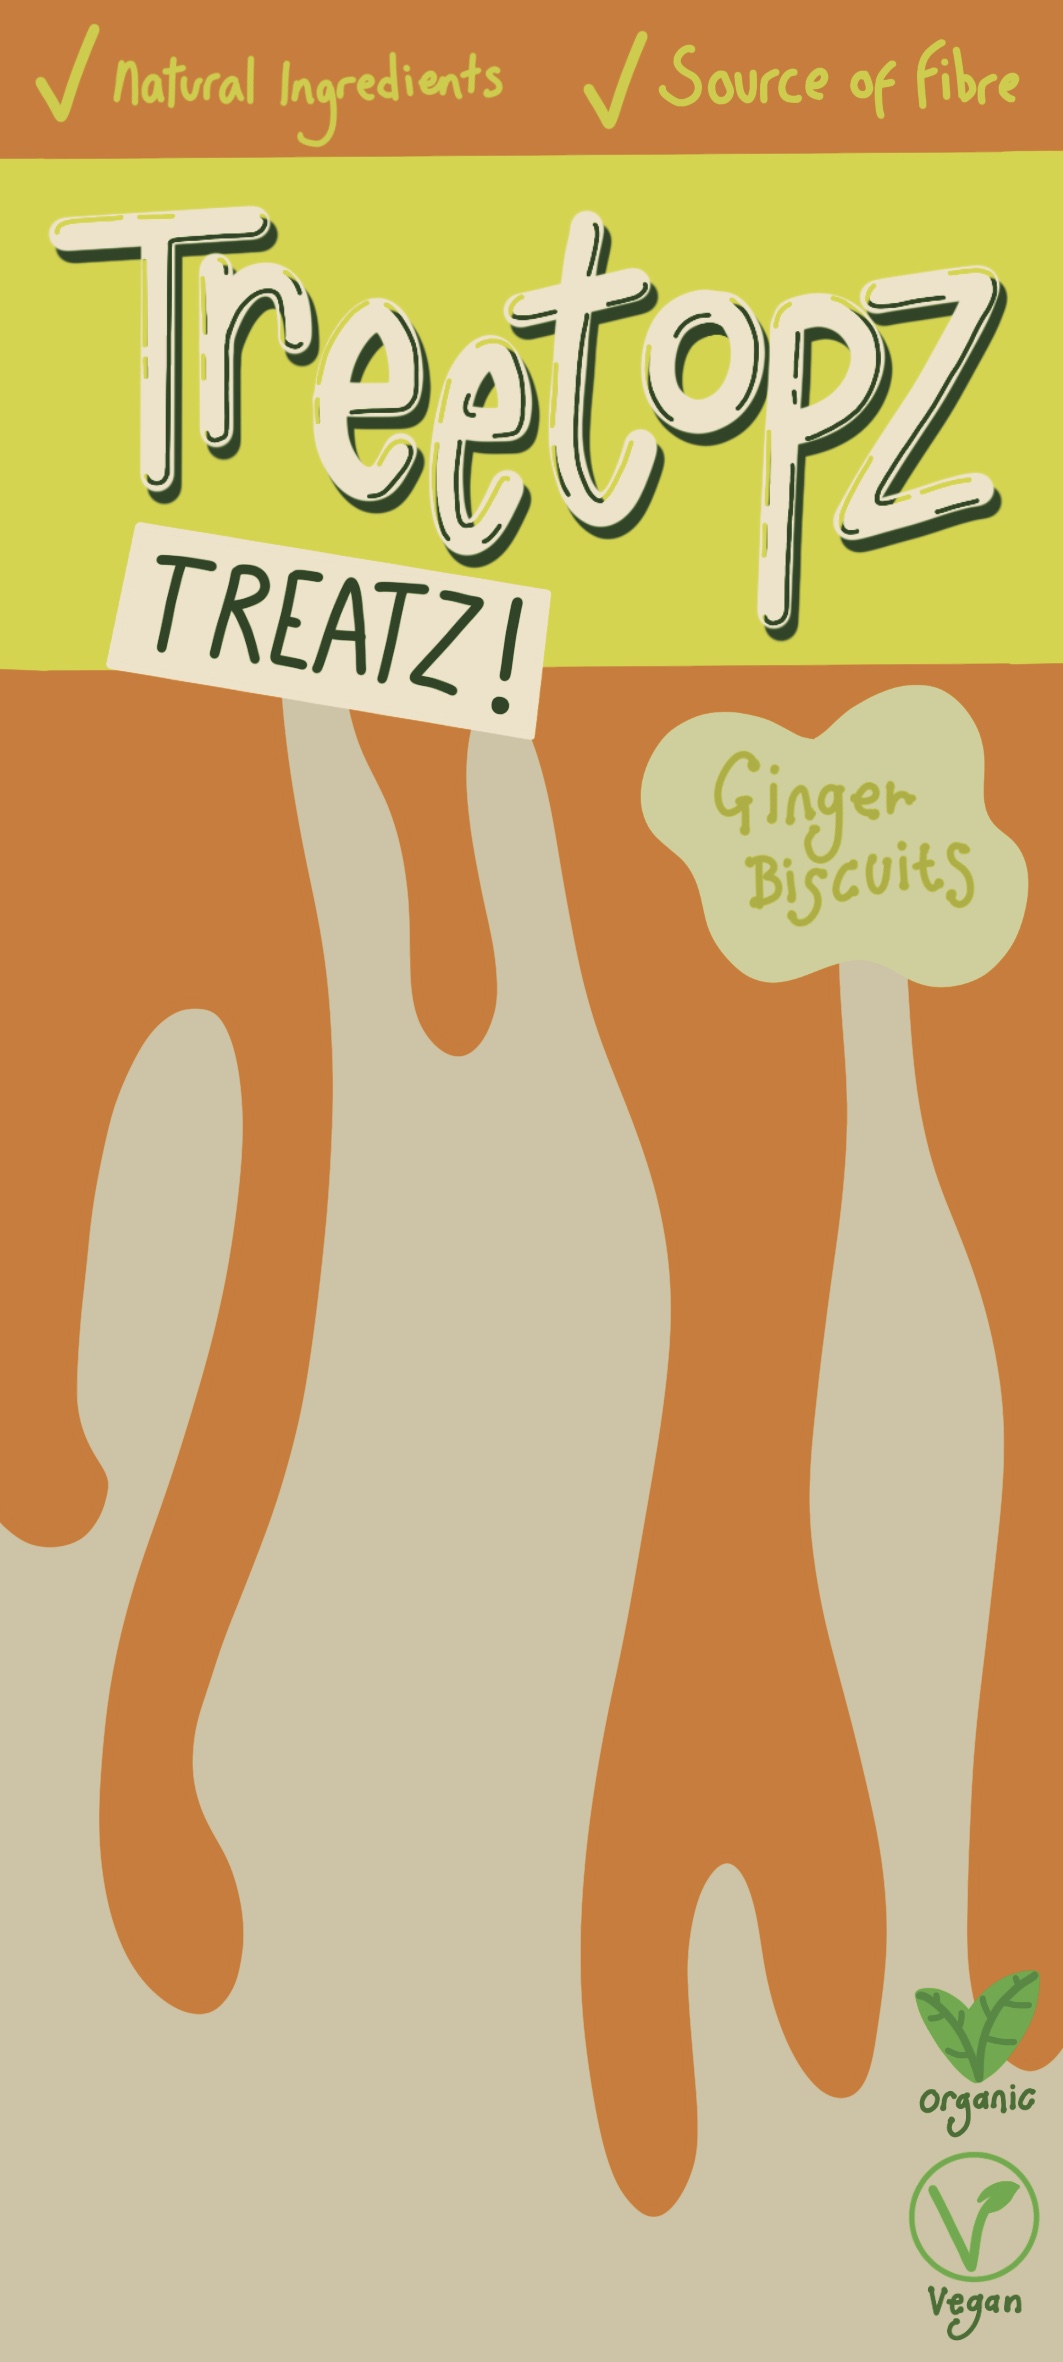
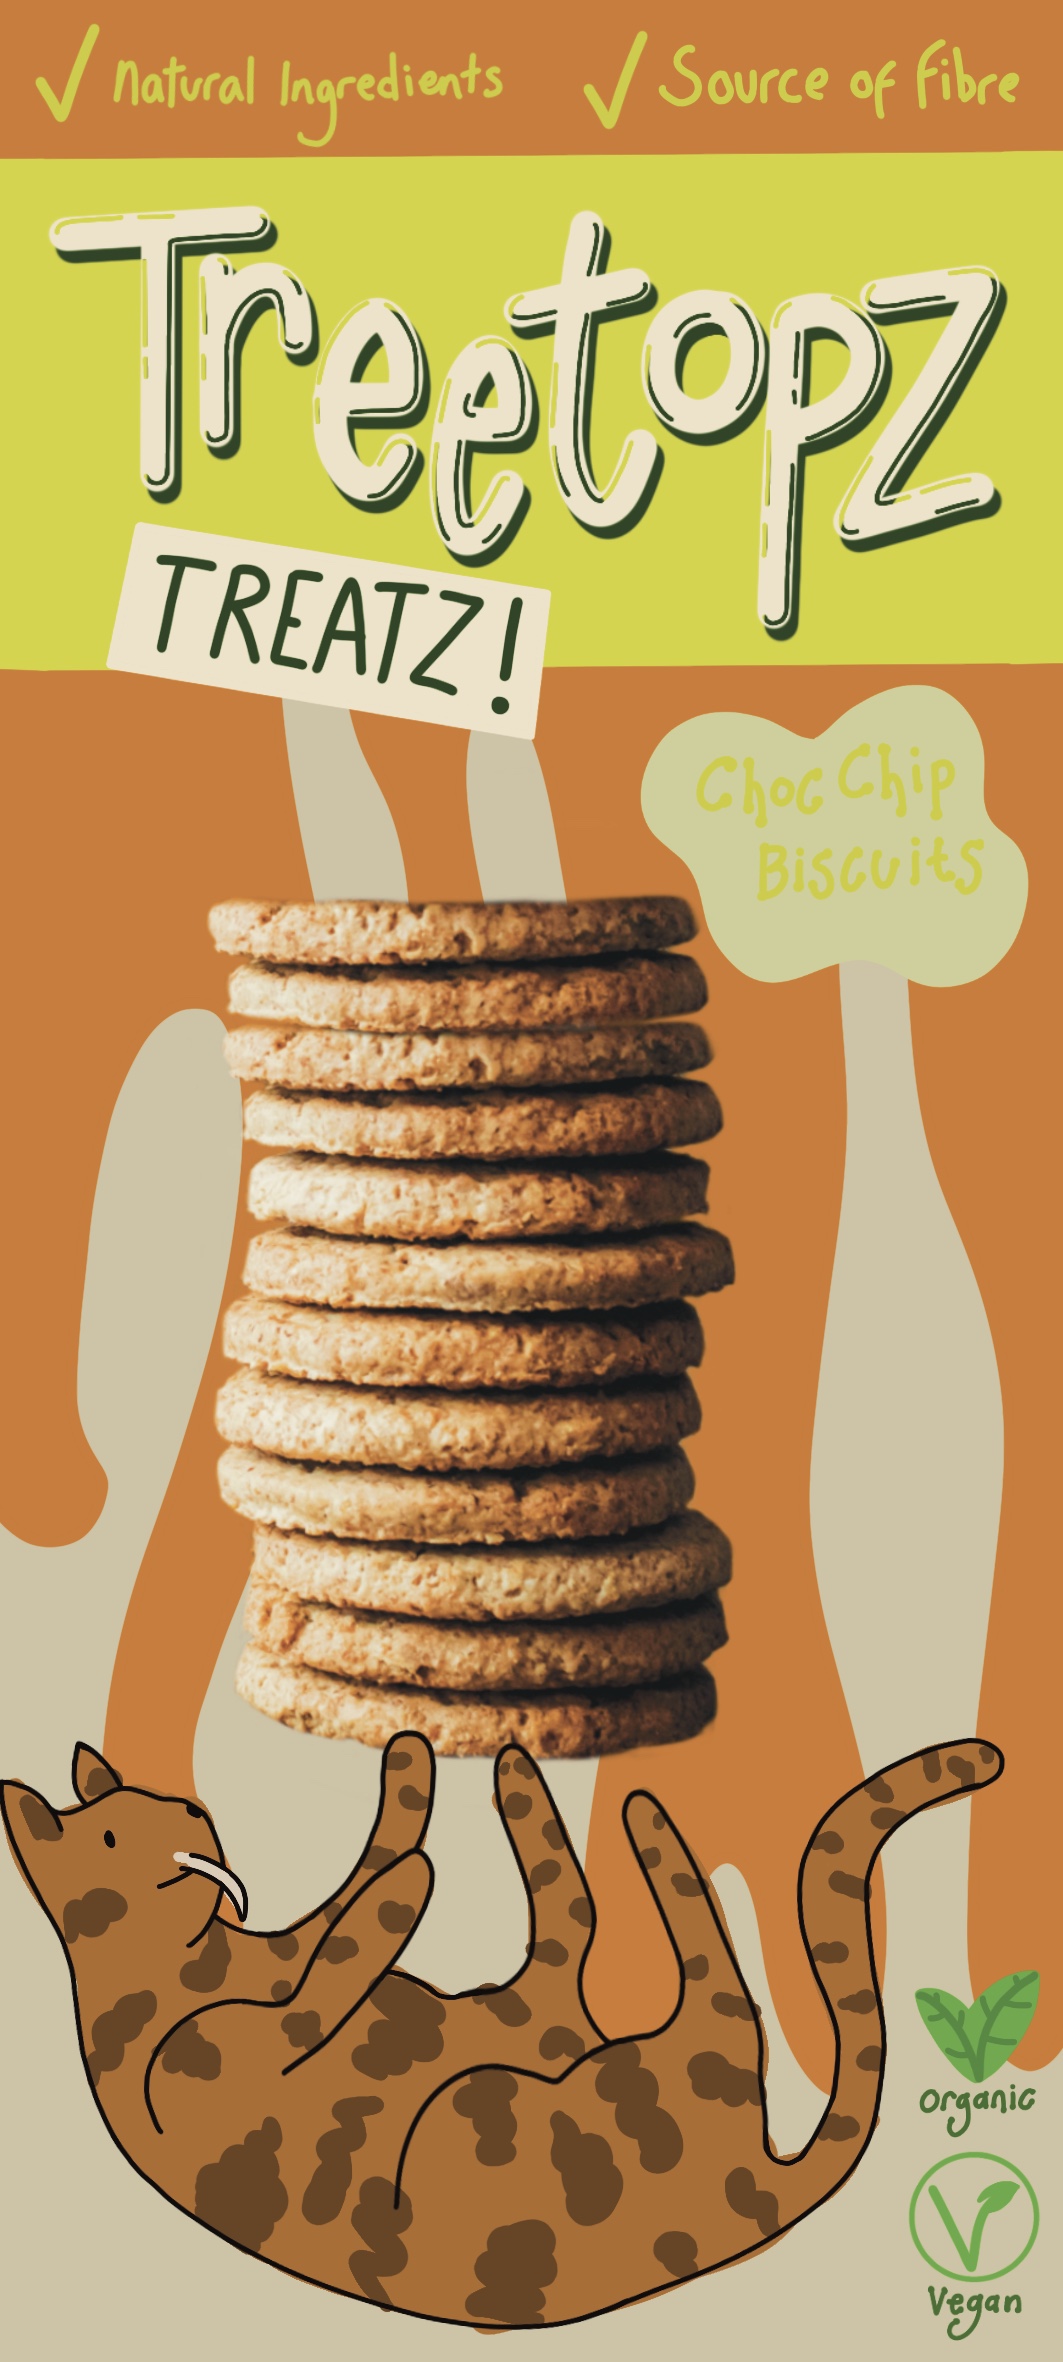
The first box I worked on was the ‘choc chip’ flavour. I picked a green and brown colour scheme for this. The brown was to signify the chocolate flavour, and the green was complementary. Once I was satisfied with the background, I duplicated it and edited the colours for the other two boxes. I changed the brown to orange for the ‘ginger’ flavour – intending to keep the same green colour throughout – and realised this had to change, too, as it did not look good against the orange. I explored different complementing and contrasting colour options before settling for a very yellow shade of green. In doing this, I realised I could explore the colour of my ‘choc chip’ box further, so experimented a little more before returning to the original colour palette as I felt it worked best.
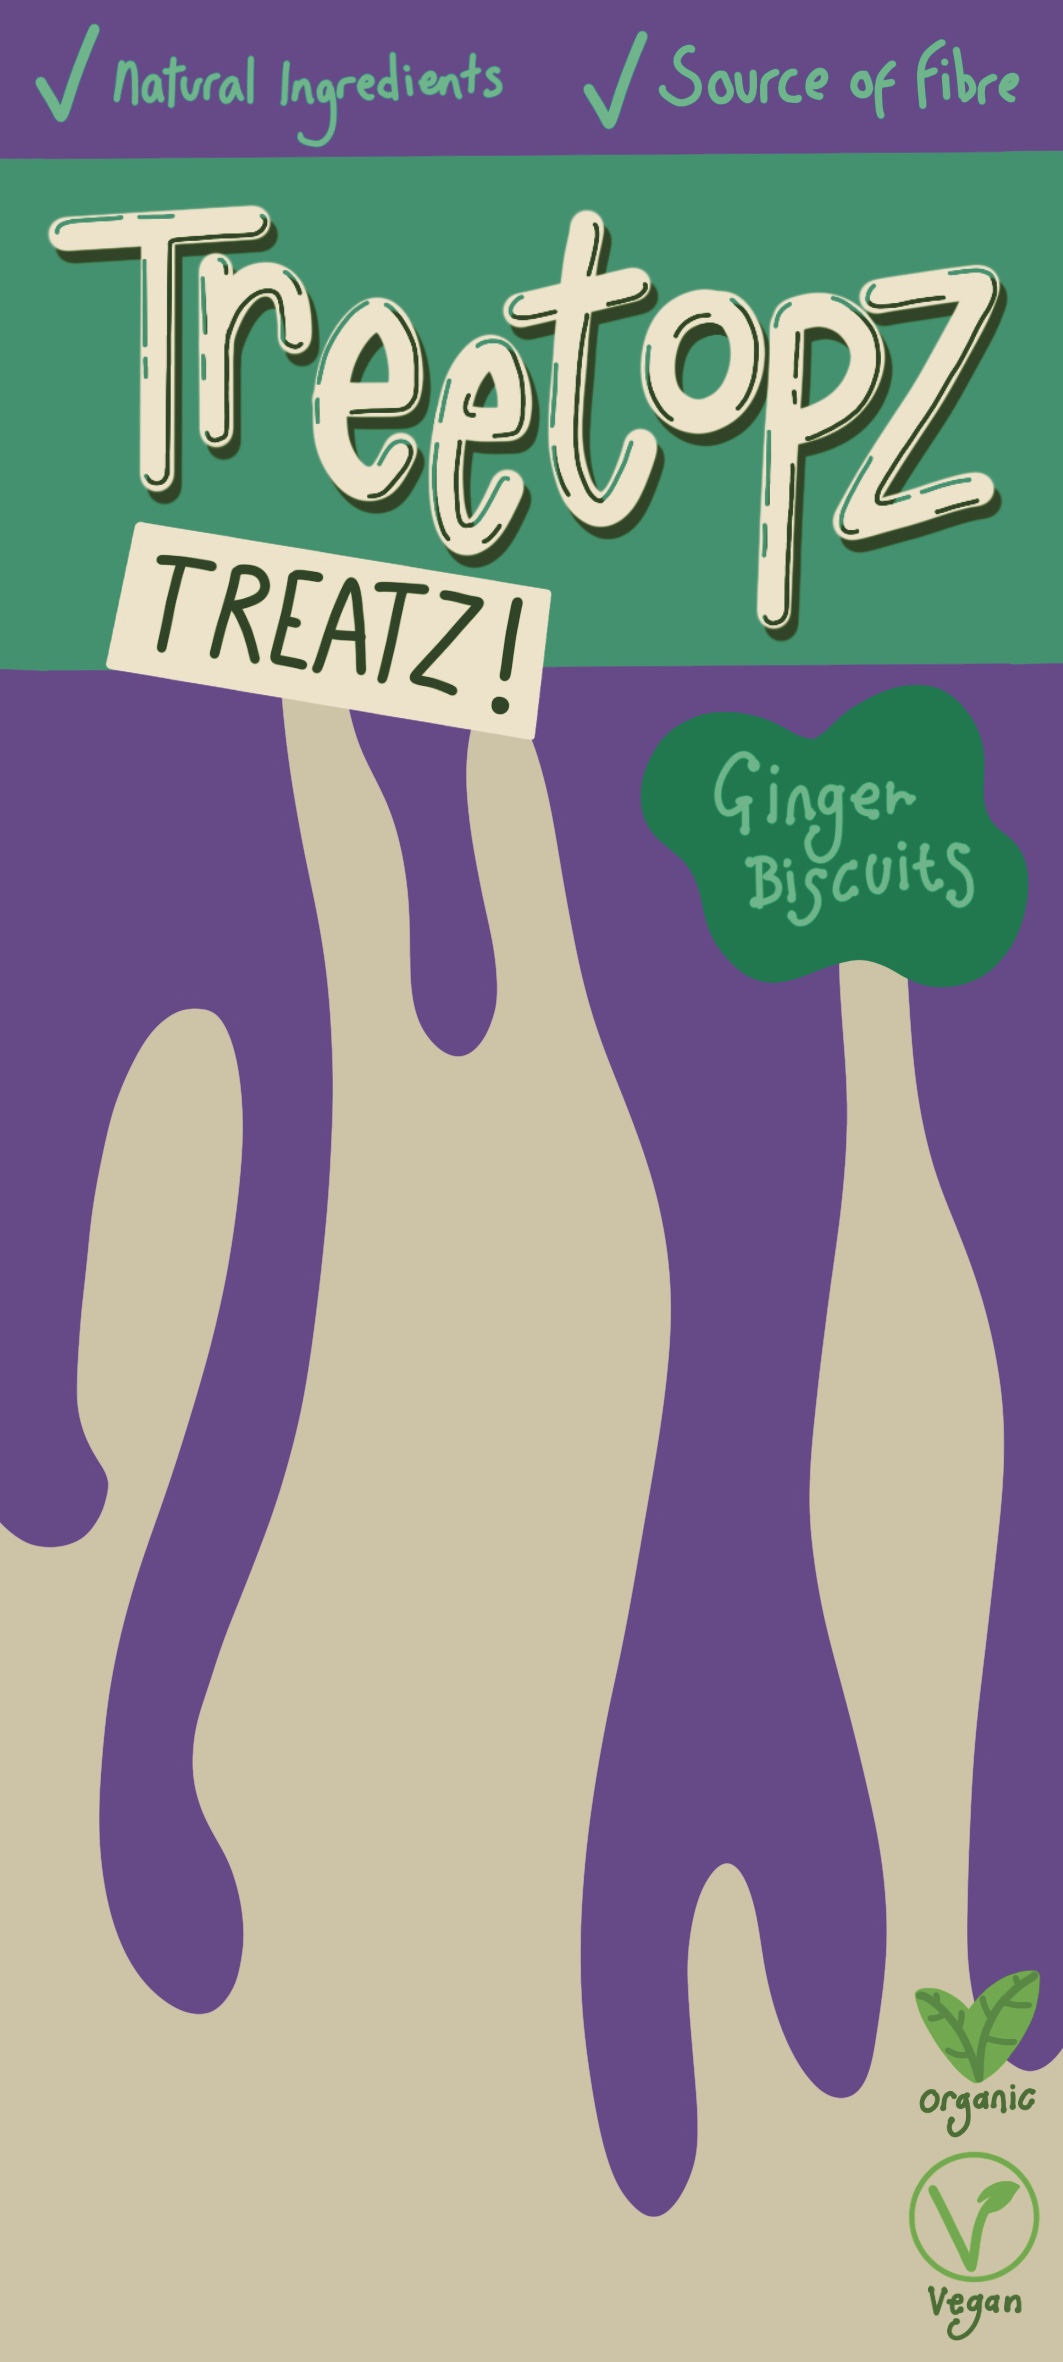
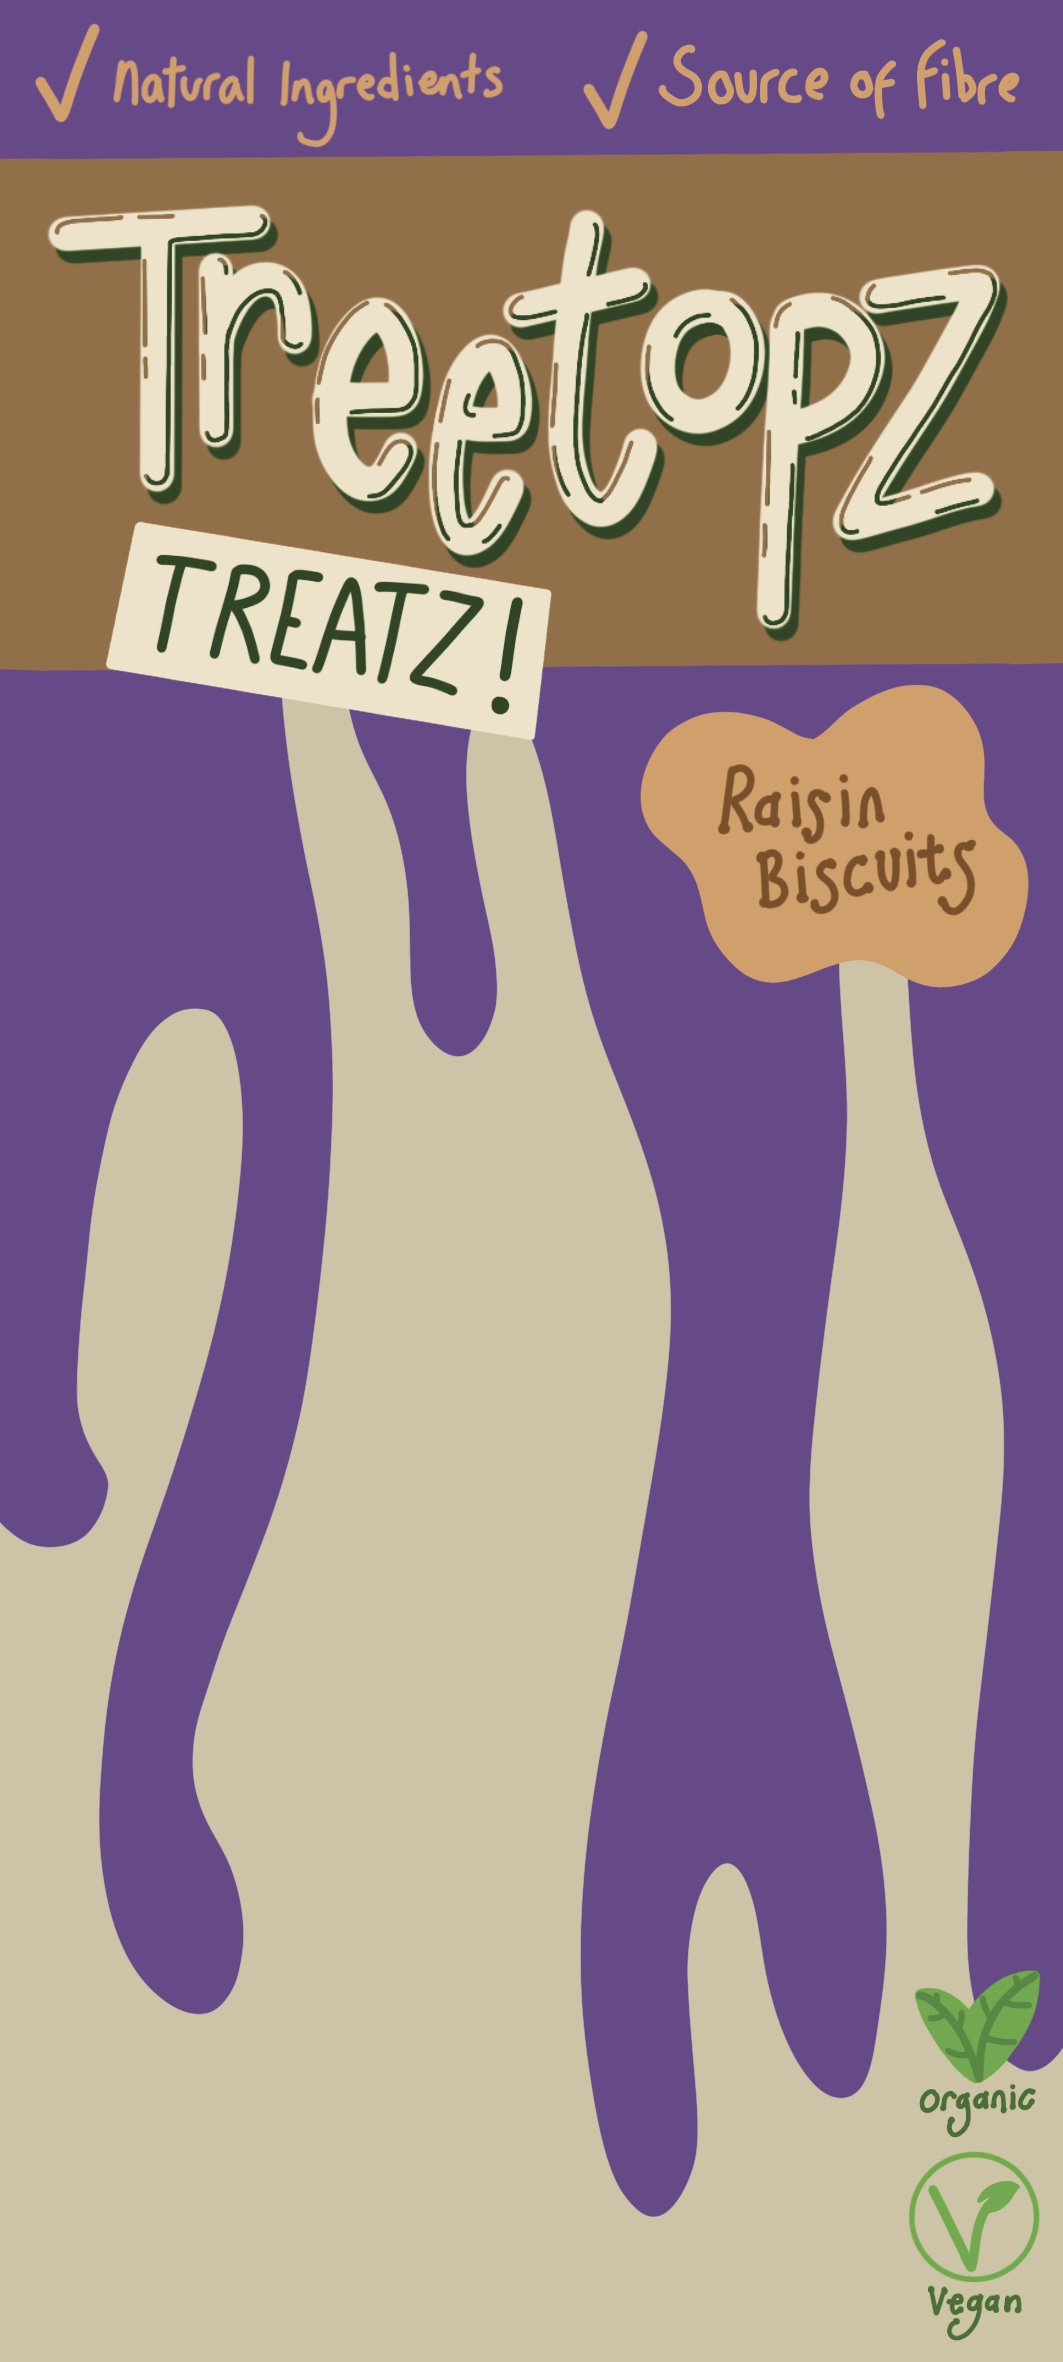
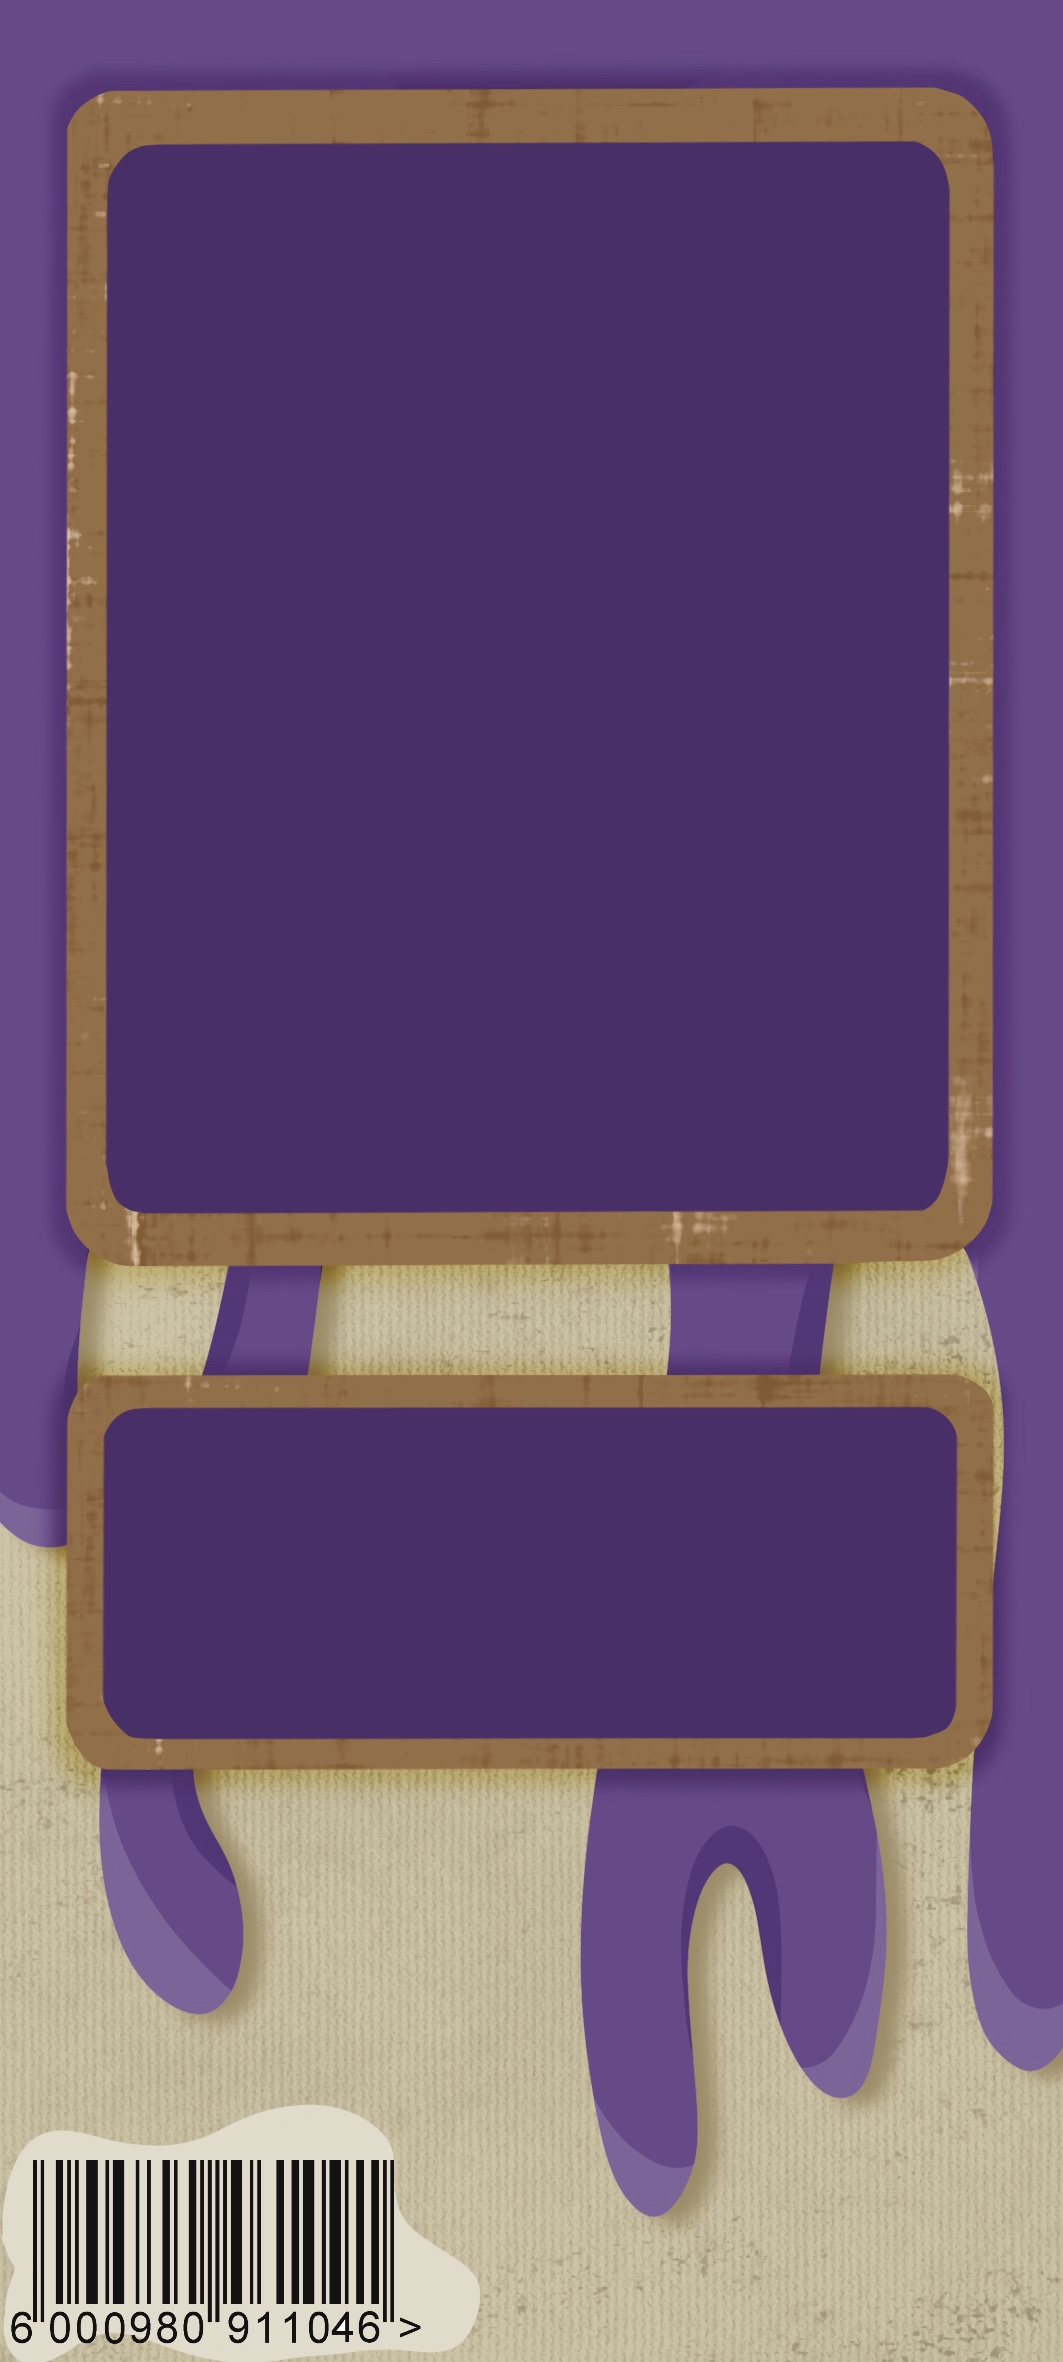
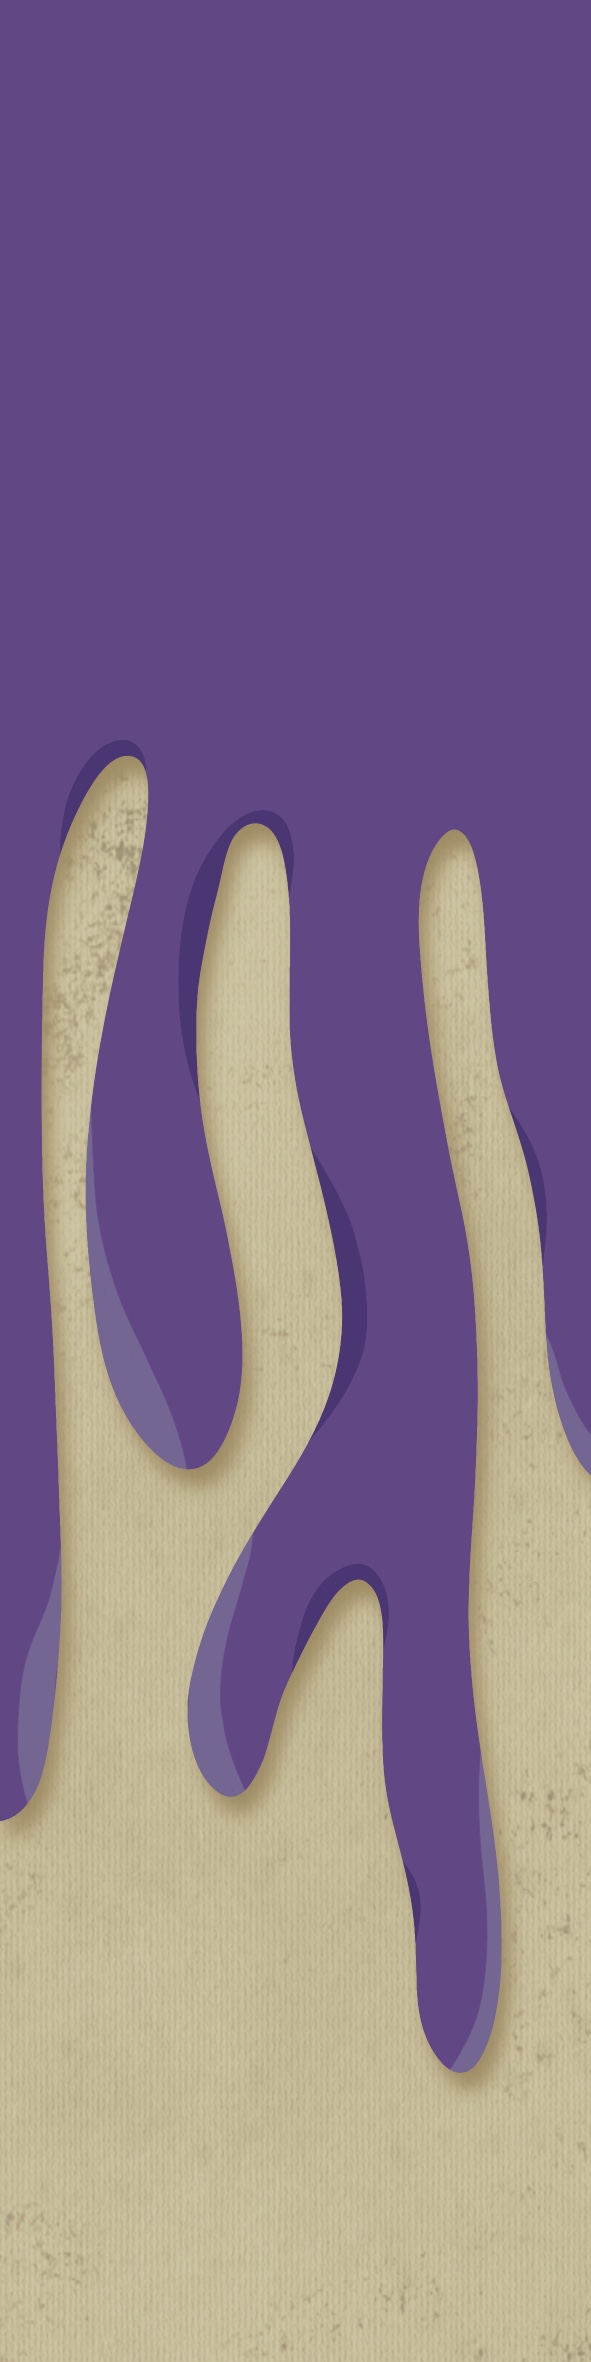
I then moved onto the ‘raisin’ flavour, picking a purple for the background and a brown tone for the branding. I originally tried a teal-ish blue for this in an attempt to keep all three branding areas a similar tone, but the brown looked a lot better. I felt the three boxes still looked like a ‘family’ due to the design and this colour change didn’t ruin that. Next, I looked for some stock photos of biscuits that I could use in my designs. I successfully found multiple options on Unsplash, making sure I had a range that looked like different flavours of biscuits. I then used an airbrush to remove the background from each image, and placed them on their respective designs. Finally I roughly drew out each of my character designs, blocking in the colour for them too.

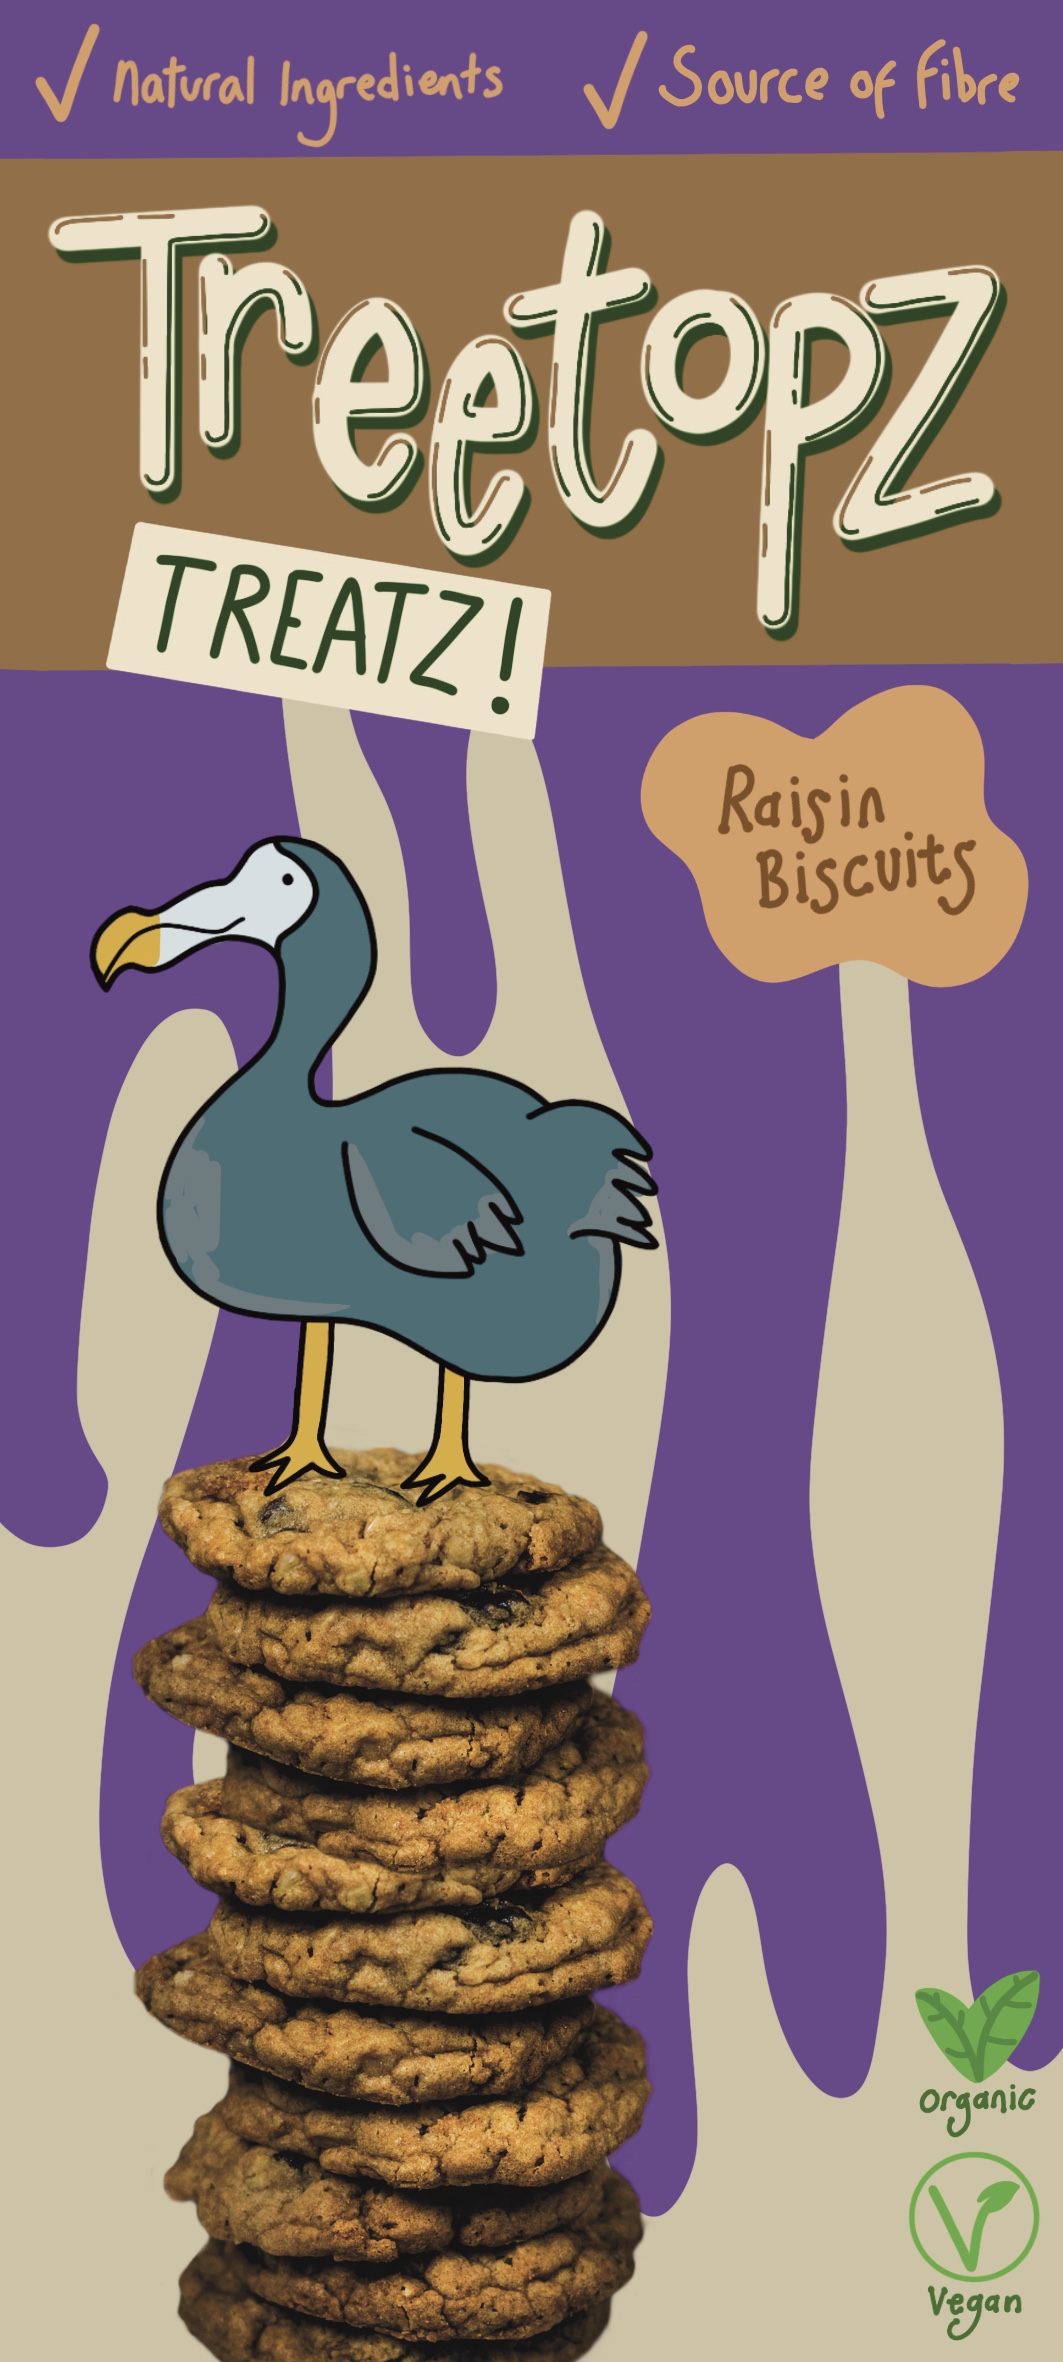
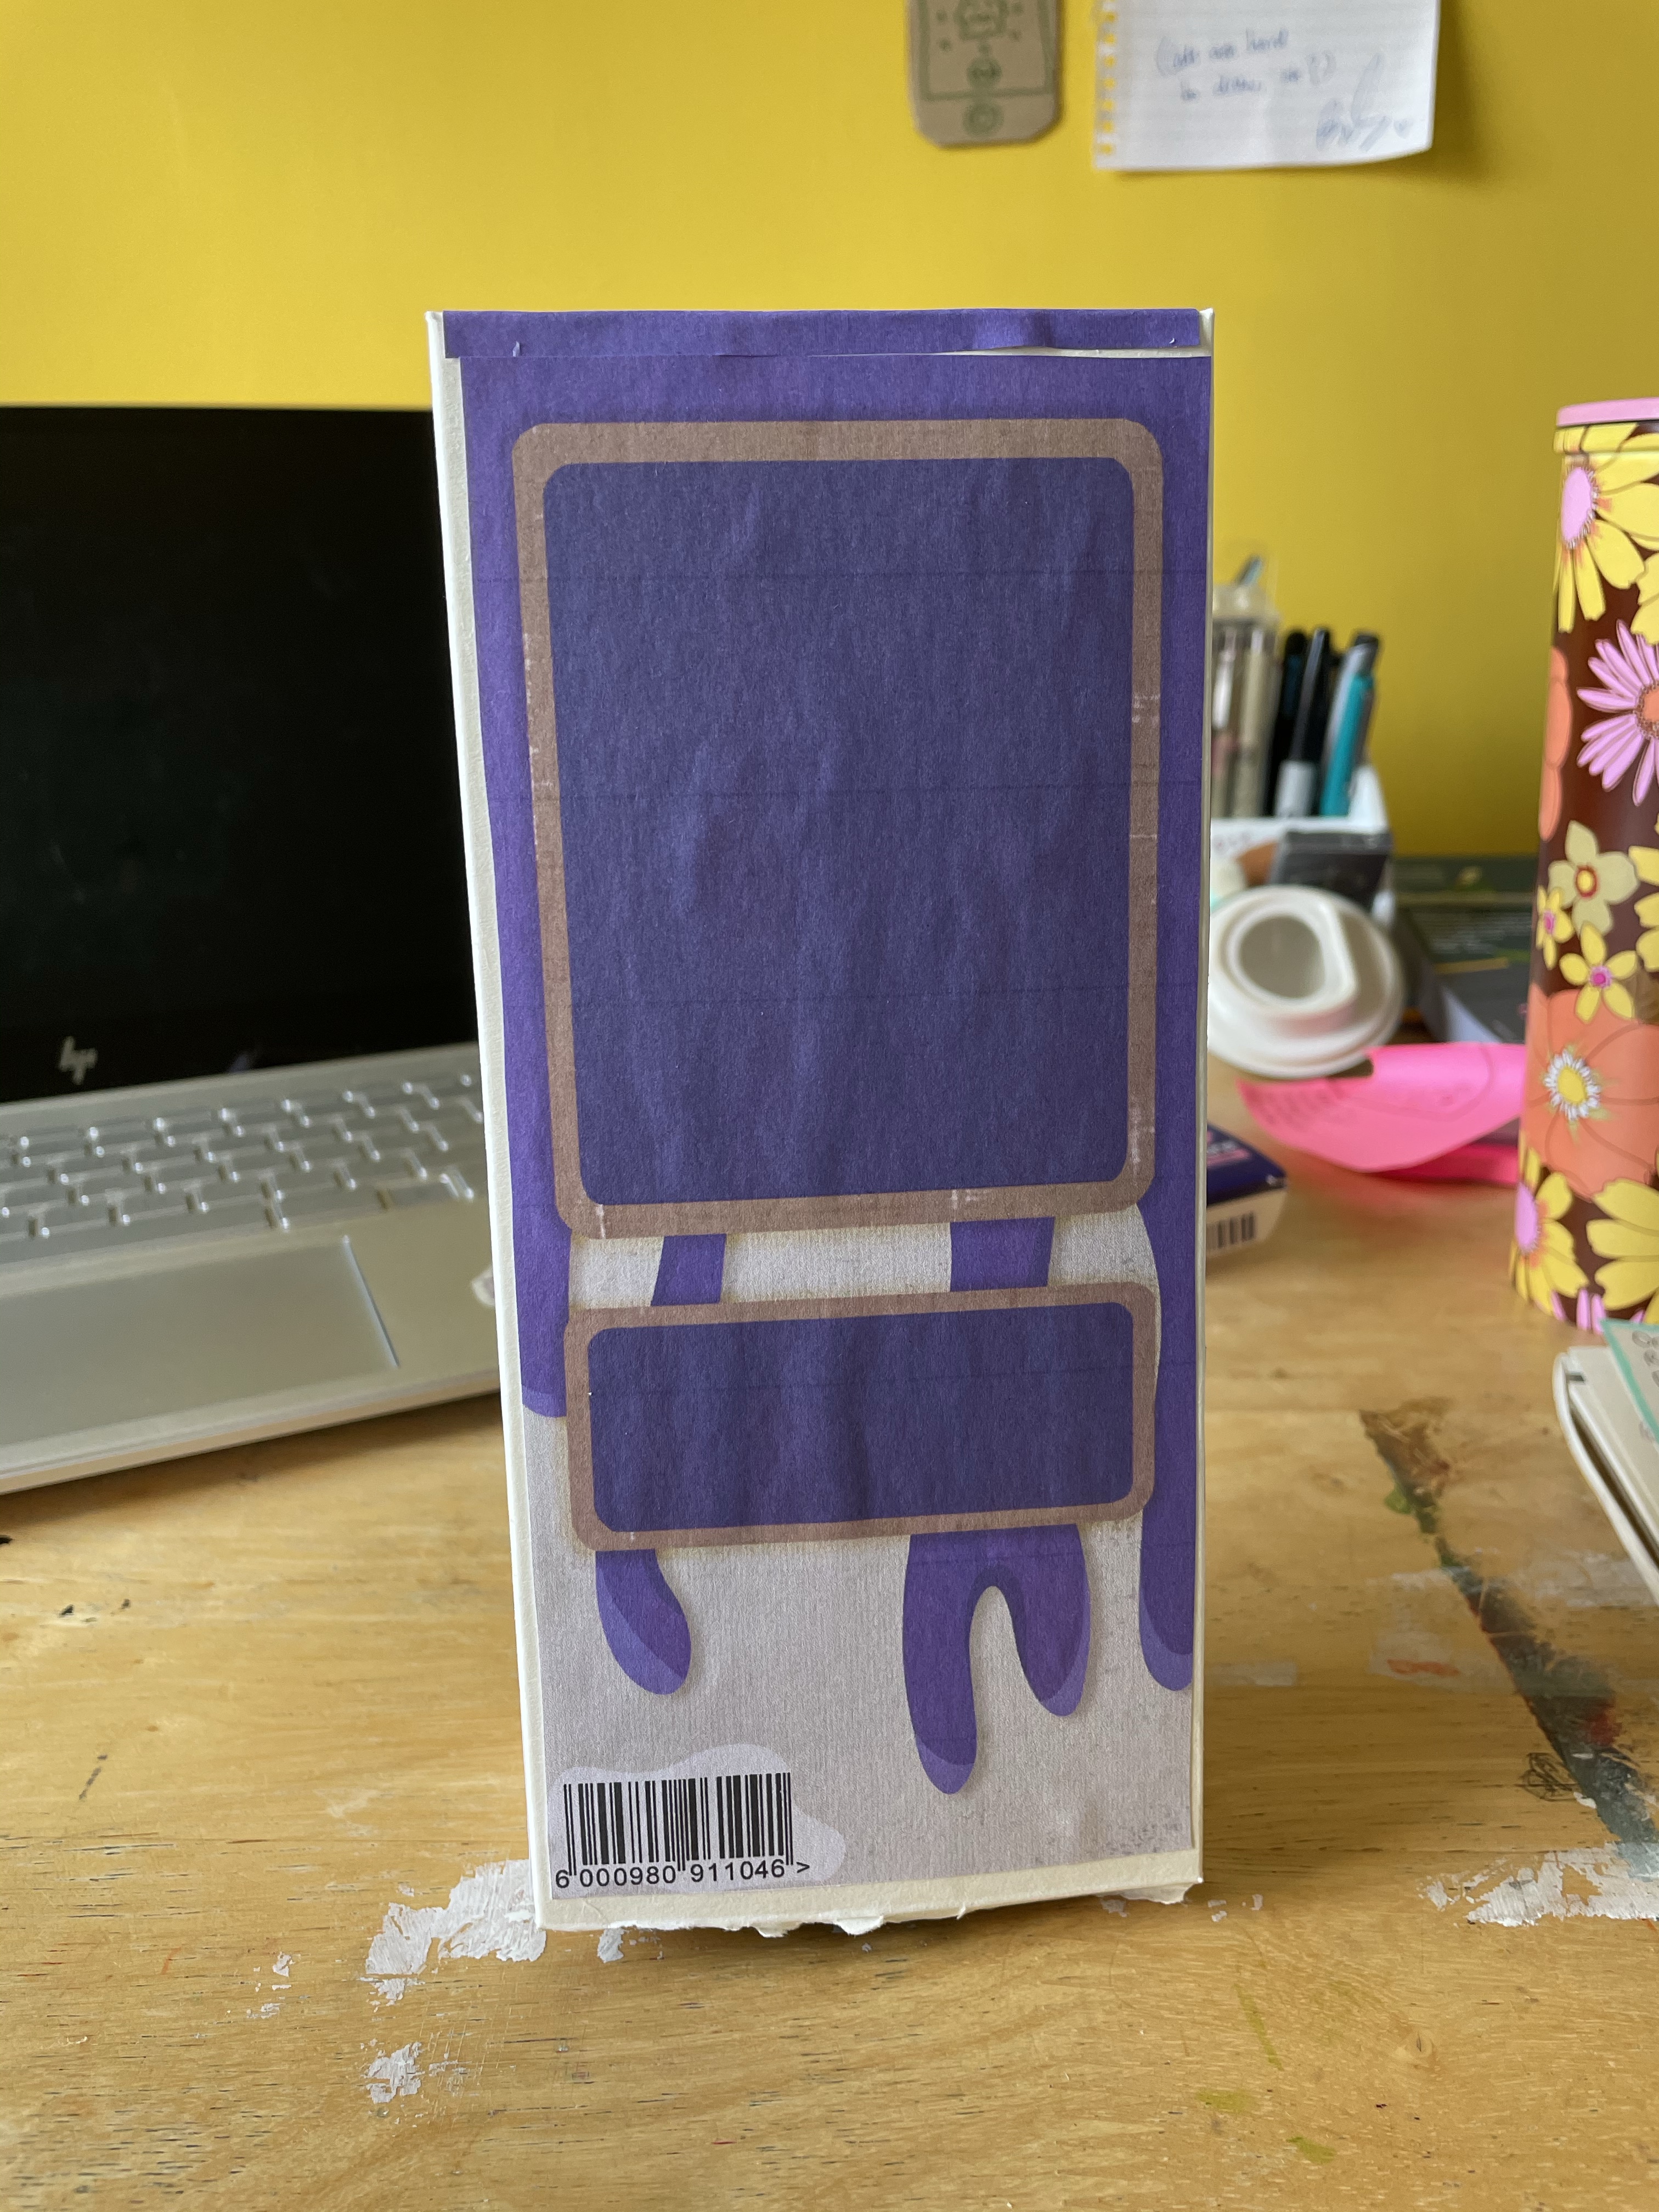
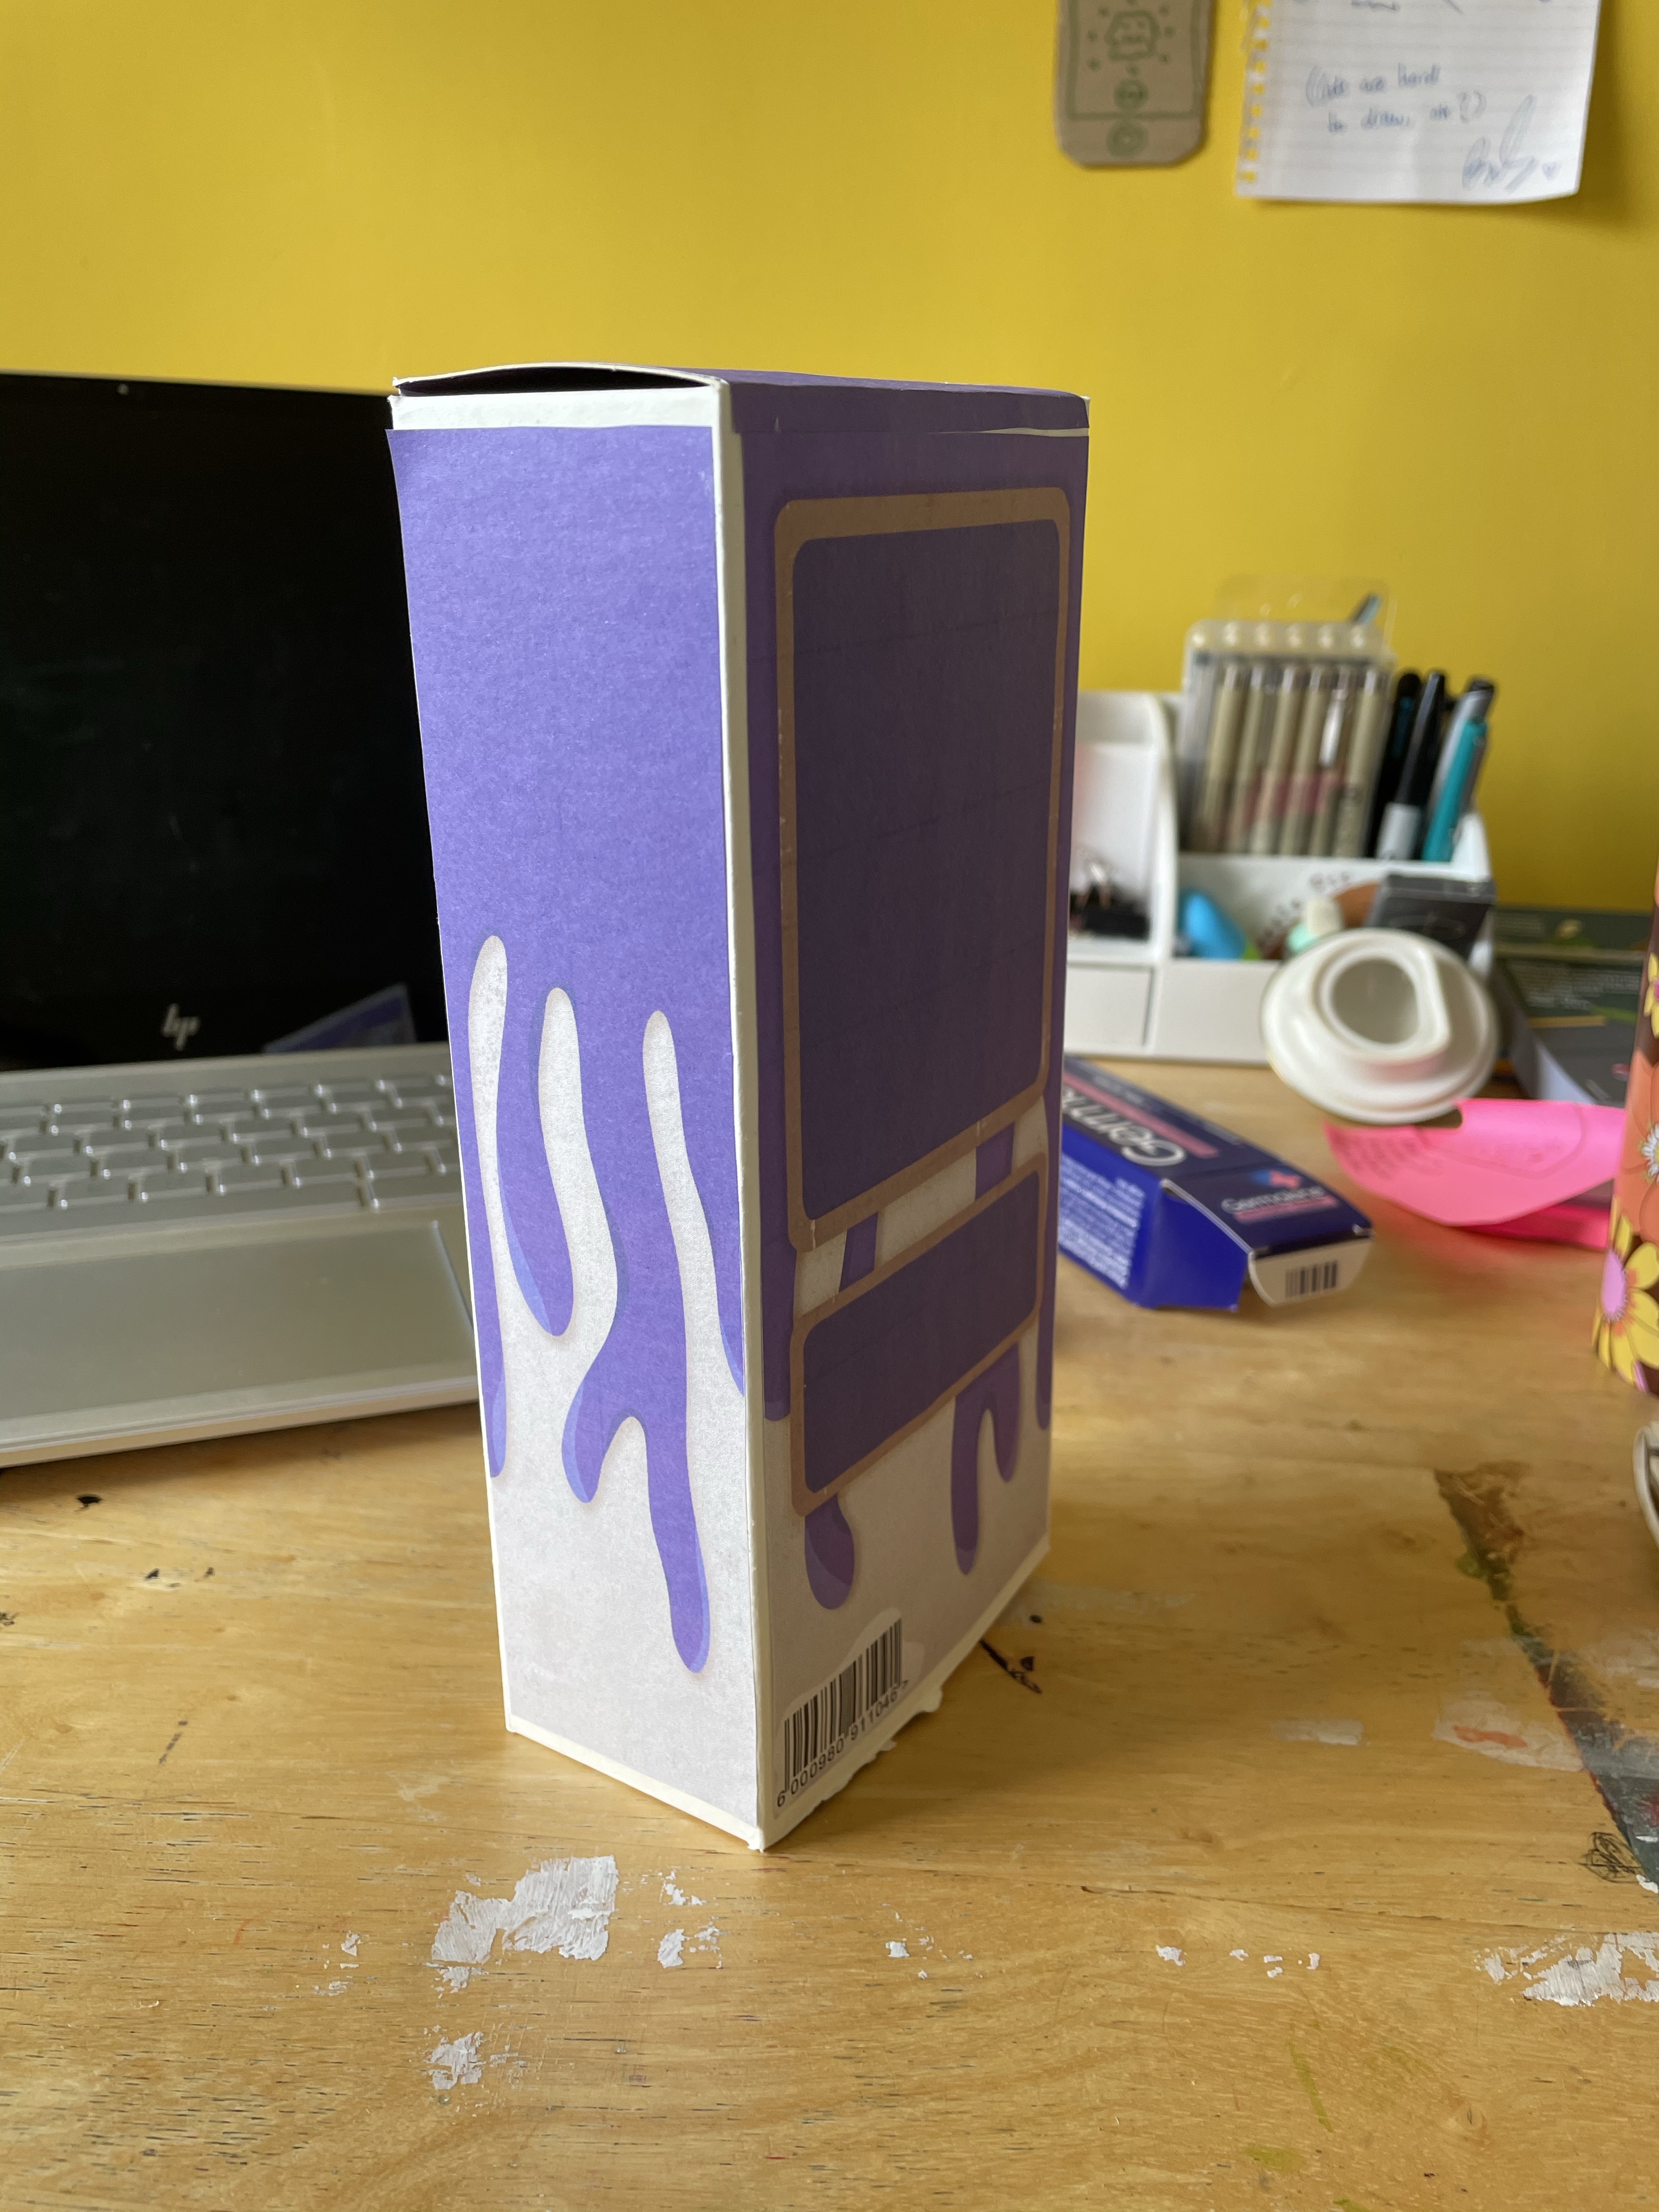
Given that I had fallen in love with my dodo sketch, I decided to fully illustrate and produce this design. I added shading and textures to the background, and I tried to do a collage style for the dodo. I then duplicated the canvas, removing all layers except for the background, and created a reverse panel with space for ingredients, nutritional information, and any other text. I added a barcode here too. I then measured my reference box for the top and side panels, and created them. I had decided that I wanted to create a real-life mockup using my reference box, as finding a mock-up for the exact dimensions I needed online would be tough.

Using Affinity Designer, I arranged the panels into an A4 sized canvas to ensure they would print at the correct size. I then printed all of the panels and cut them out. I turned my reference box inside out and glued it back together ready for it to become my mockup. Somehow, unfortunately, all of the printed panels were a little too small. I don’t understand how this has happened as I checked multiple times to make sure they definitely were the right size, I guess in future I’ll make sure to print things intentionally too large and cut them down where needed. I stuck the panels to the box regardless, and it doesn’t look awful despite the obvious border around each one. I think actually, it looks better than it would’ve had they have been the exact size, as the edges probably would’ve stuck out.
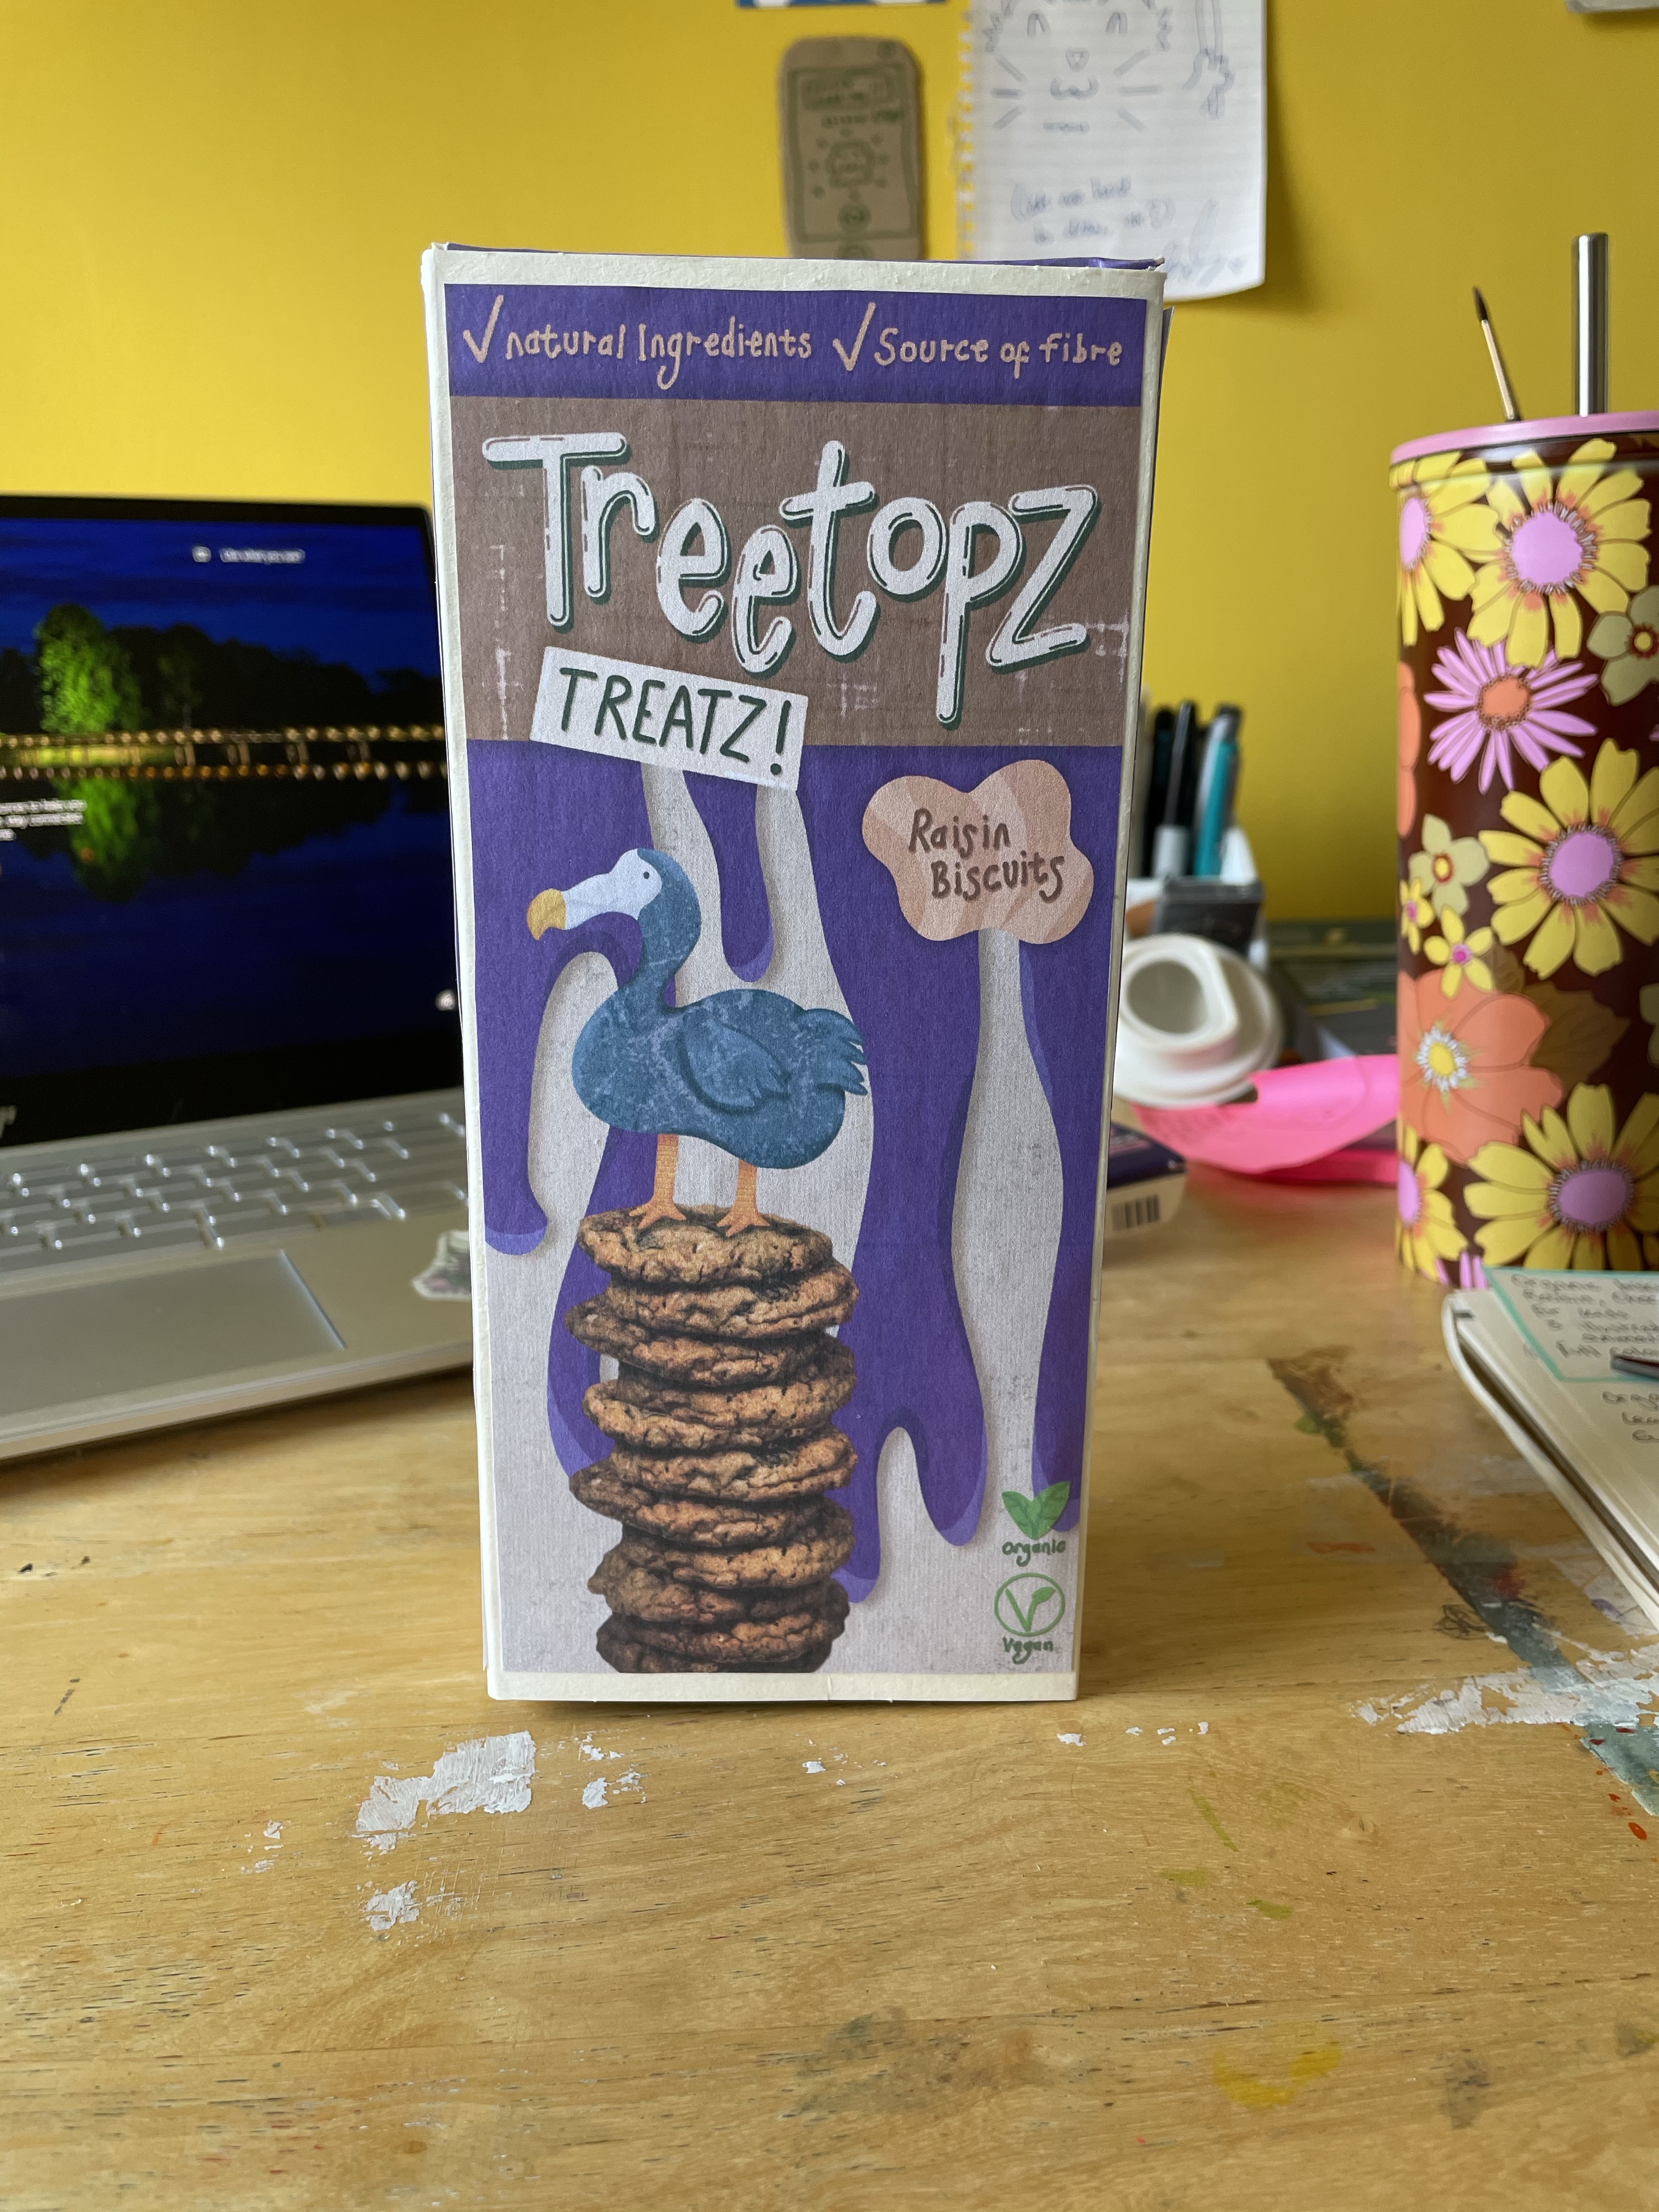
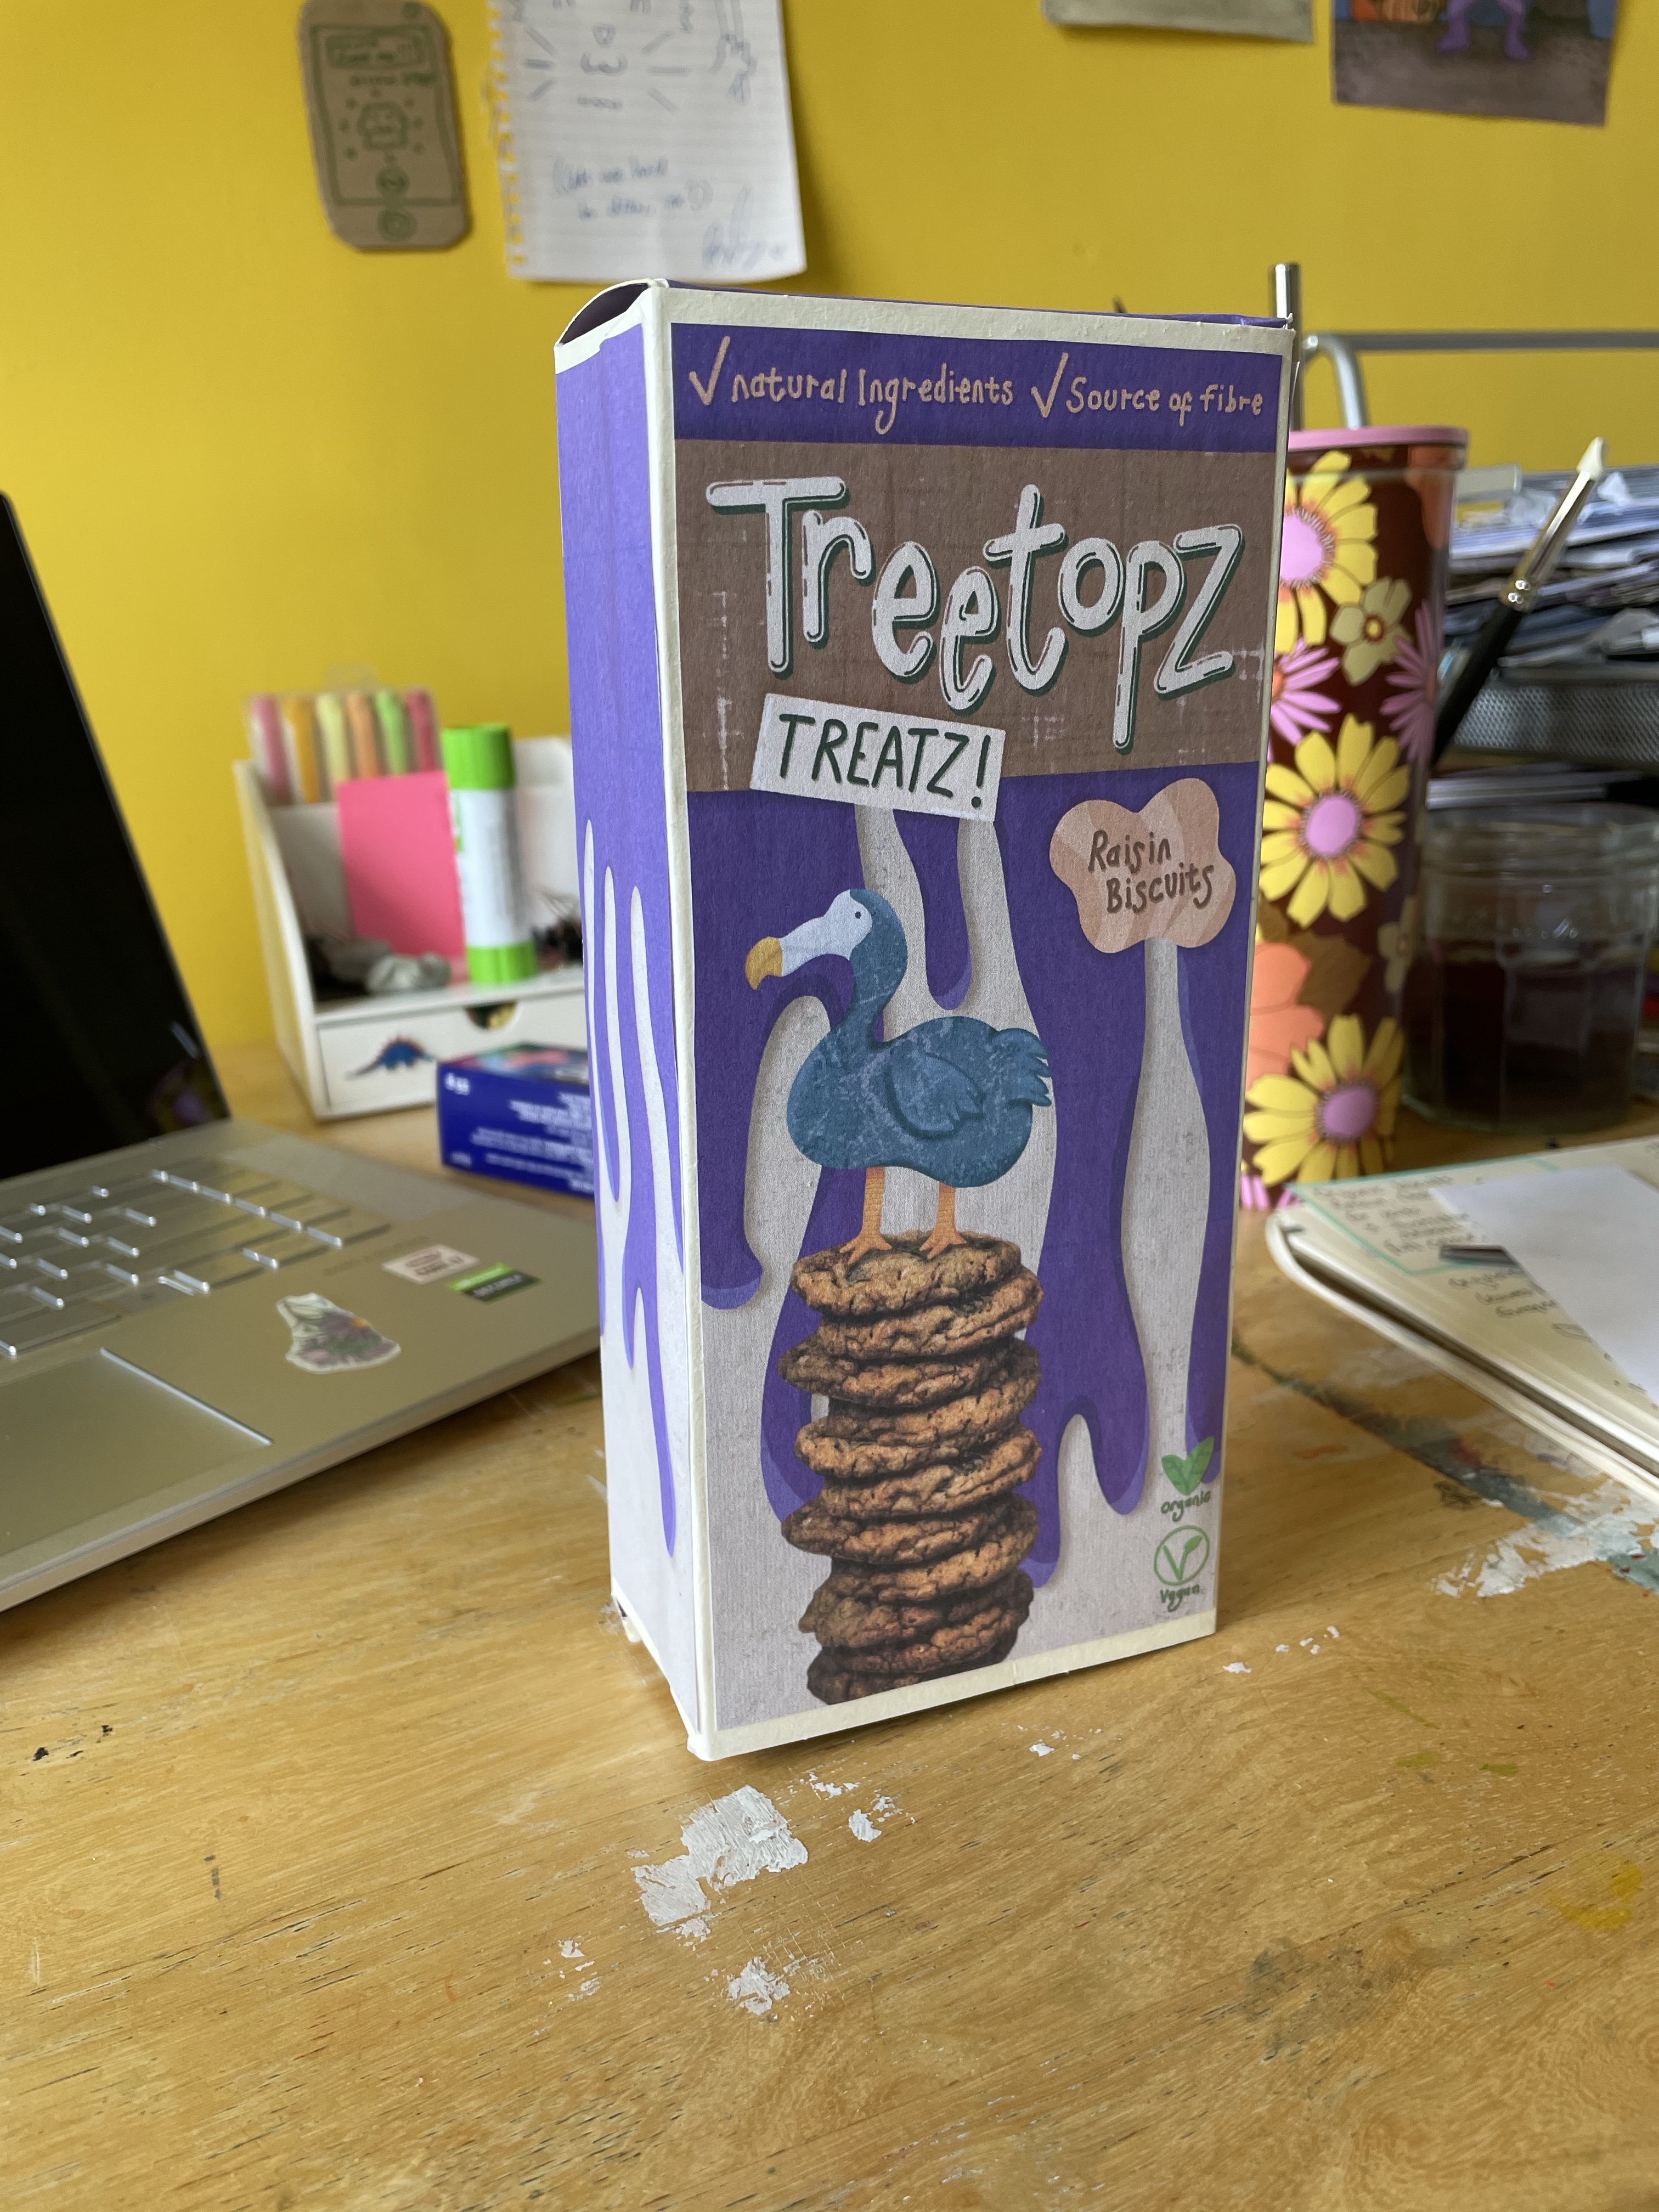
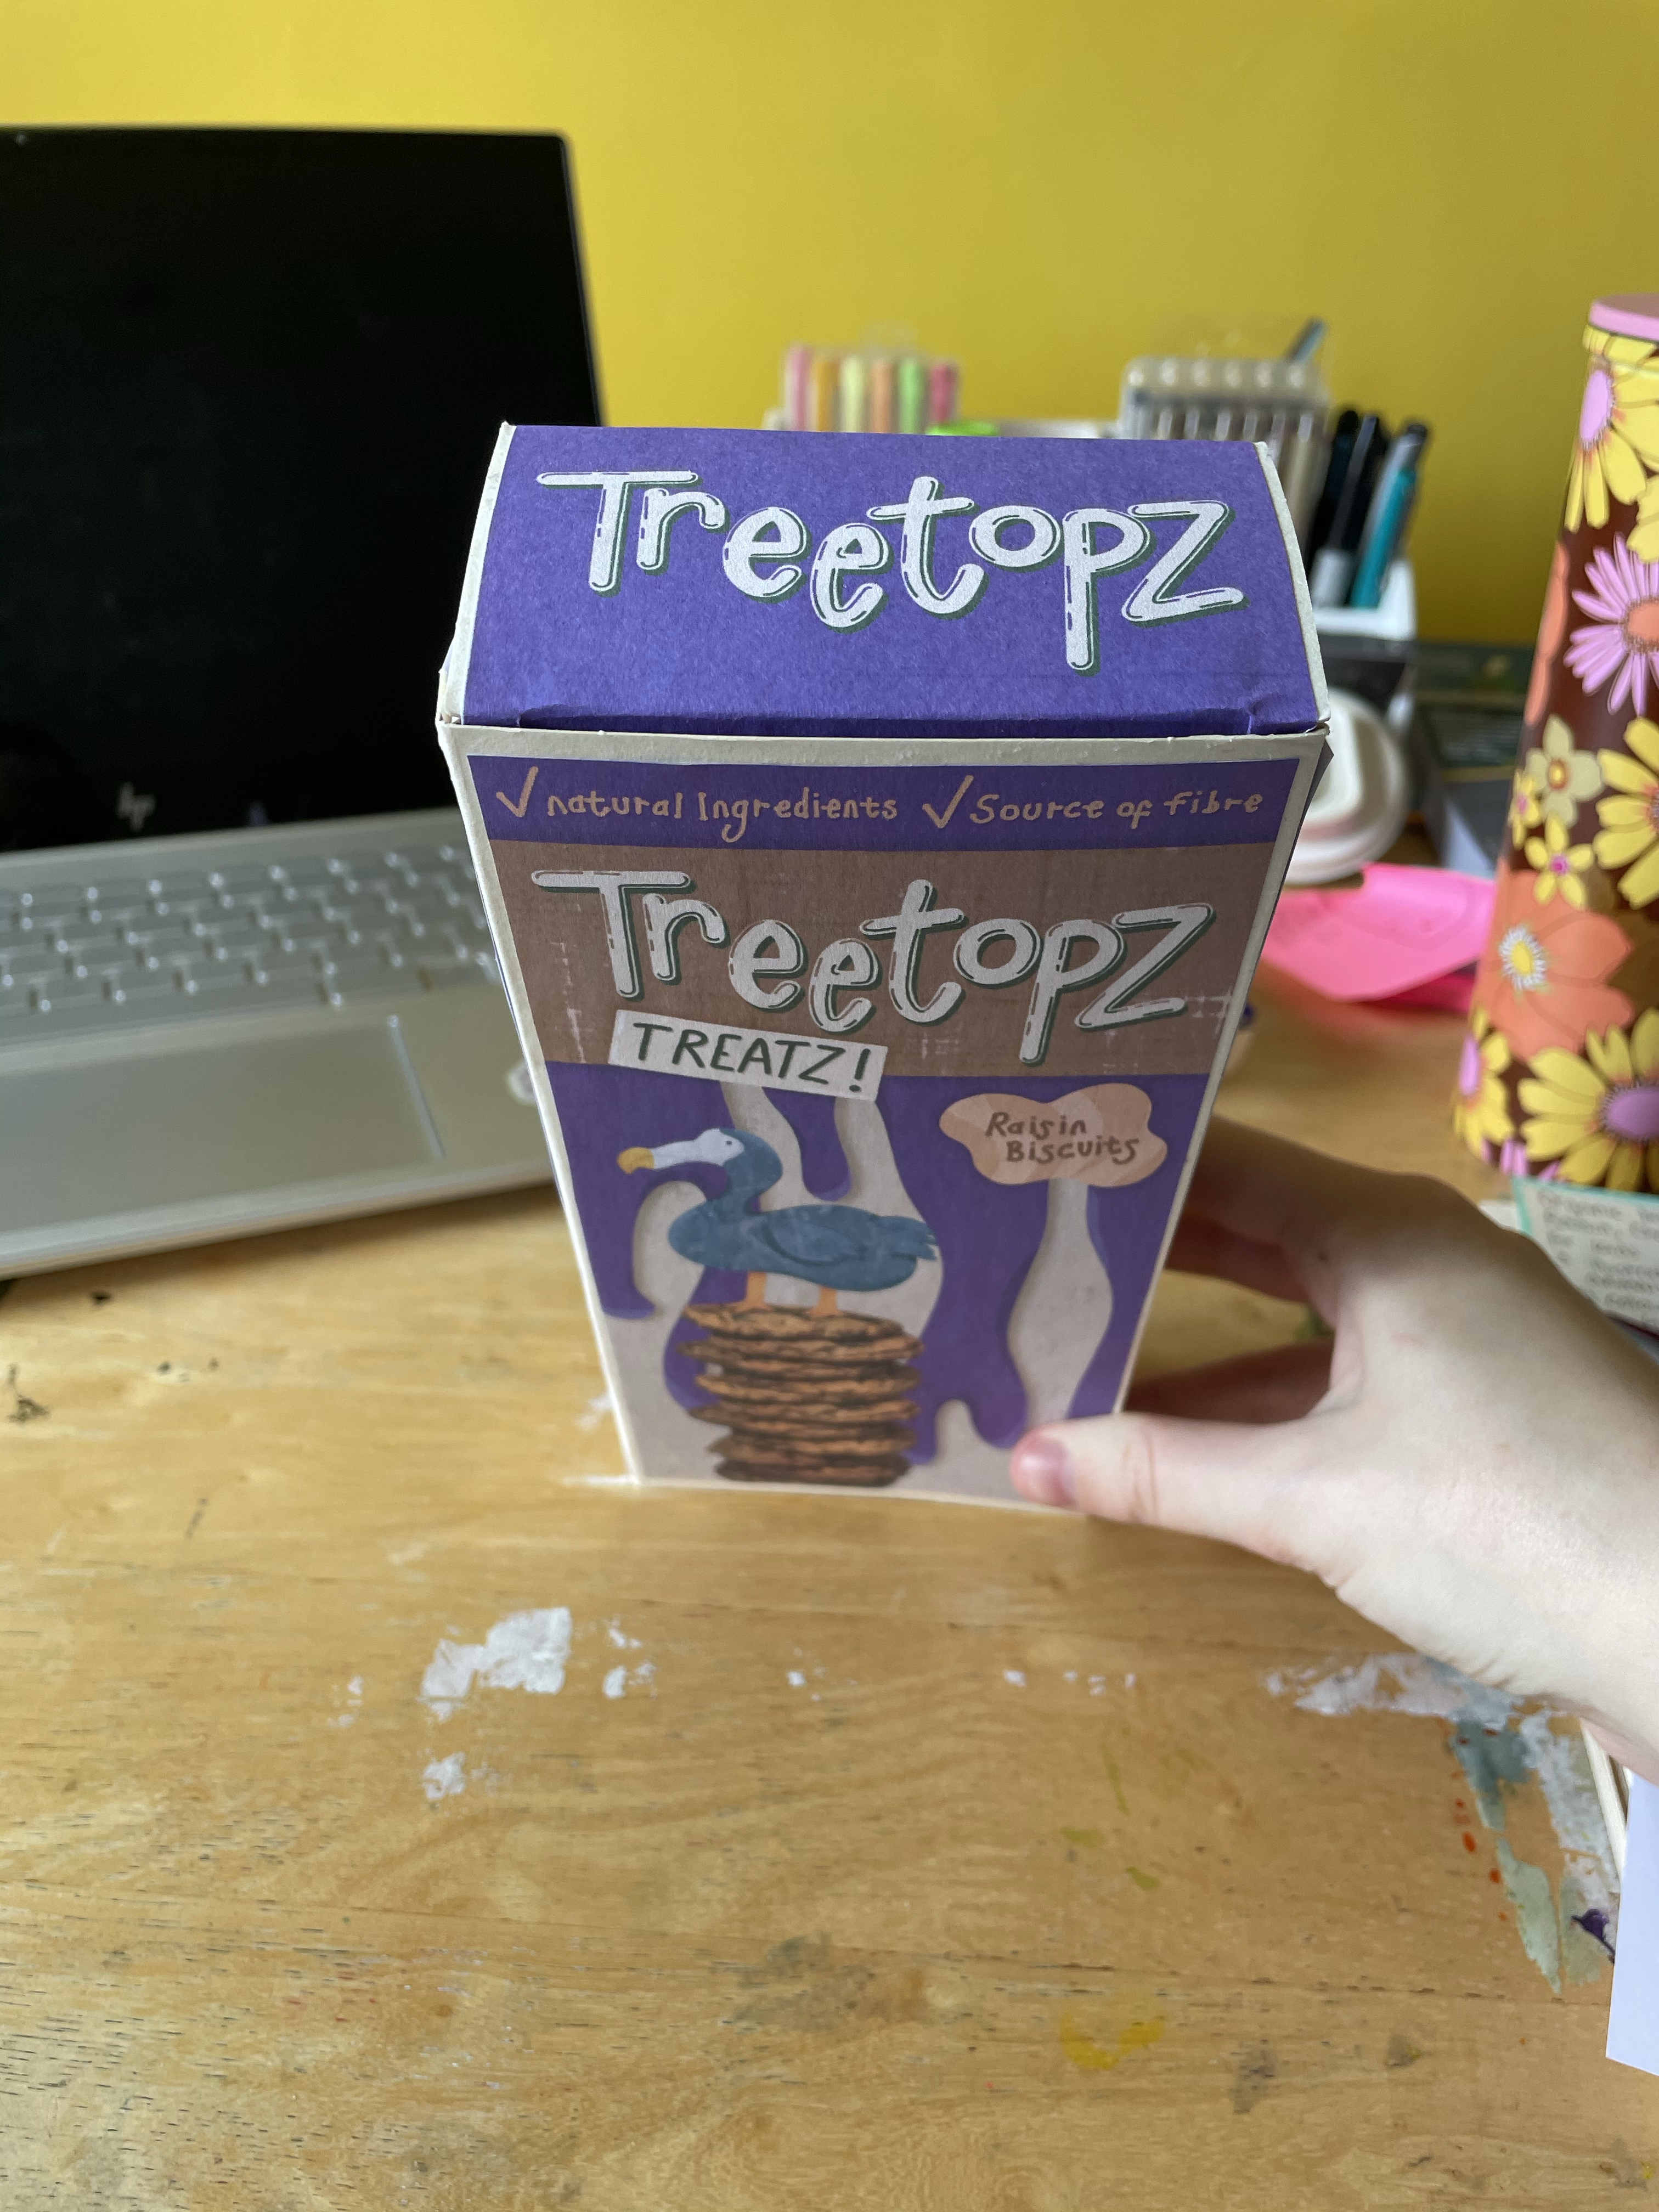
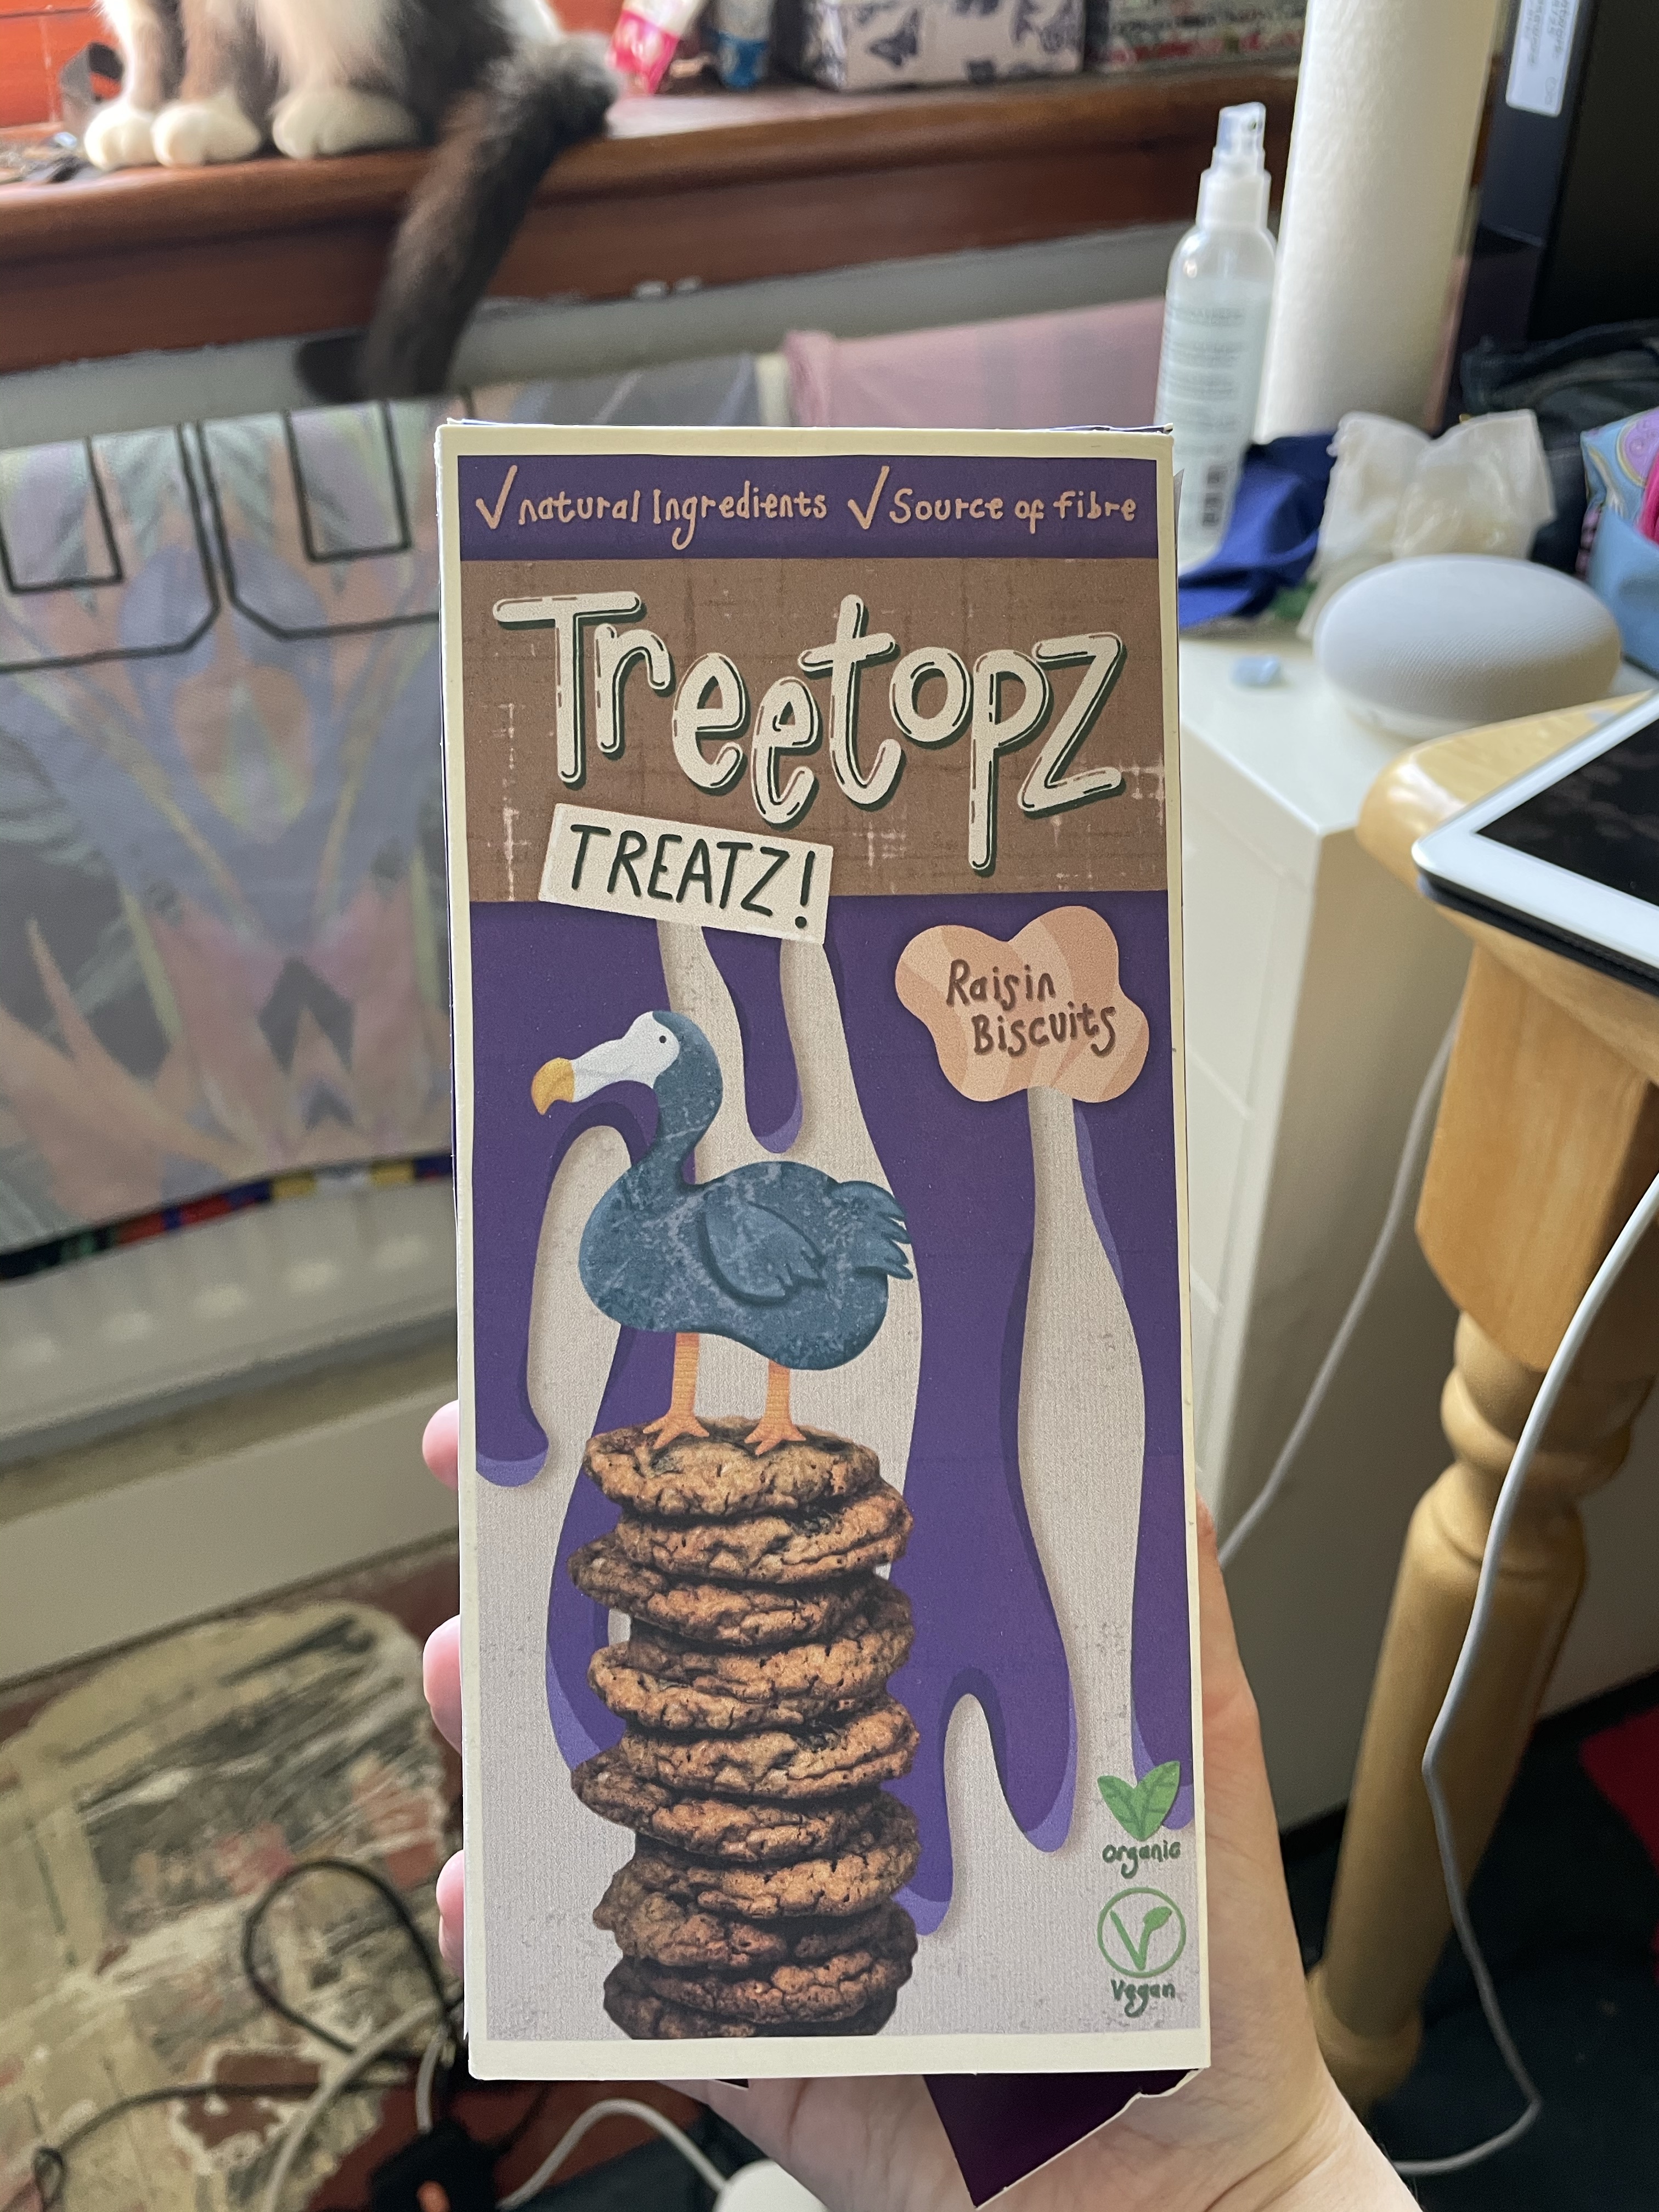
I am extremely happy with the outcome of this exercise and I think my designs could easily be found in a supermarket. It’s so cool to have an actual real-life mockup of my work, too. I want to have it on display in my studio forever! I also learned a lot of lessons regarding printing during this exercise. The shading and colours on screen look a lot more obvious and defined, whereas when printed they blend into each other. Working for print seems like a challenge because of this – I needed to amplify the contrast on screen for it to look correct when printed, which would’ve looked ‘bad’ on screen. I’m very happy with my final product regardless, and I feel confident in my design processes too.

[…] real-world mock-ups prior to designing, like in Assignment 4 of Illustration Sketchbooks, or for Exercise 33 of Key Steps in Illustration. I think this is mostly down to the type of work I have done […]
LikeLike