As a part of Exercise 1.0, I decided to make my own sketchbook to use during part 1. I have had experience doing this in the past – when I was younger, I made a couple of sketchbooks with my mum, and during Key Steps in Illustration, I made a sketchbook for Exercise 8. The sketchbooks I made as a child were stitched and bound using cardboard, but the one made in KSI was rougher and simply tied together using wool through punched holes. I am fascinated with the art of bookbinding; it seems mesmerising and beautiful the way it all comes together. I spend a lot of time watching videos of bookbinders at work, and I was itching to give this a go myself.
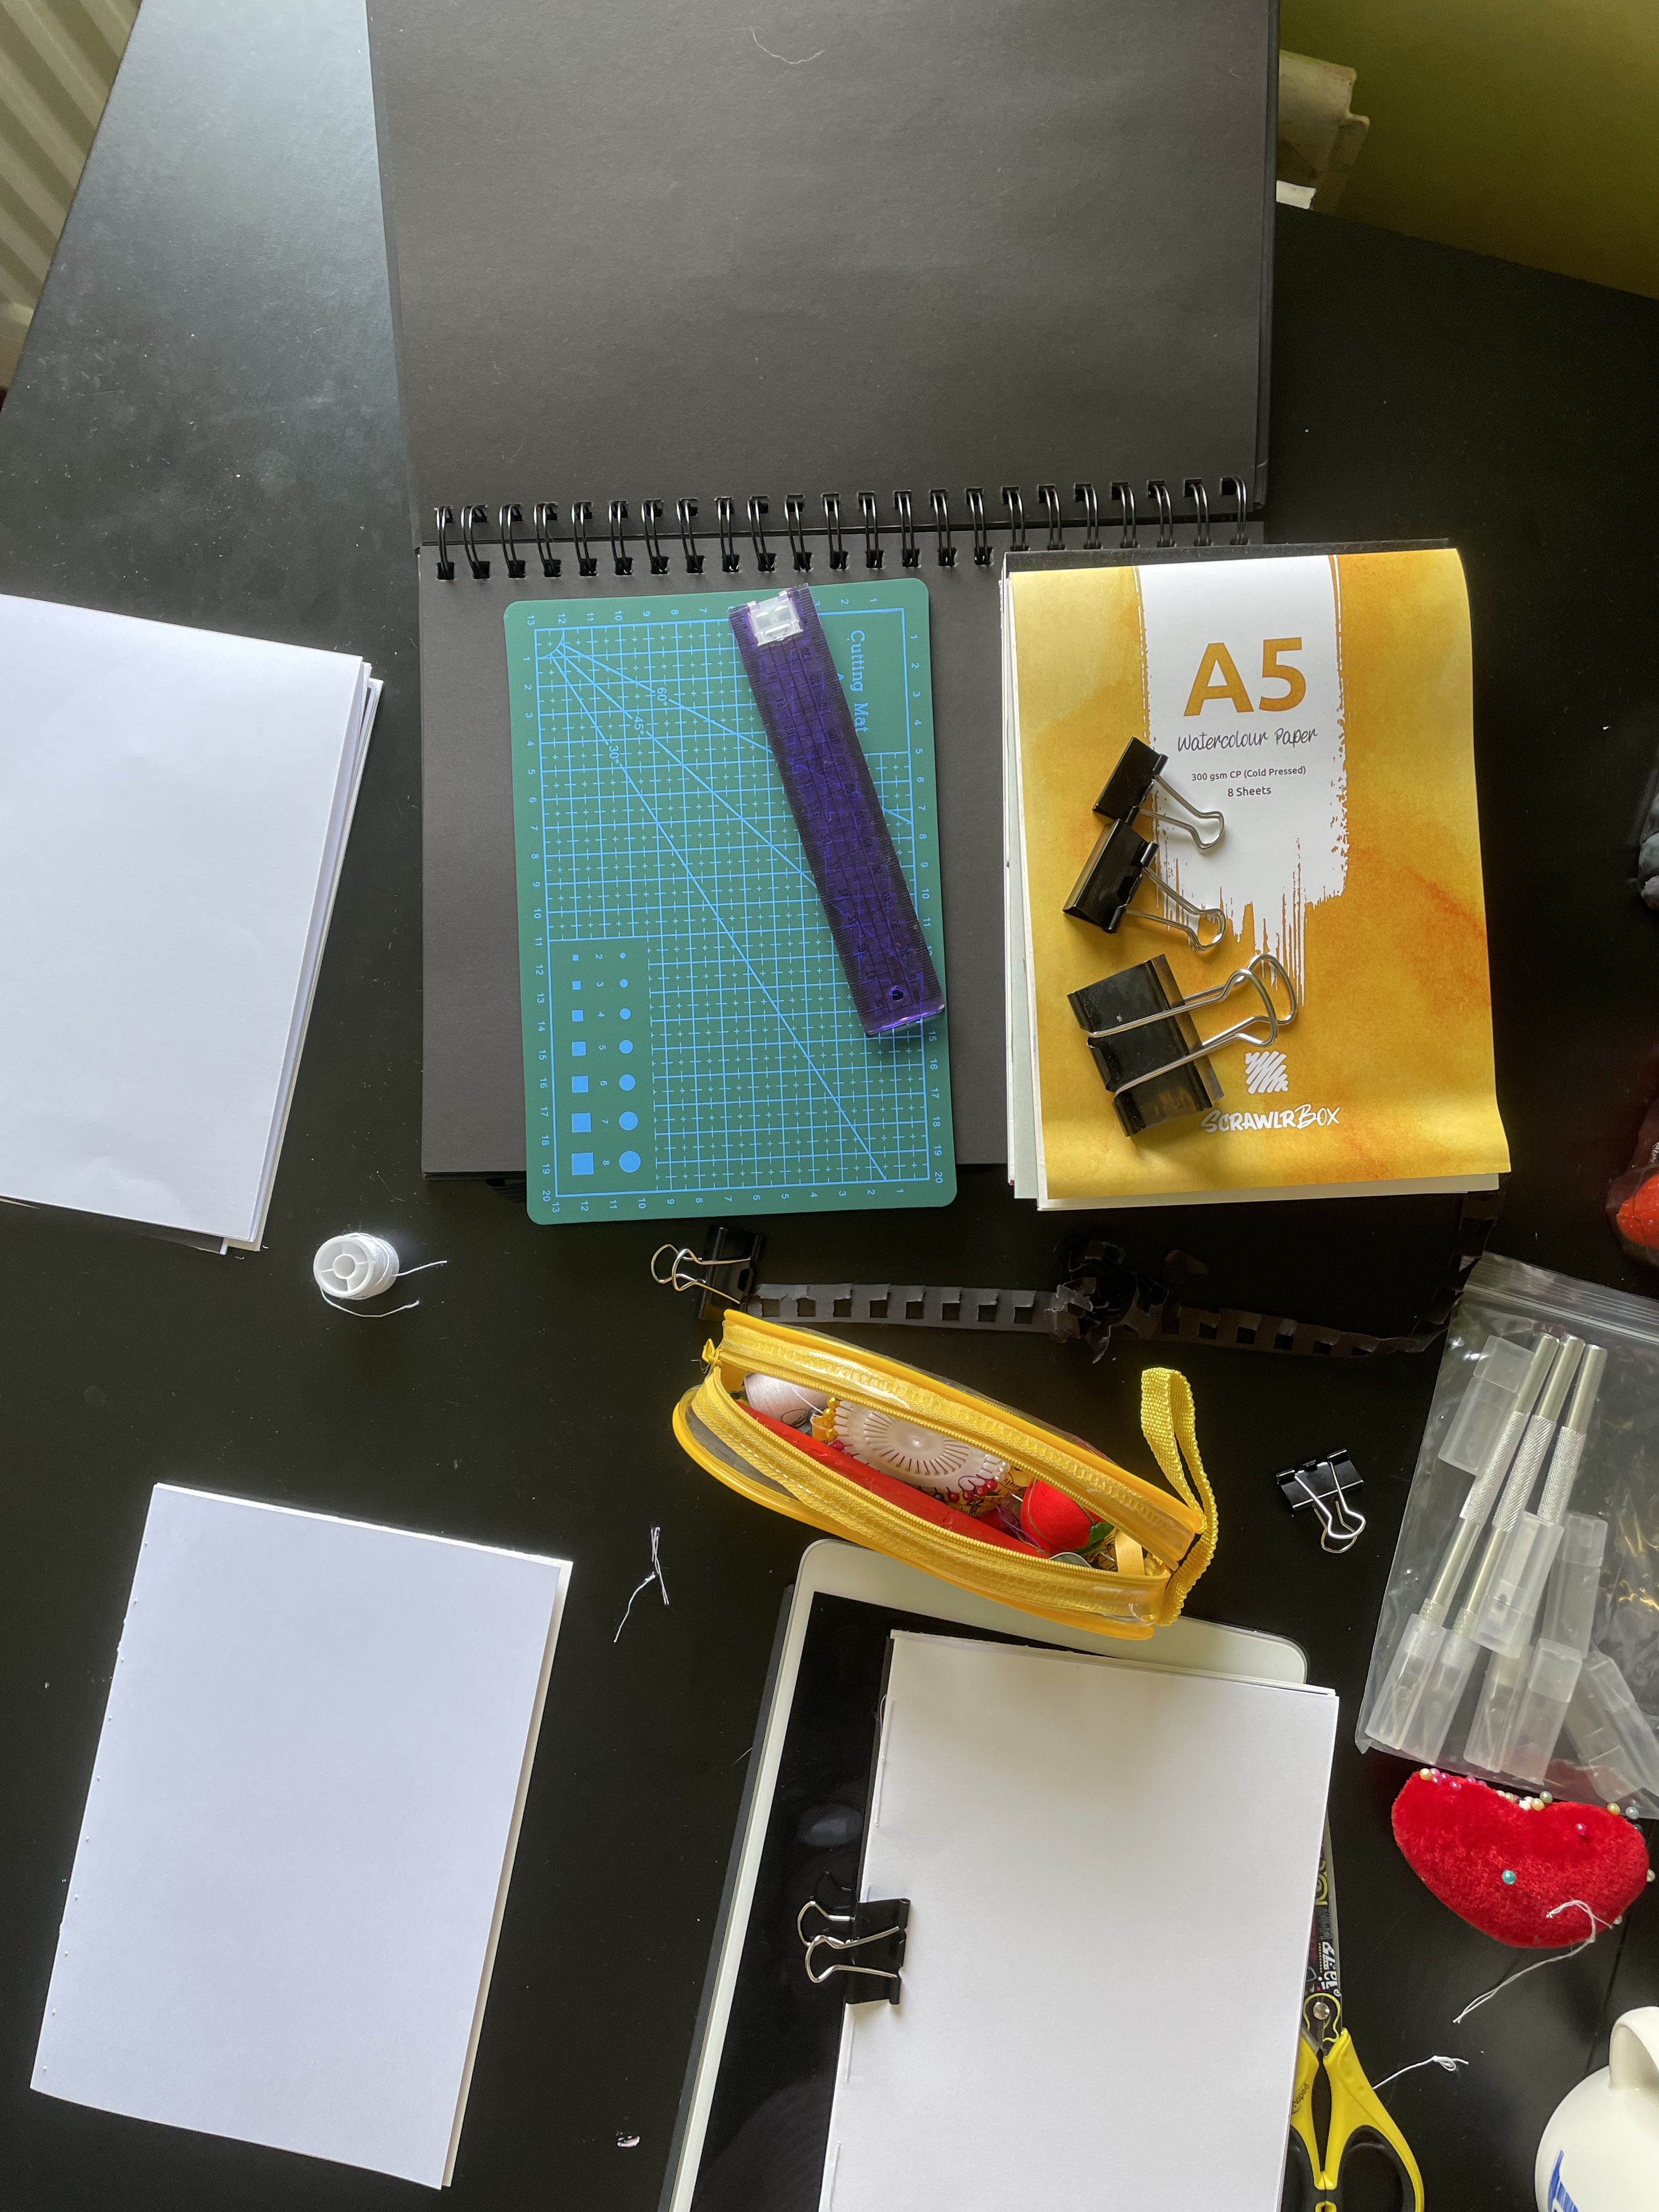
I have accumulated many different types of paper throughout the past year or so to try out and use in my art. The least used of these are the A5 sample pads I have received as part of a Scrawlrbox subscription – each box includes a handful of art supplies and a surface to use them on. As these are sample pads, they are small in dimension, and there are only 8-12 pages in each. I have felt reluctant to ‘waste’ the paper, resulting in them collecting dust. A few weeks before I set out to make this book, I wondered what I could do to use the paper. I decided to take a page from each of the pads and use those to make my own book!
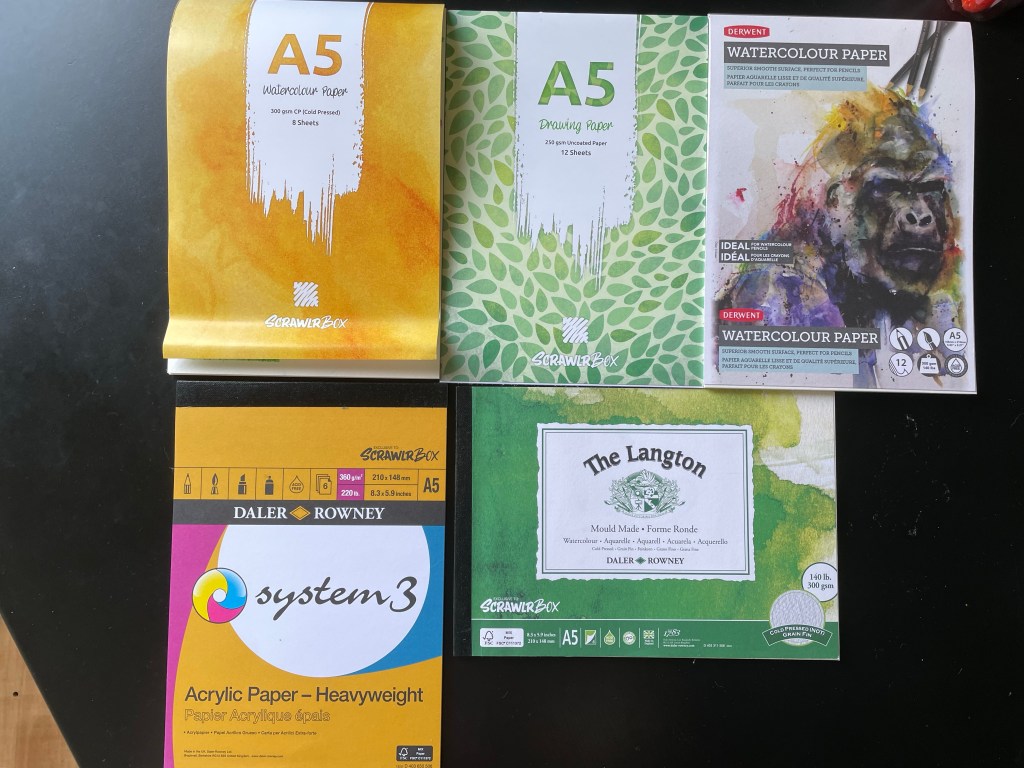
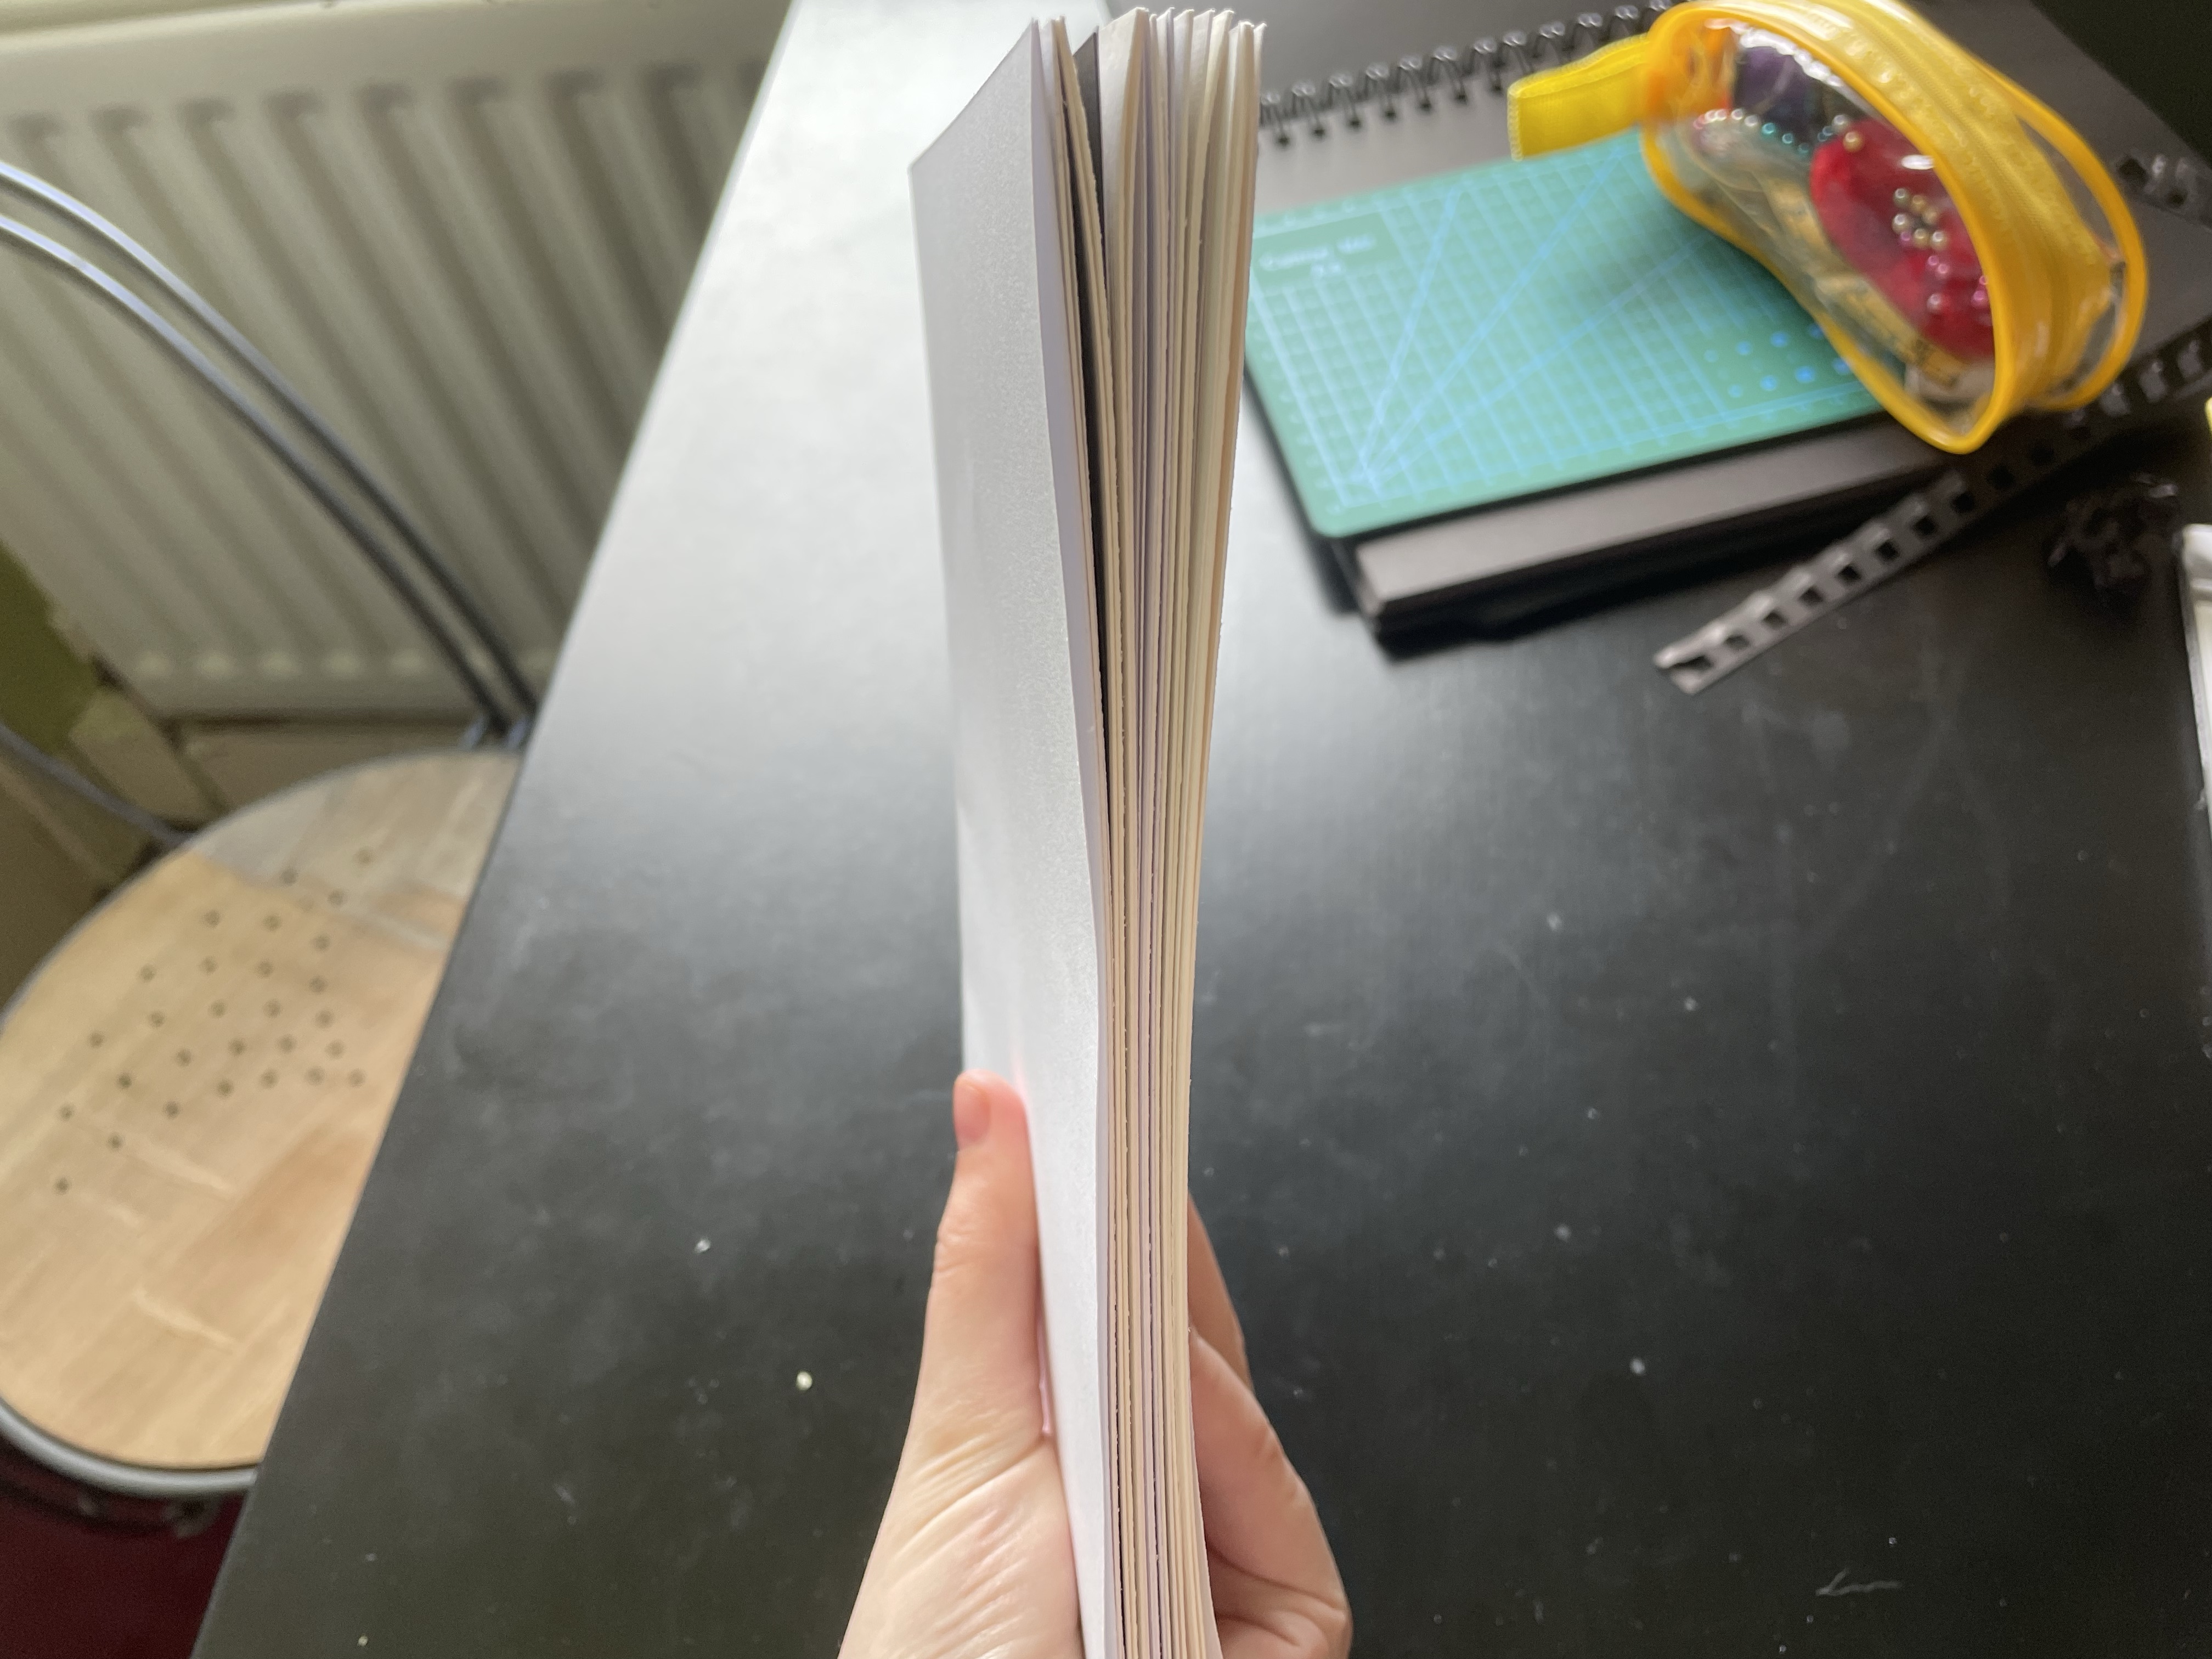
As discussed in Exercise 1.0 – I crave variety and change in my sketchbooks. I like lots of different textures, colours, and possibilities within one book. I like seeing how a range of mediums work on varying pages and being pushed into using specific ones due to the paper’s qualities. Here I had six different types of paper ready for me to explore. I decided to also buy a sketchbook containing black paper to add to the book for some colour variation. This plan seemed perfect to me, and I was very excited to get going!
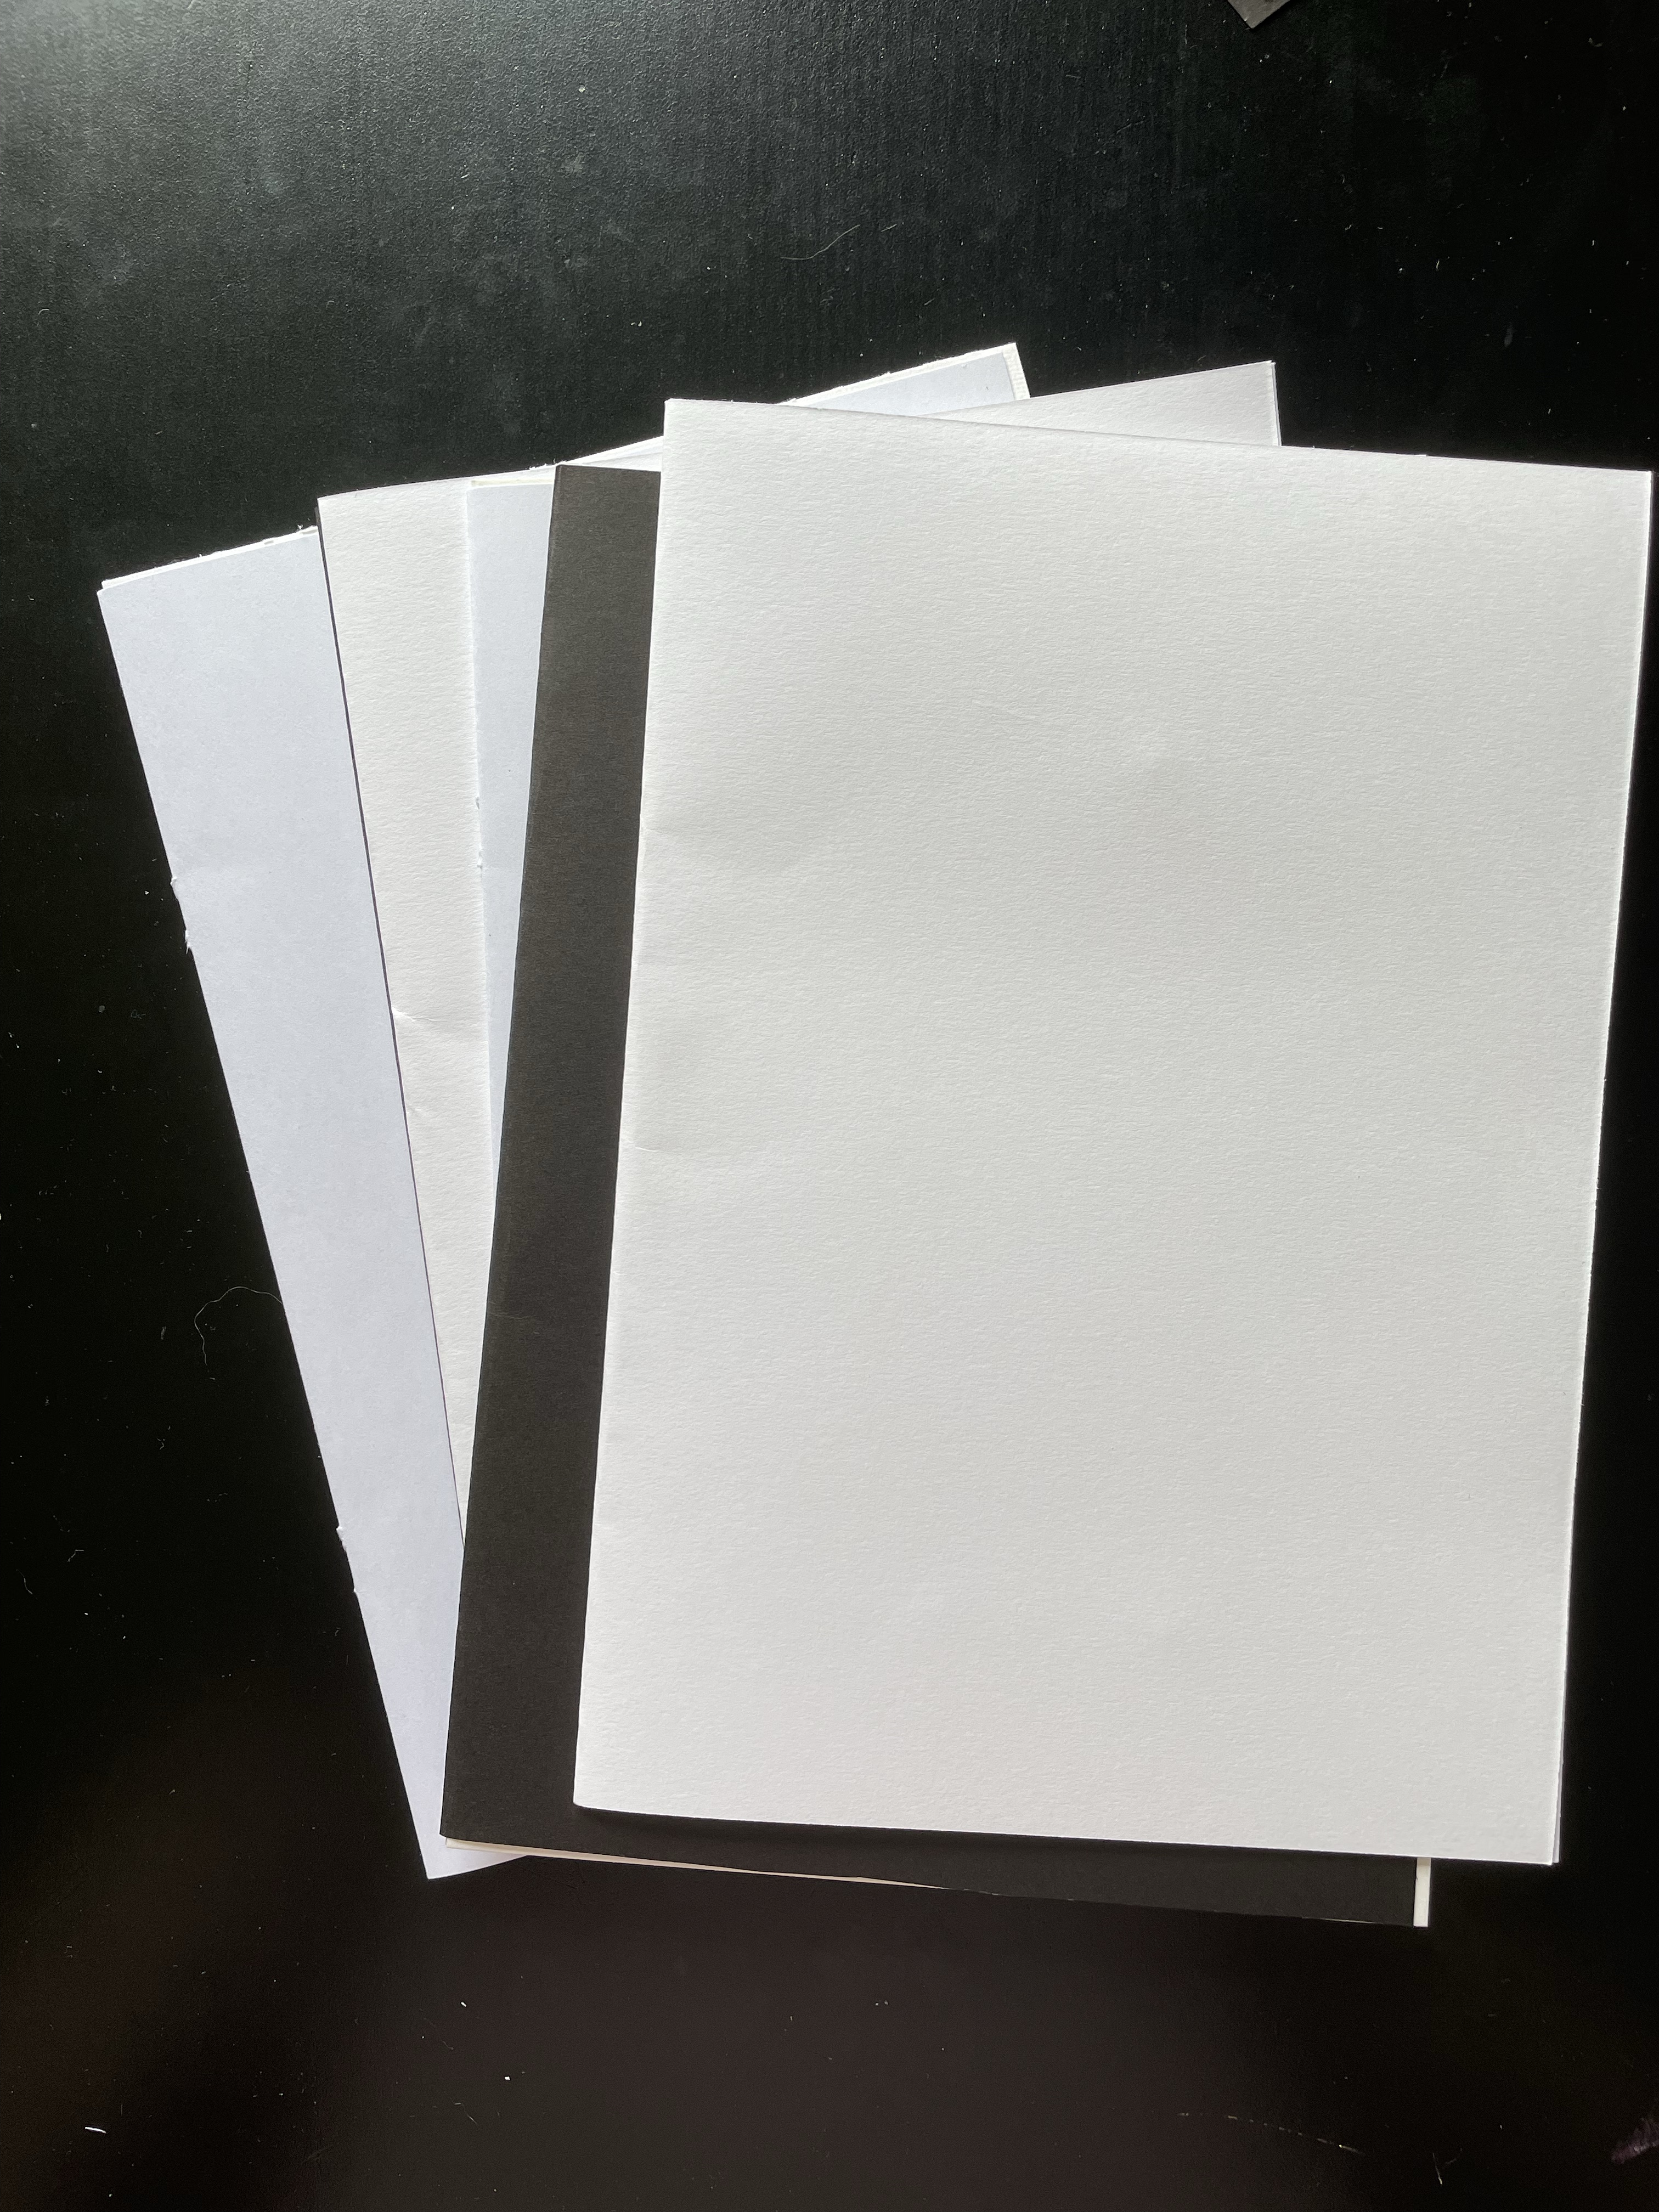
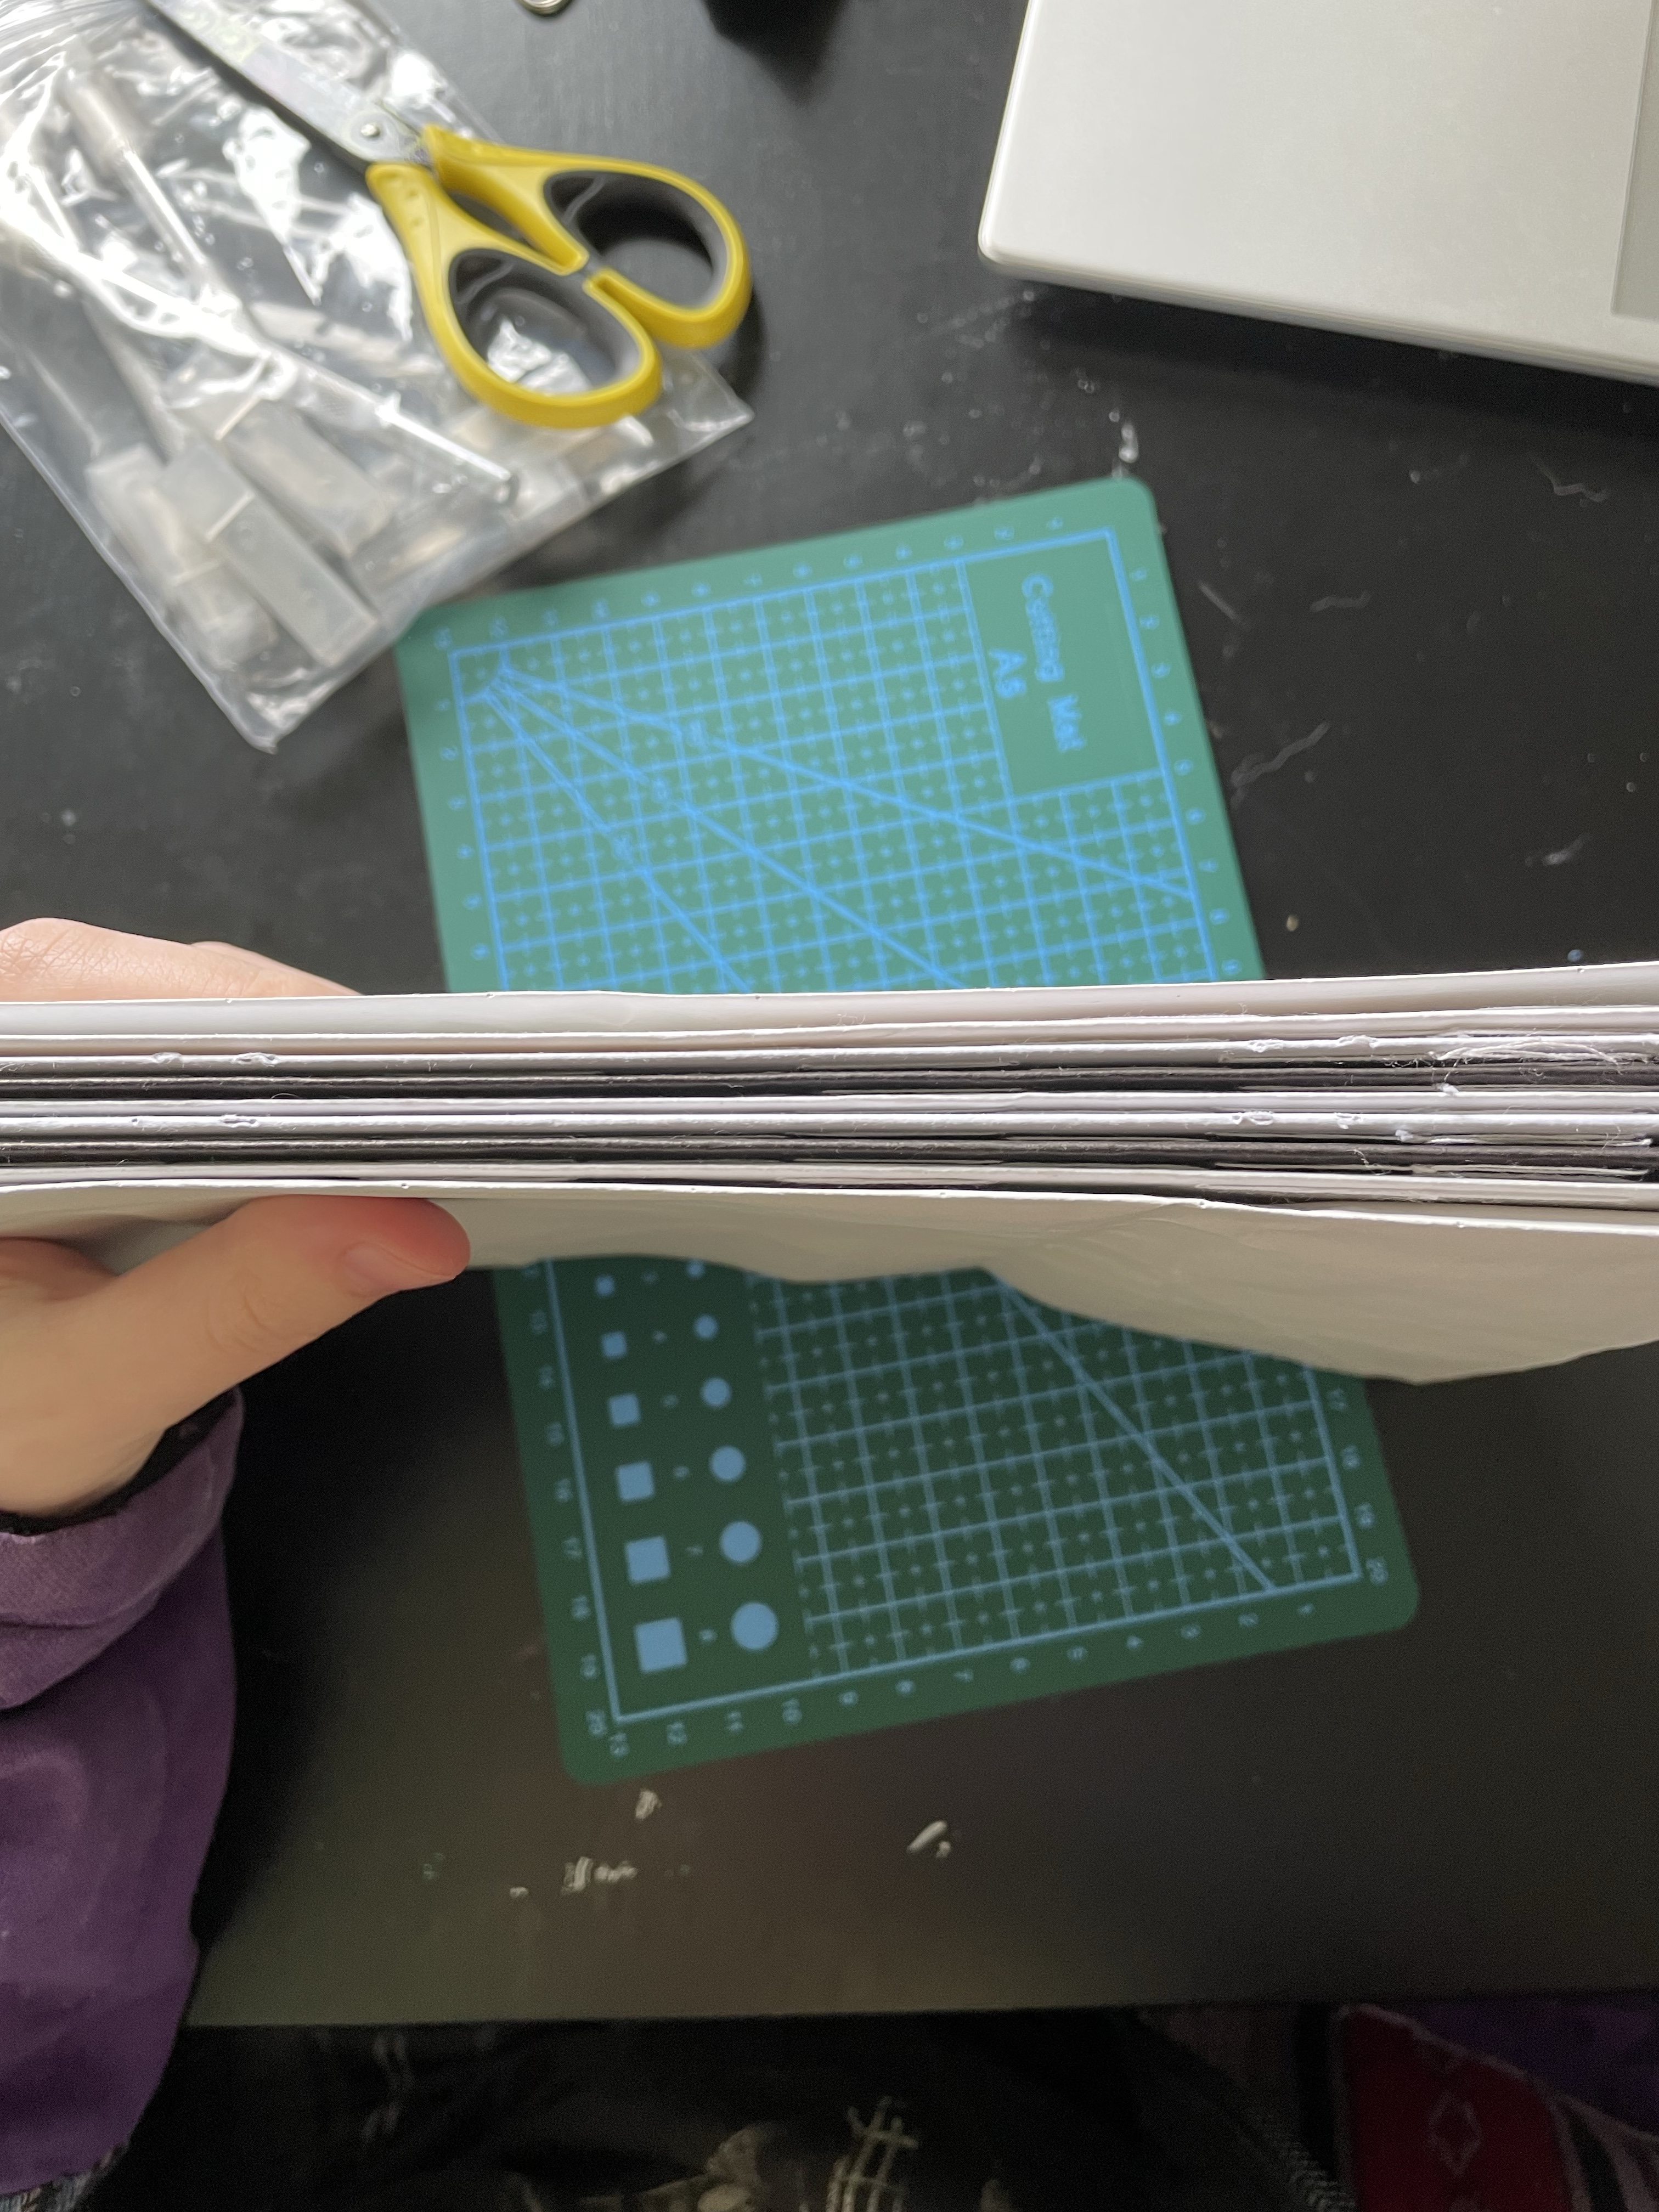
I wanted my sketchbook to be A5, so the paper already being this size saved me a step. One of the pads was of A4 paper folded into A5, and the black sketchbook was A4 too, so I decided to use these to wrap my pages. I then removed 2-3 pages from each of the sketchbooks and began randomly organising them. I wrapped two pieces of A5 paper in a sheet of A4. I had quite a few sheets spare, and I also realised that all of my paper was heavyweight. I decided to add some cartridge paper to the mix to ensure I had space for ‘just’ drawings. This paper was A4 too, so it served as a wrap for the remaining pieces of paper.
This left me with seven total signatures for my sketchbook. I was fairly confident I knew what I was doing, but before starting with stitching them together, I decided to watch this video on kettlestitch binding – the style of binding I intended to do. Within the first few minutes, I realised in horror that there was no way to secure together my A5 sheets to their A4 wraps. I decided to just start making it up as I went along, feeling confident that I knew enough about bookbinding to ensure it wouldn’t be a disaster.
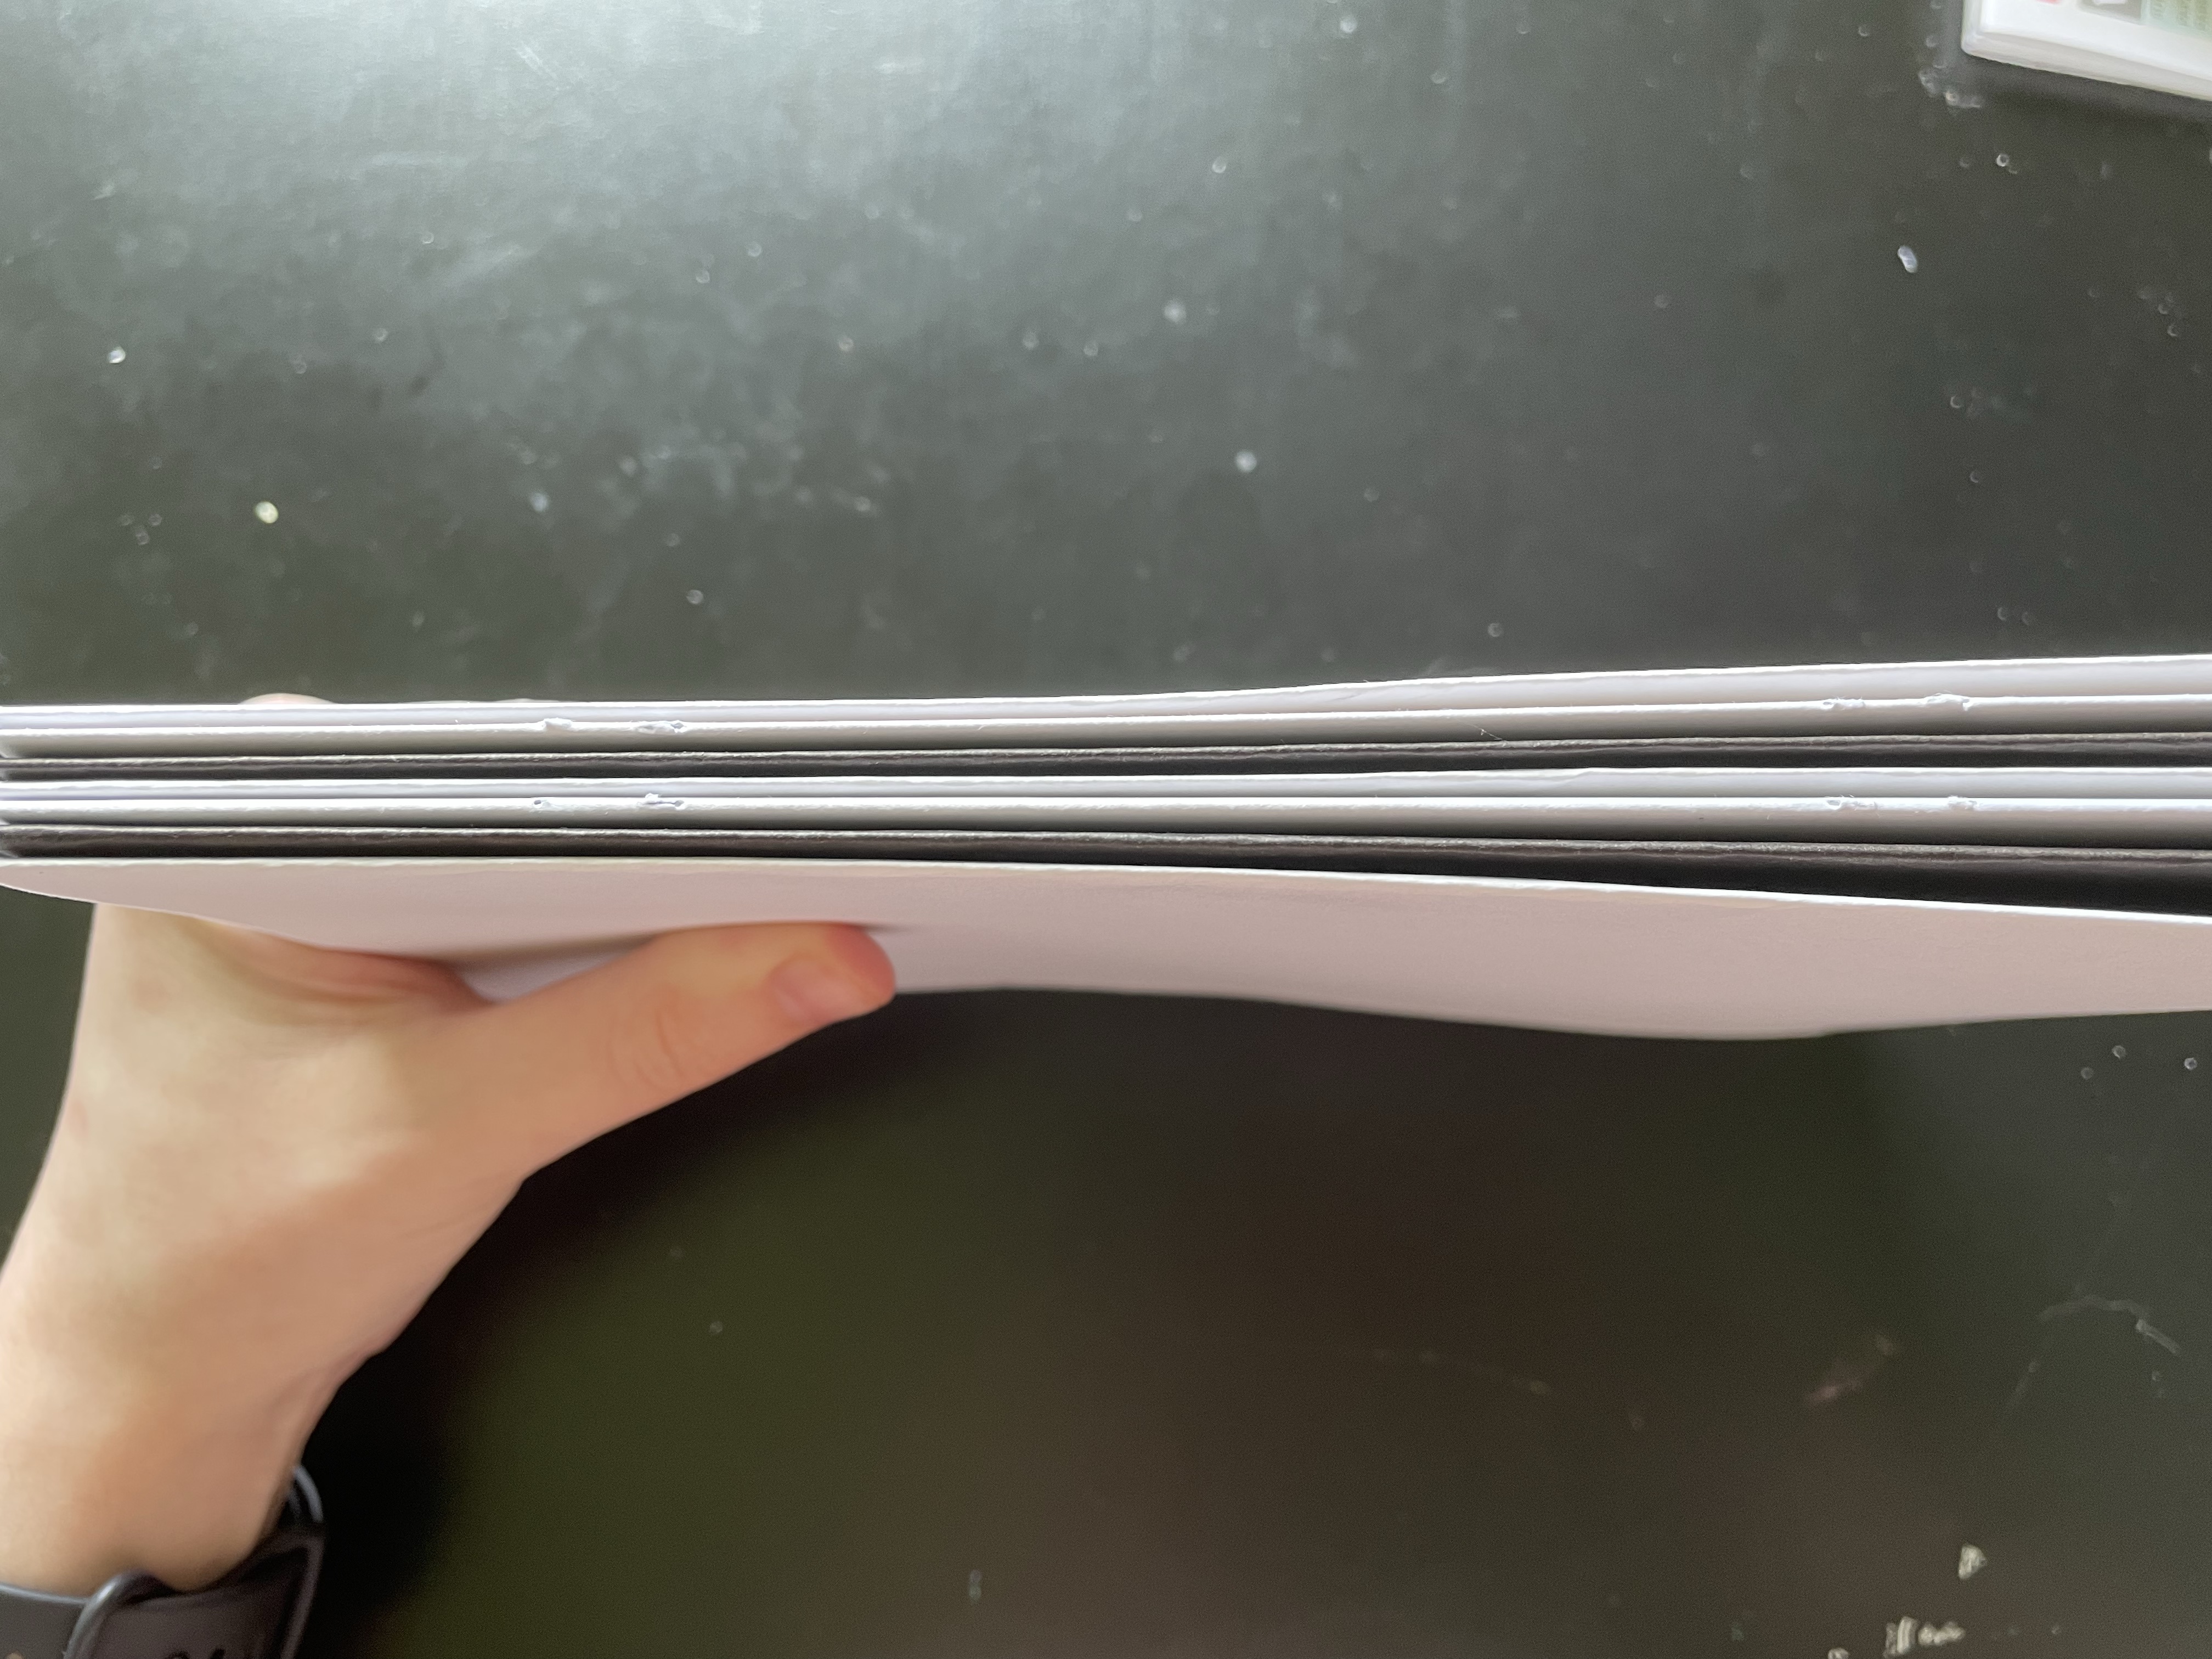
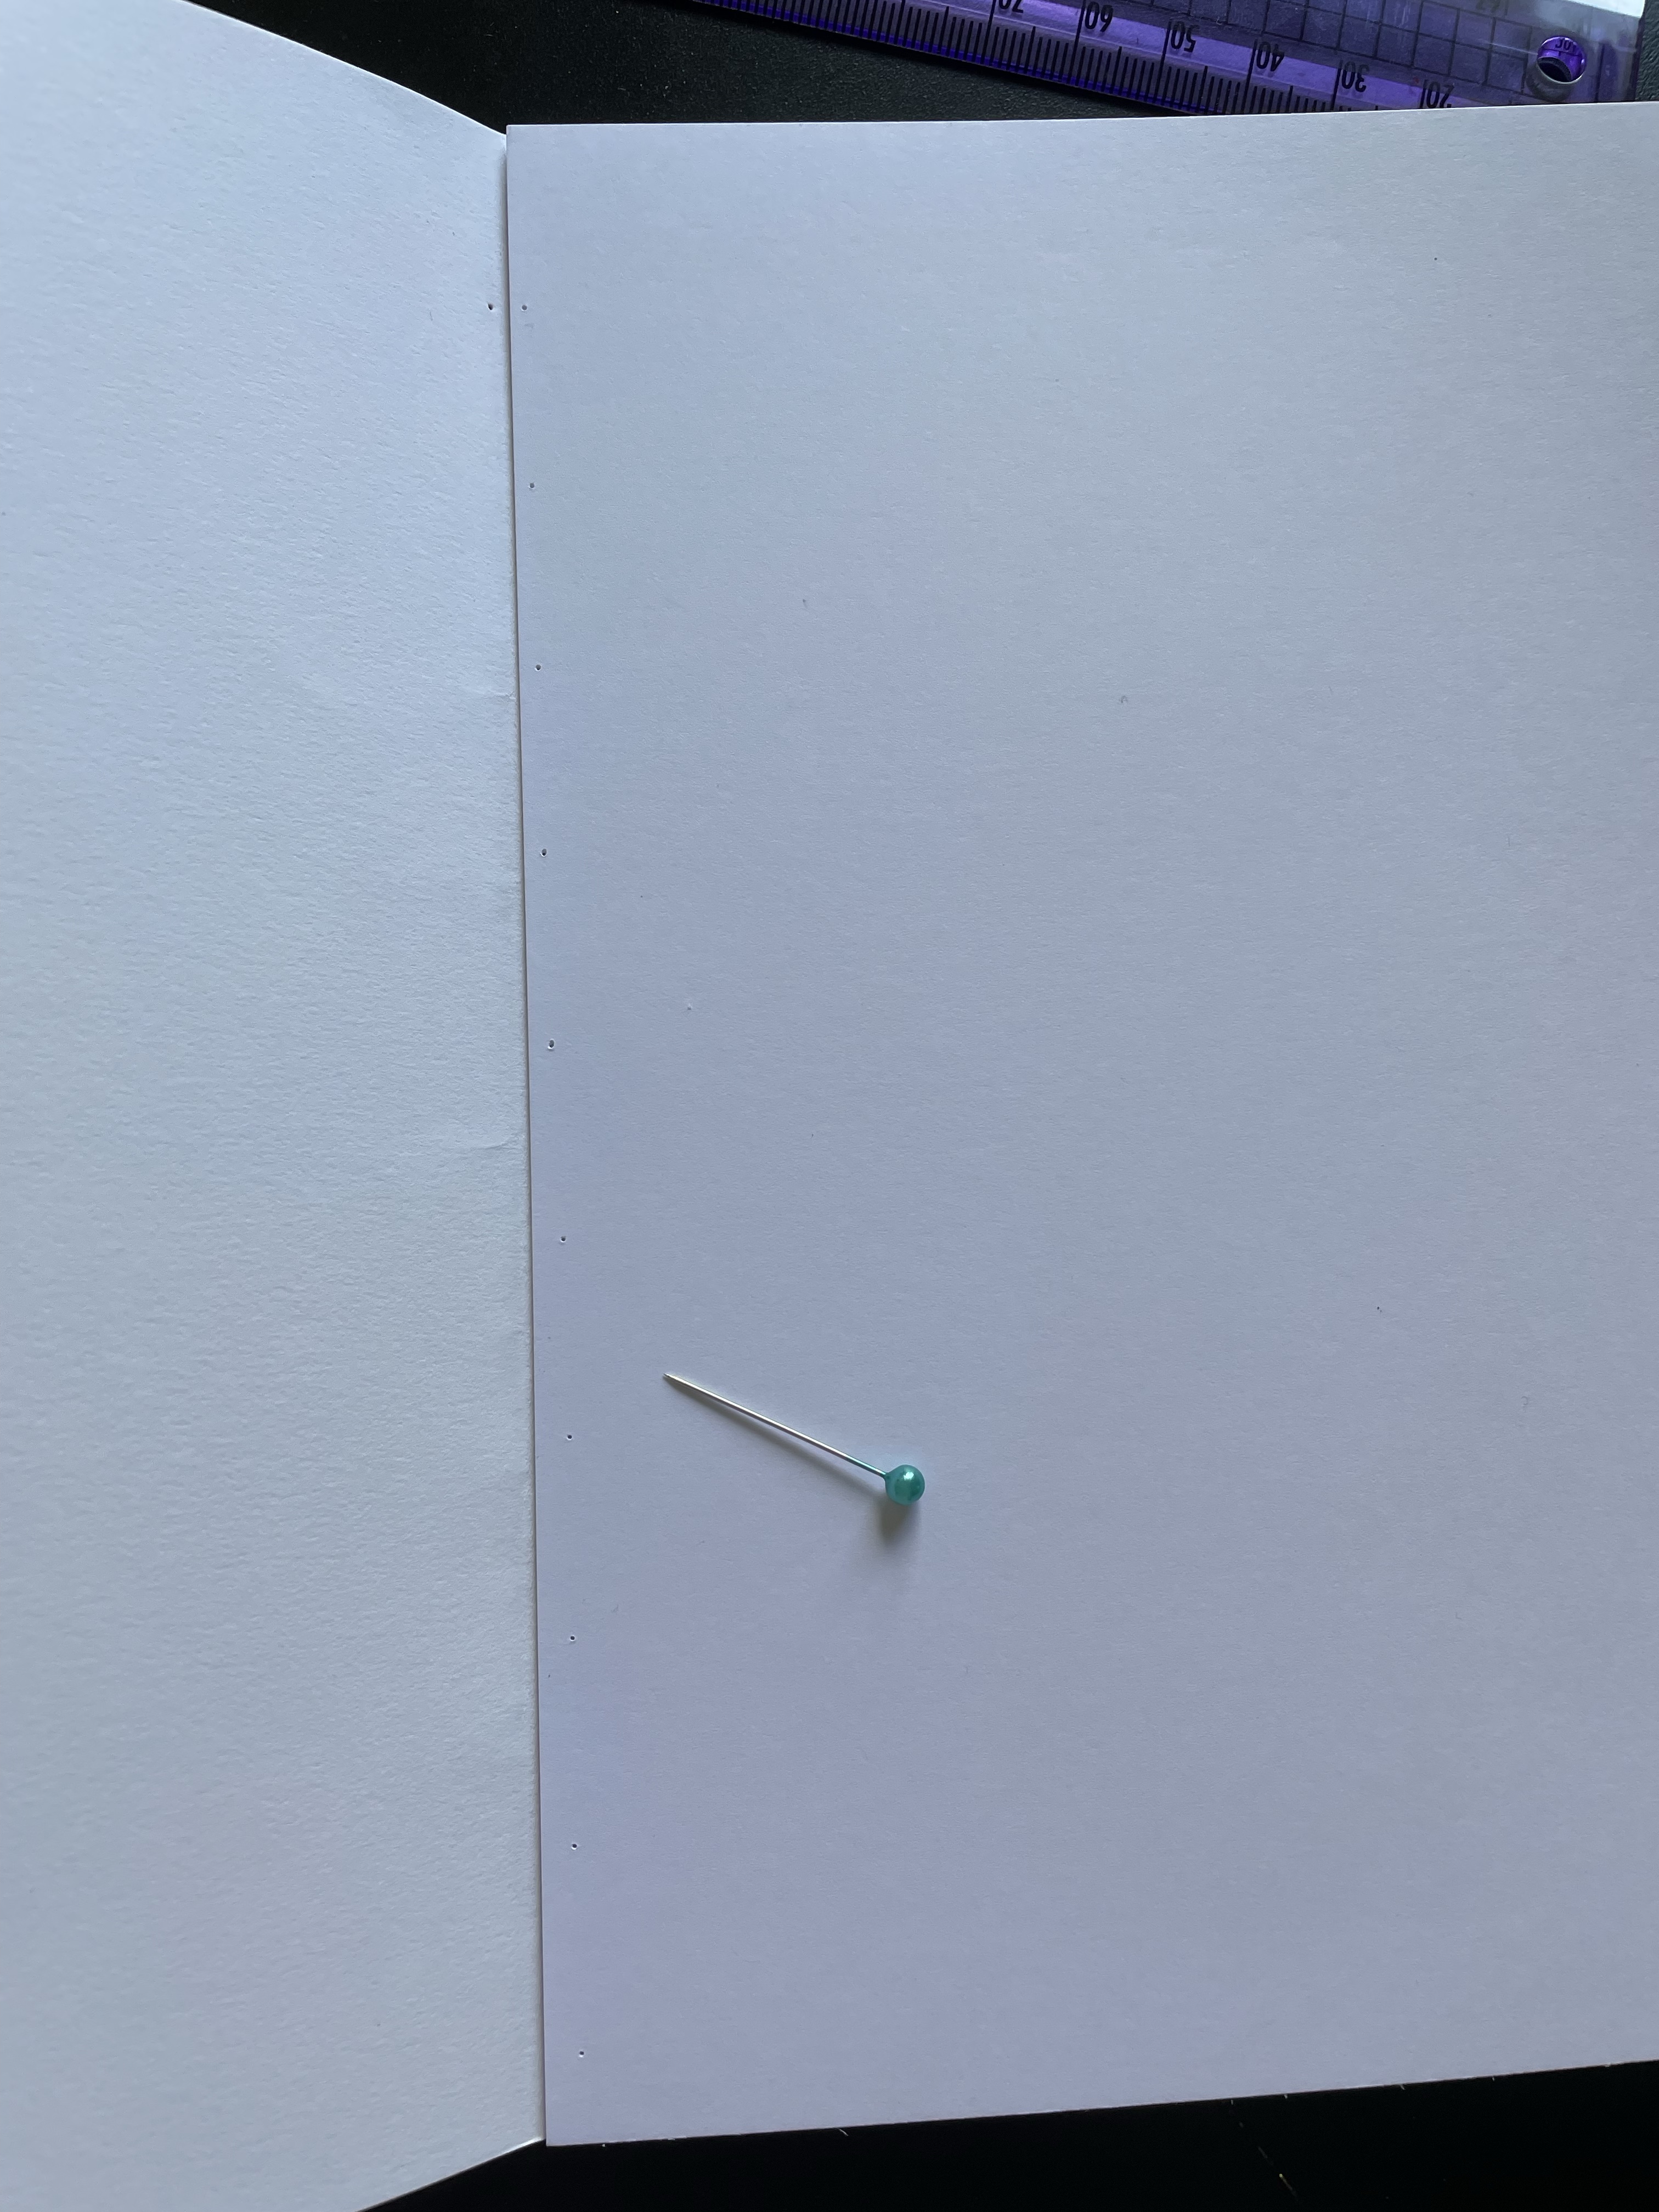
I began by poking equally spaced holes in each of my pages. I then stitched together each individual signature to ensure the internal A5 pages were secure. After this, I used a bulldog clip to secure the pages, and I stitched through the pre-existing stitches of all seven signatures, binding them together. I referenced the aforementioned kettlestitch tutorial a handful of times for inspiration, and I ended up with a sort of half kettlestitch. After doing this once, I decided to add a page on either side of the sketchbook that I could glue to the cover. I used some old wrapping paper I had lying around for this as I thought it would add some colour and interest to my book.
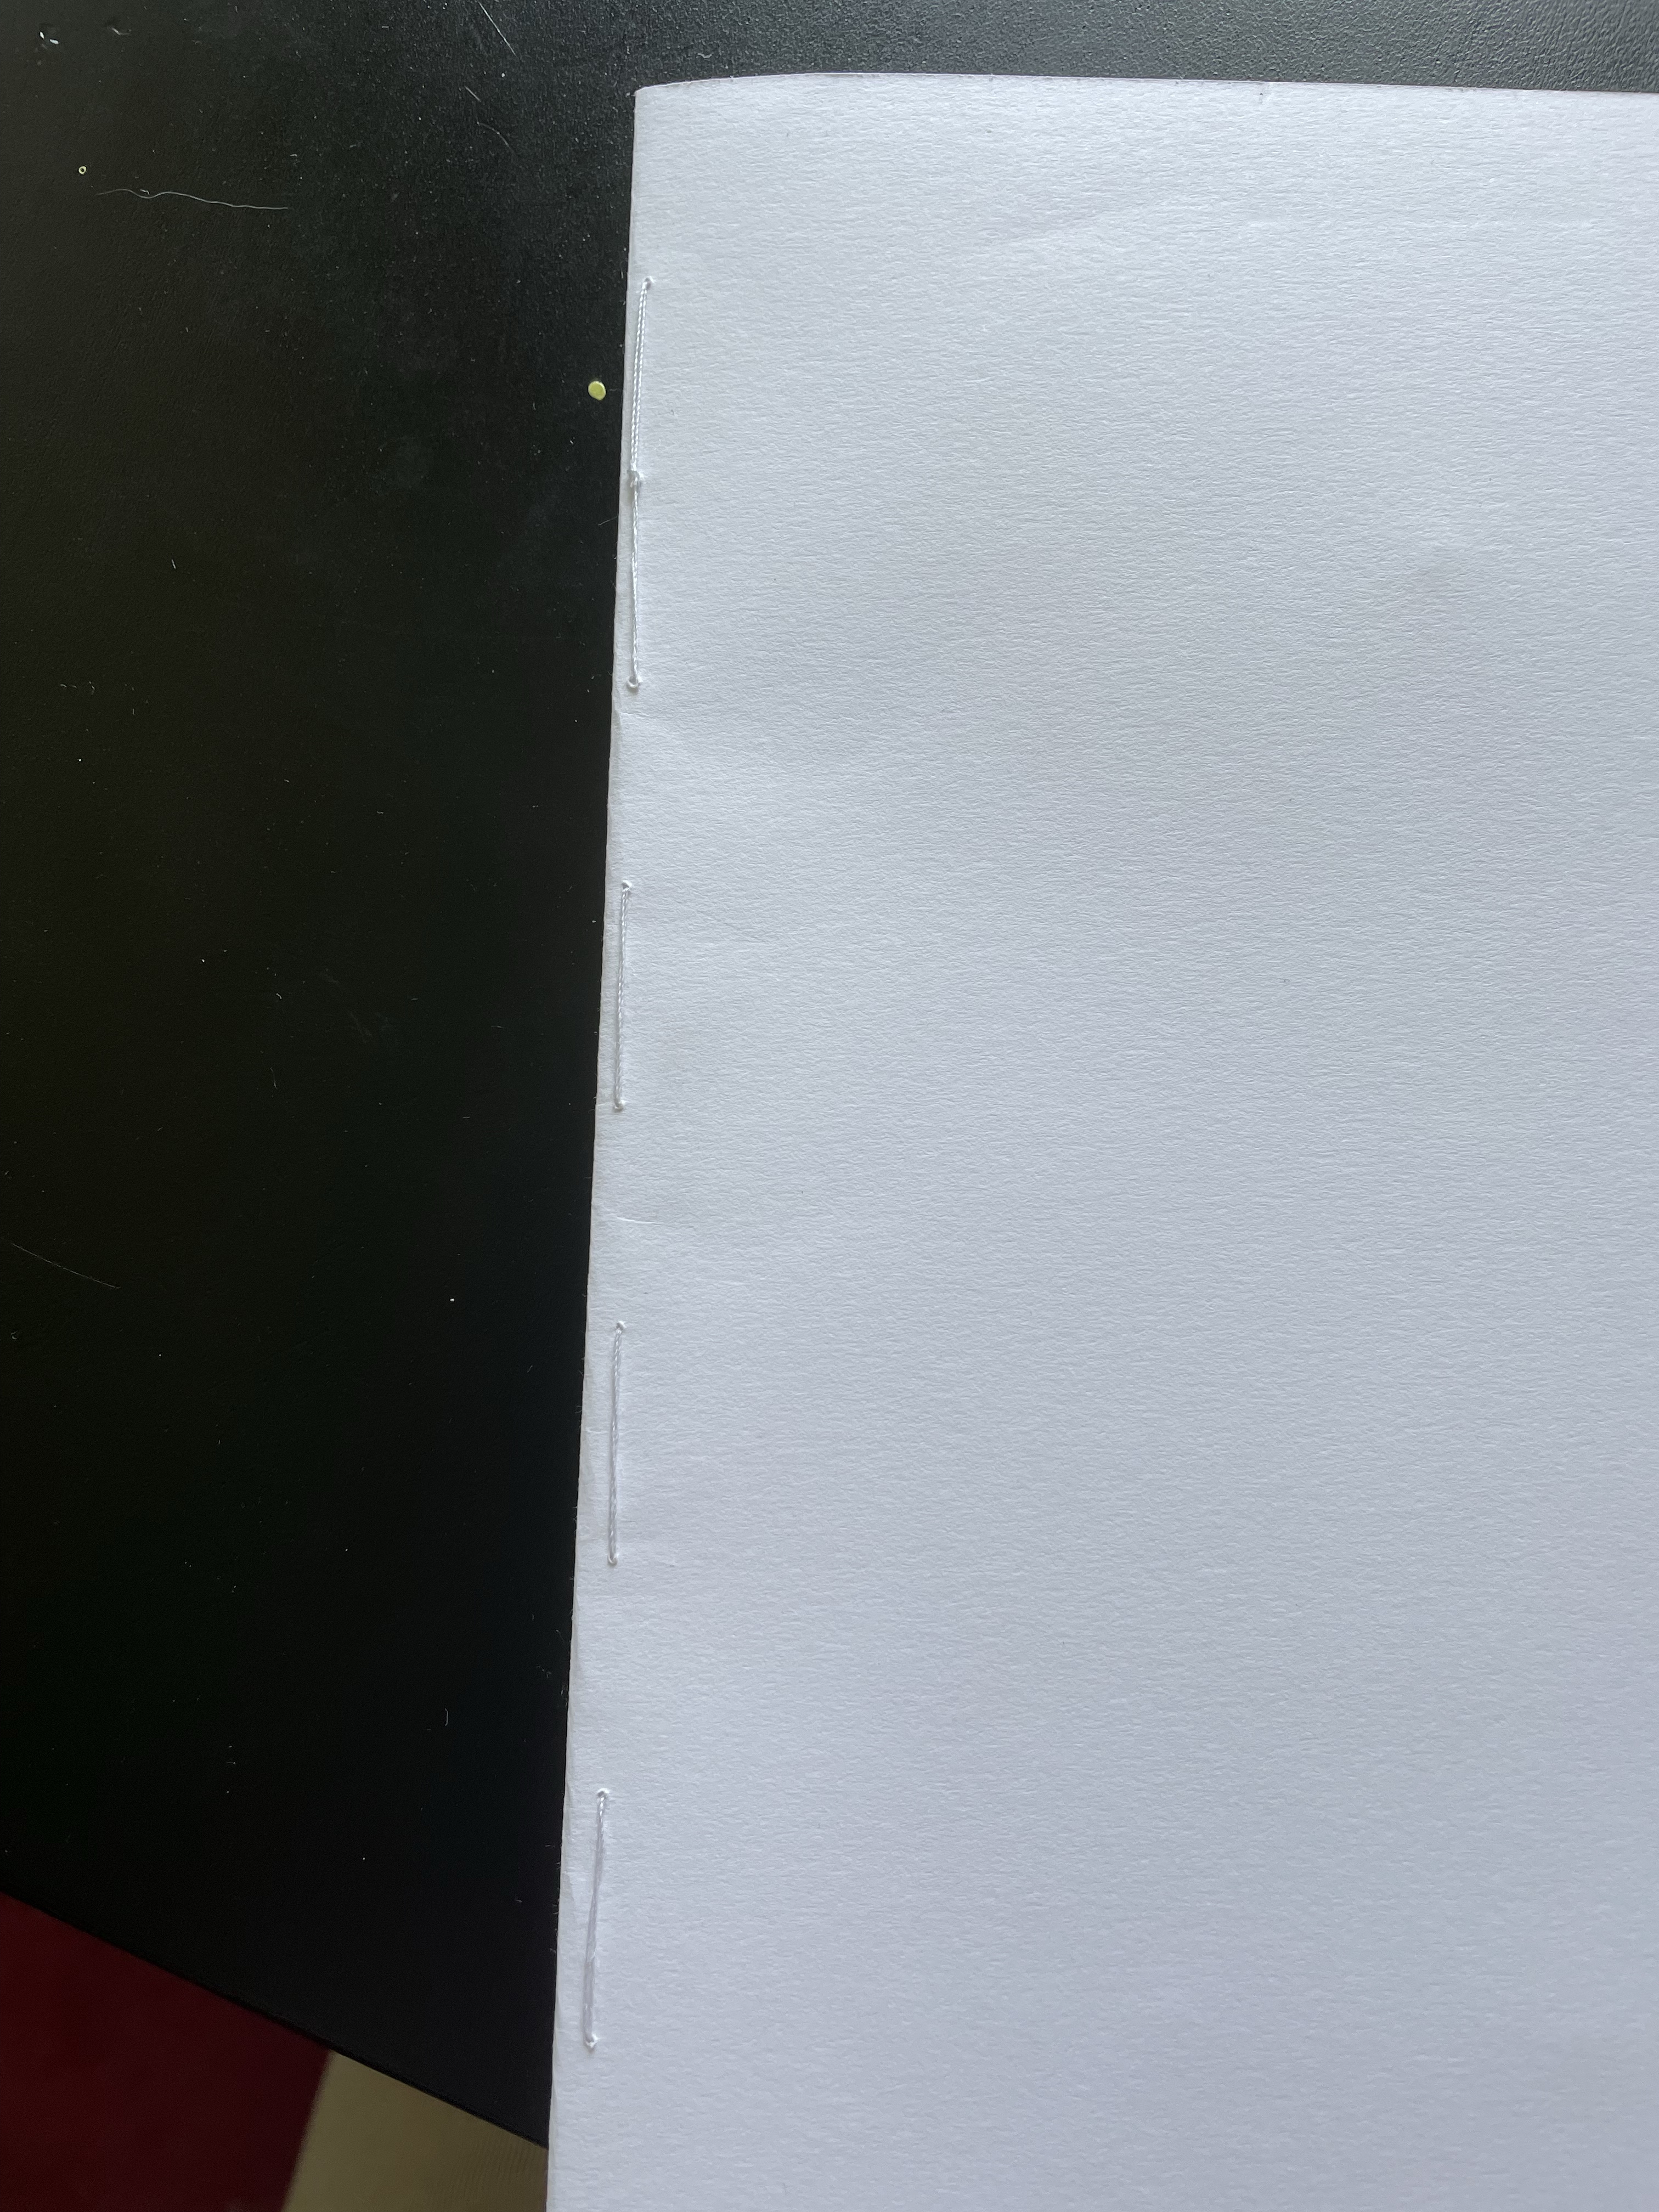
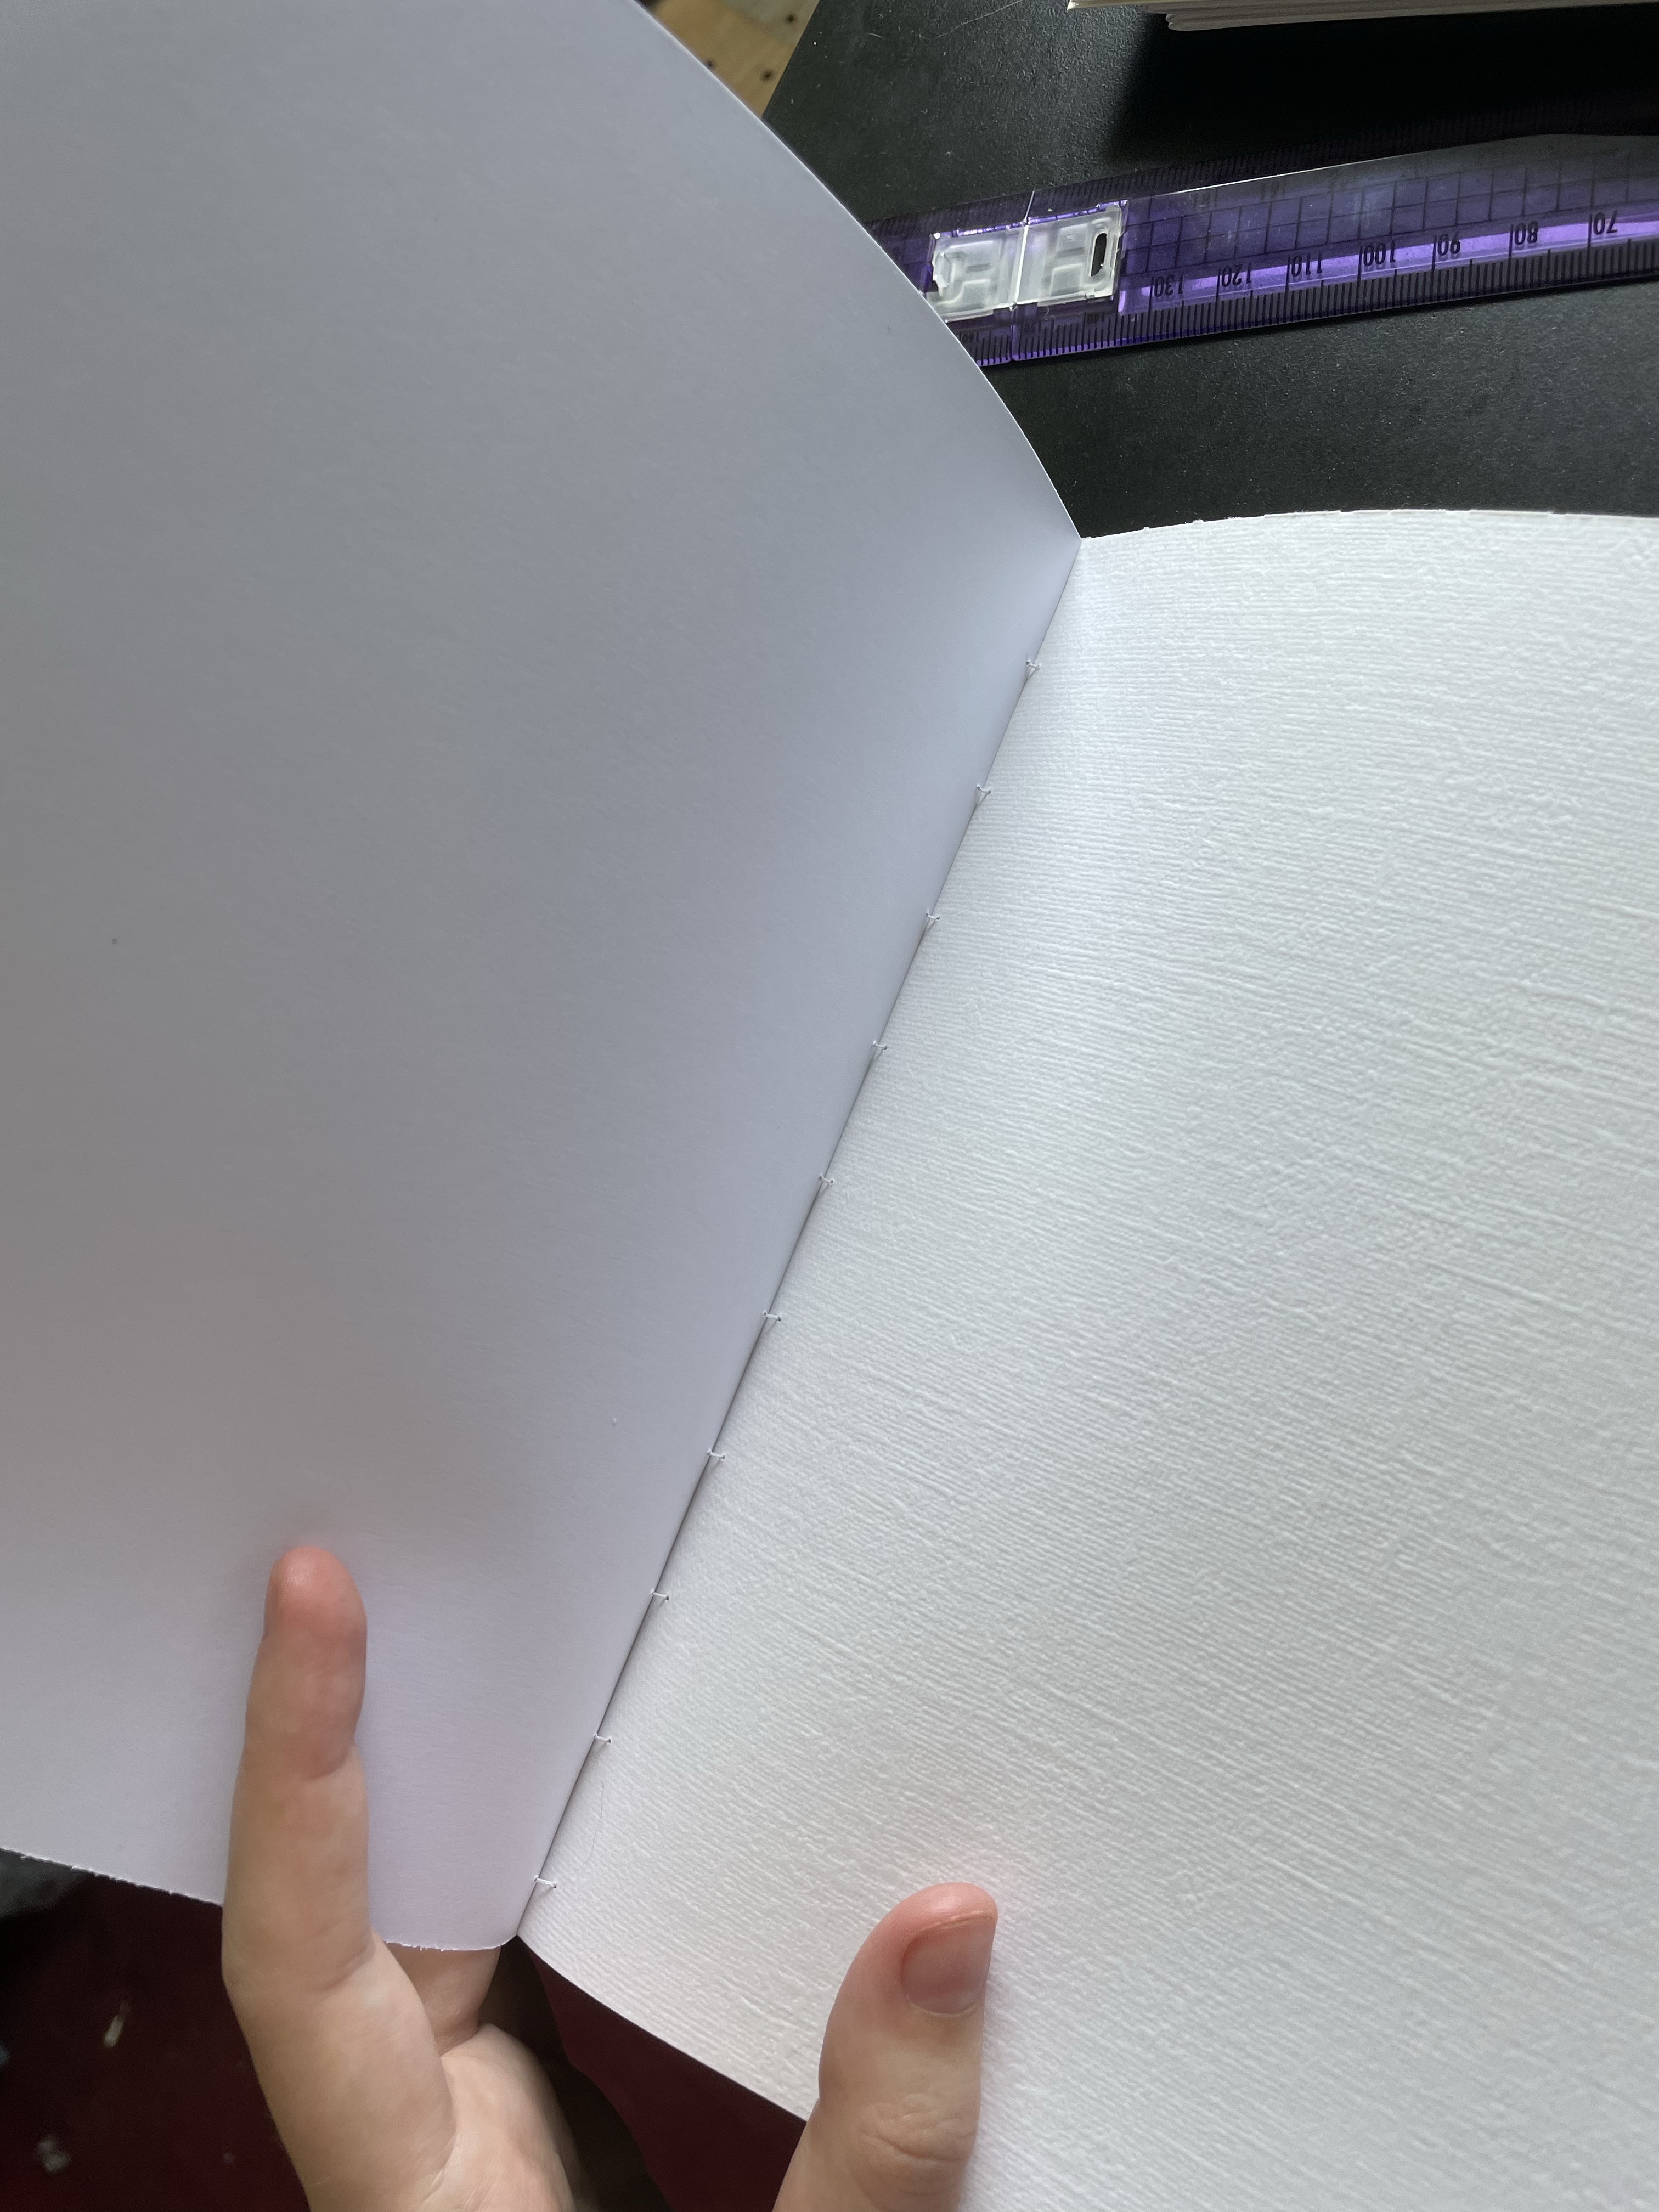
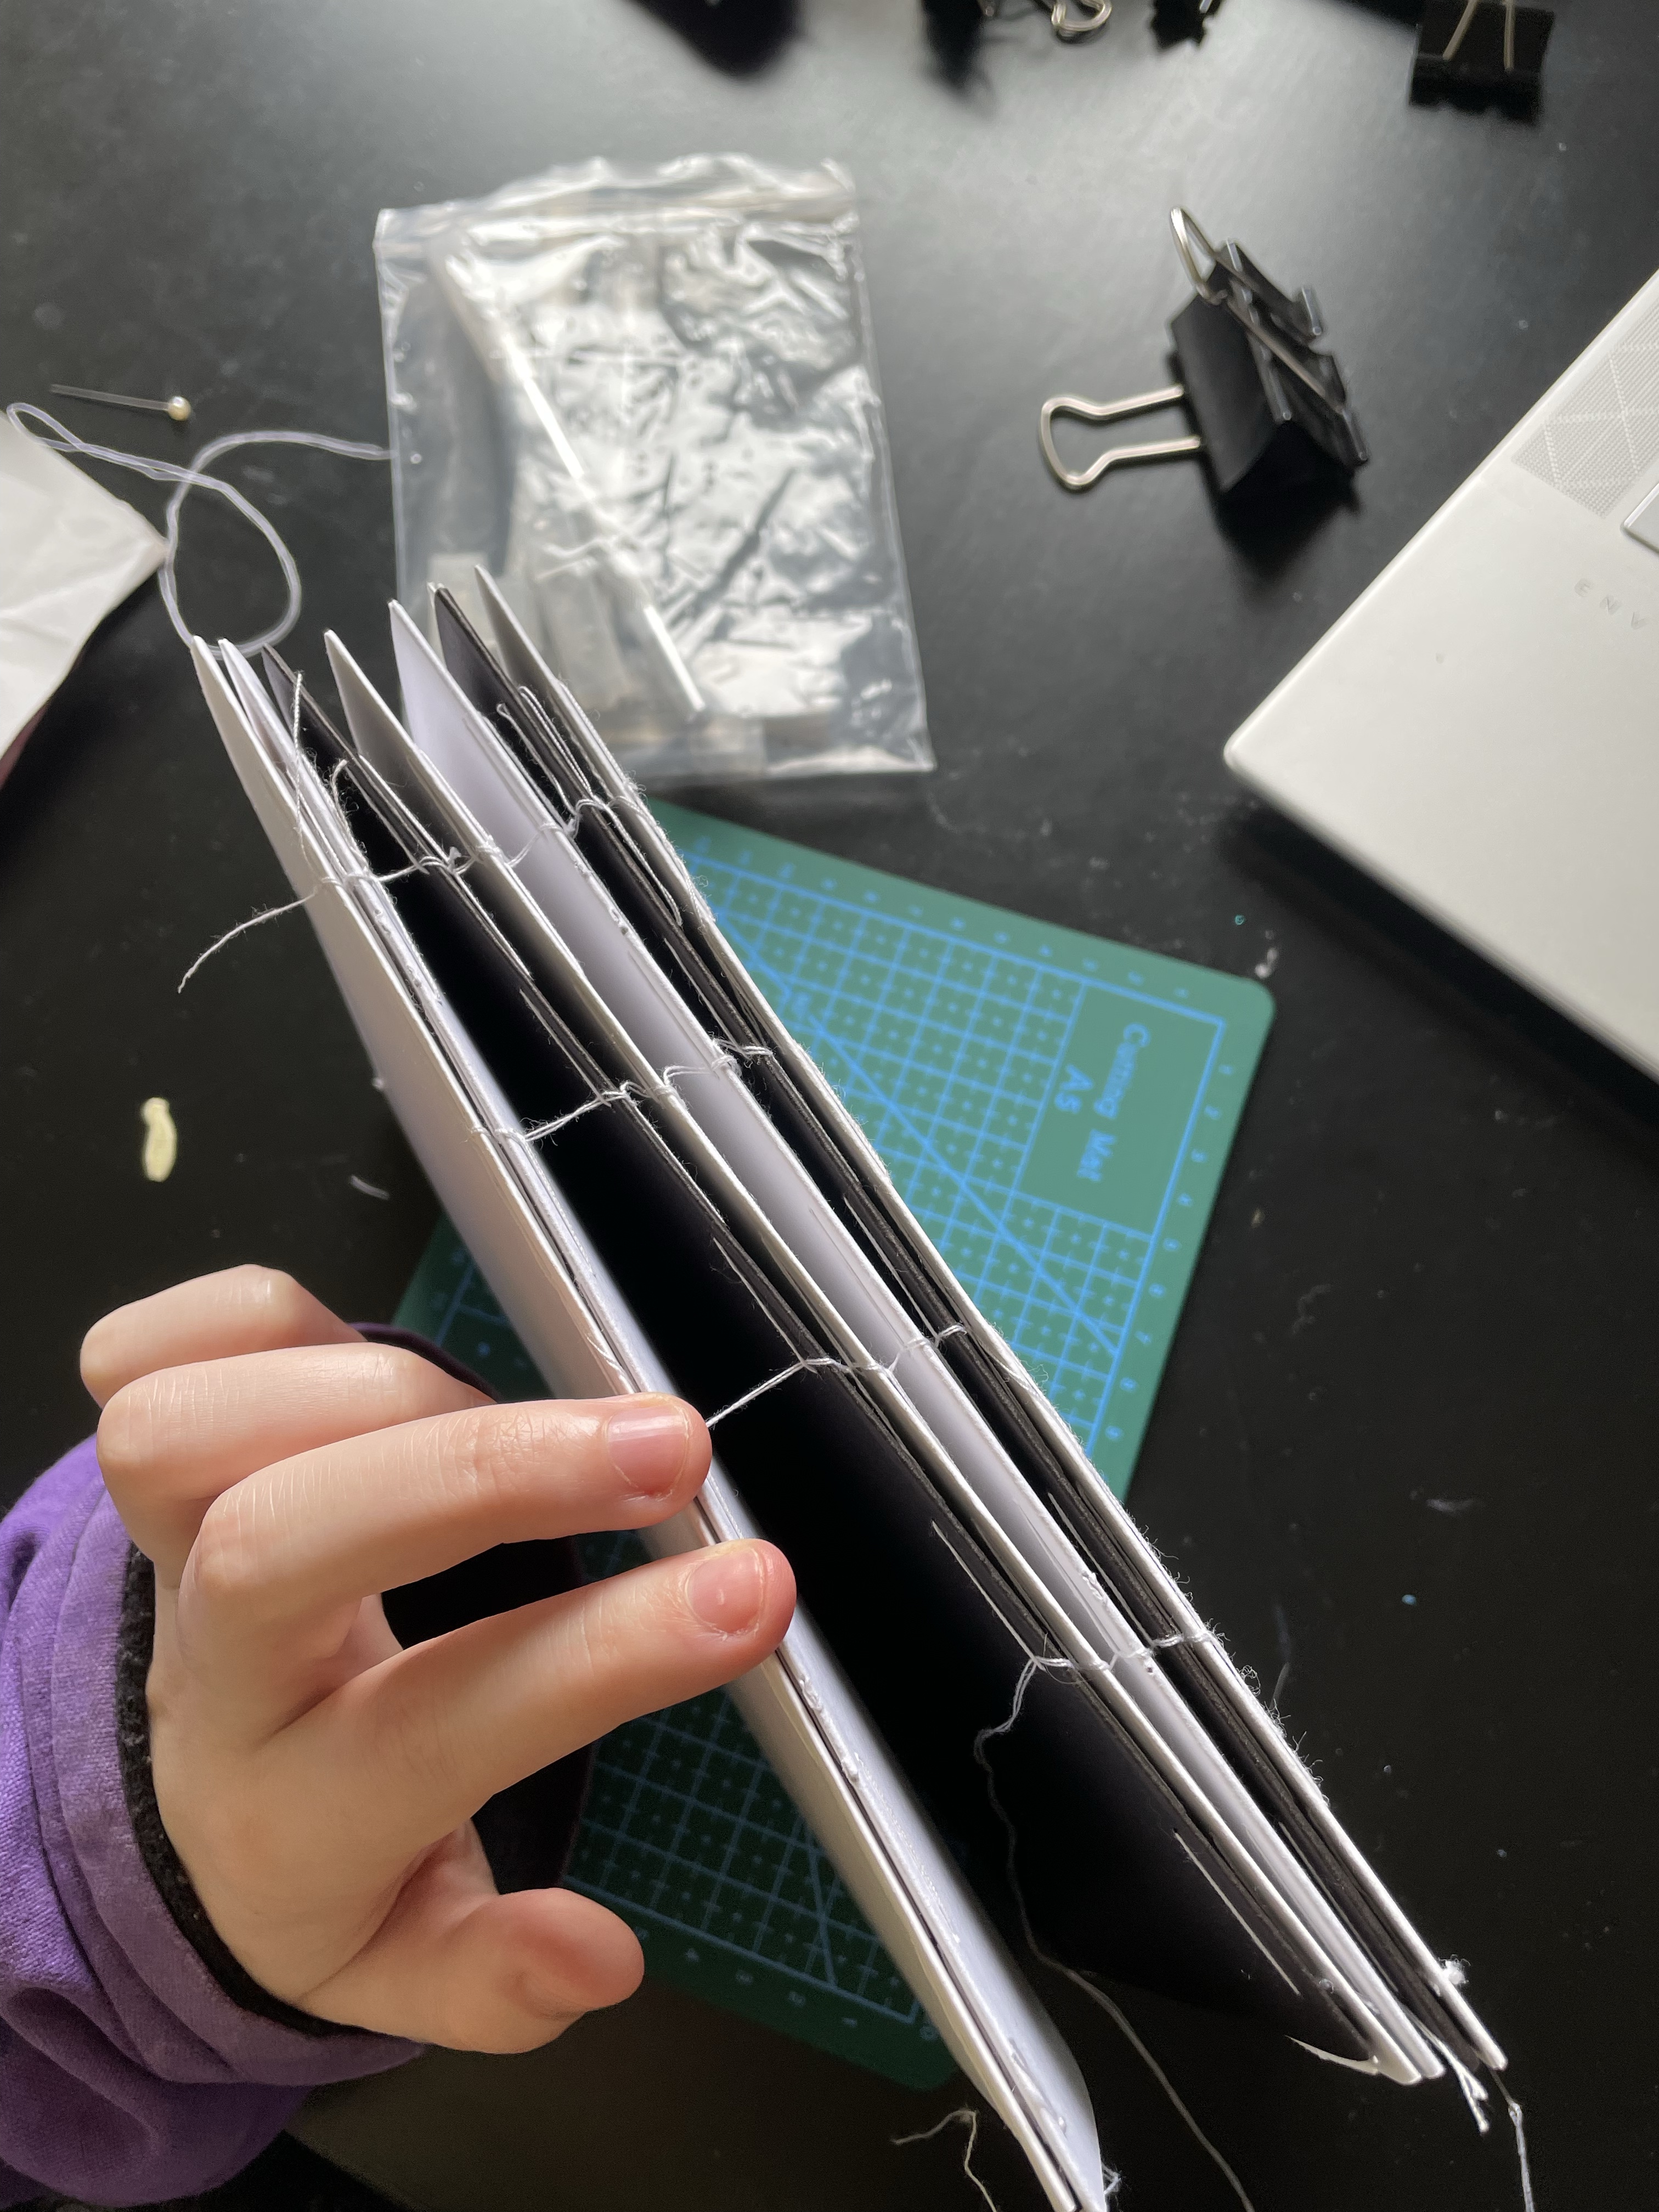
I cut 2 A4 sheets from the wrapping paper and folded them inwards so that the pattern would show once it was stuck to the casing. I then poked holes in the folds of each of them and repeated my earlier process of stitching through the pre-existing binding, this time including the decorative paper. Once finished, I started preparing for the cover to be added. My book felt very flimsy at this point, and I was concerned it would fall apart. I had been entirely confident the whole way through that it would ‘just work itself out’ – and only now was I starting to fear that my make-it-up-as-I-go approach was a mistake.
I cut two plain A4 printer paper sheets to glue down onto the binding and secure it in place. I very generously covered both the paper and the binding in glue to do this and learned that printer paper is tough to work with when soaked. After the first layer had partially dried, I added the second one, and then I prayed. Adding the mess of glue soaked printer paper onto the flimsy, sliding around, poorly bound signatures seemed like a recipe for failure. Nervously, I secured the pages with a bulldog clip, then left it overnight.
The following day I was extremely shocked when I found that the book was suddenly super secure and – joyfully – felt like an actual book! For the first time, I could see my vision coming to life. I was so excited. The glue had made the book sturdy, and the paper had solidified completely. The pages turned as they should; everything was falling into place.

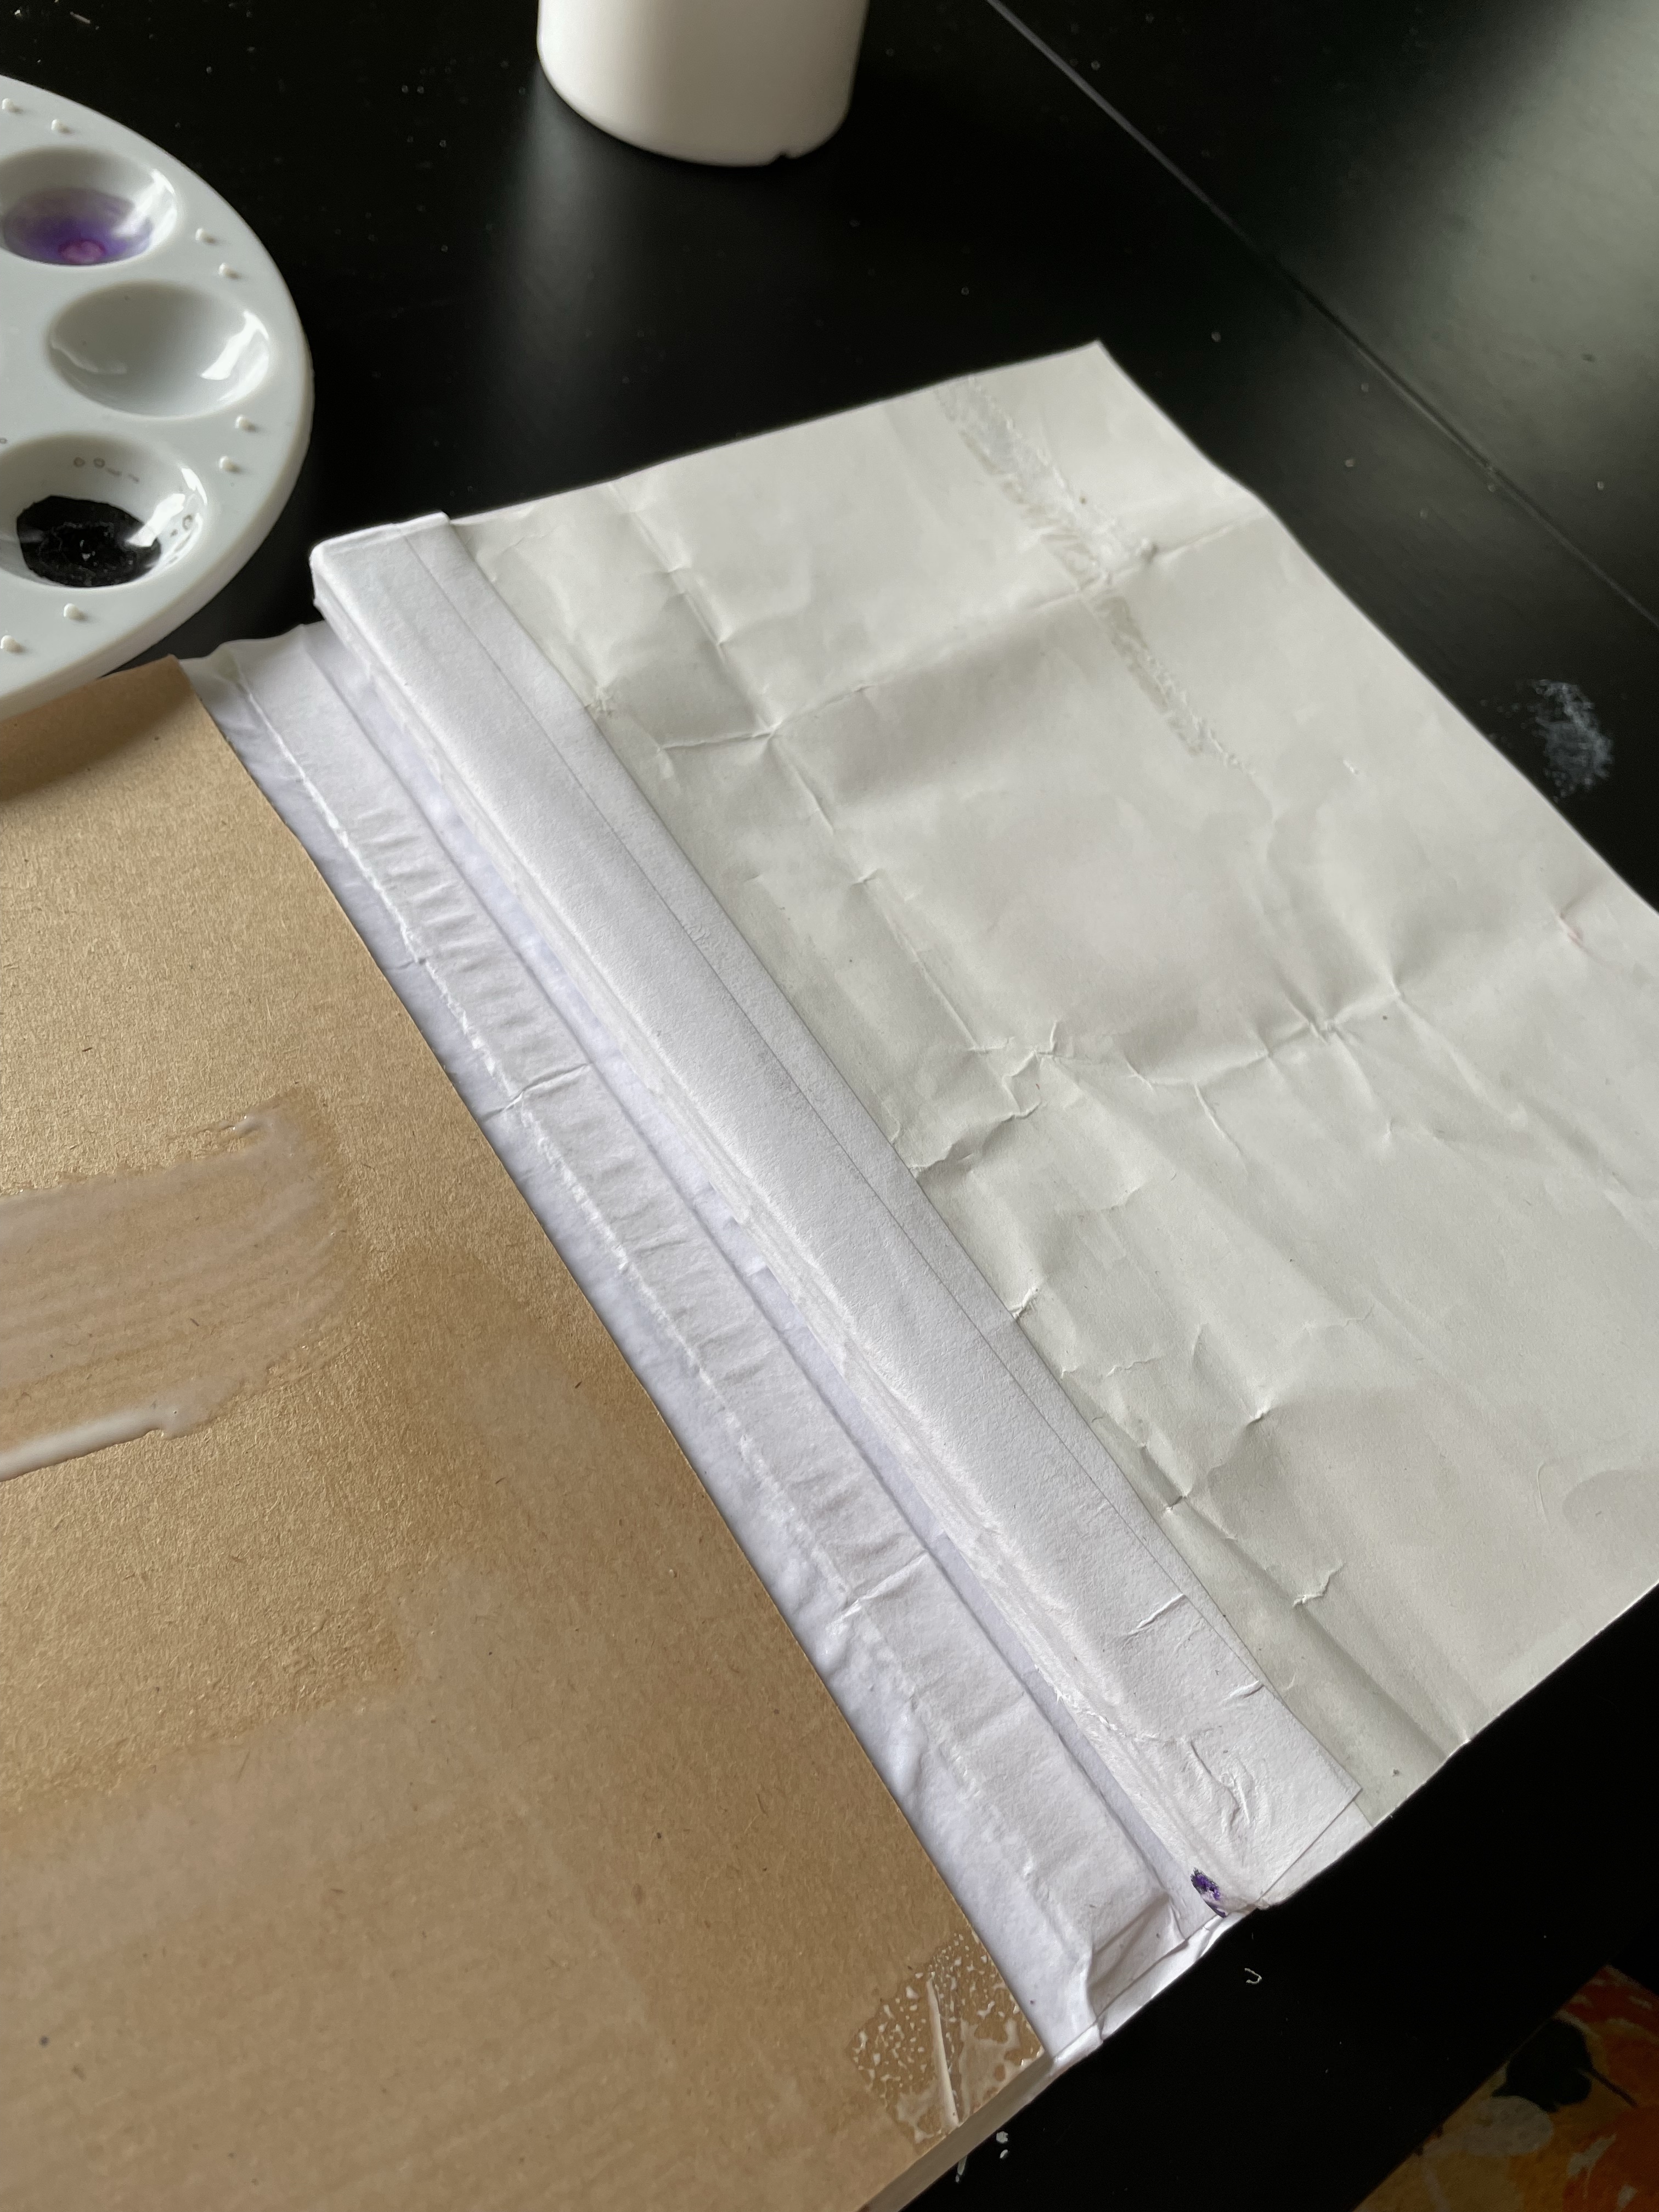
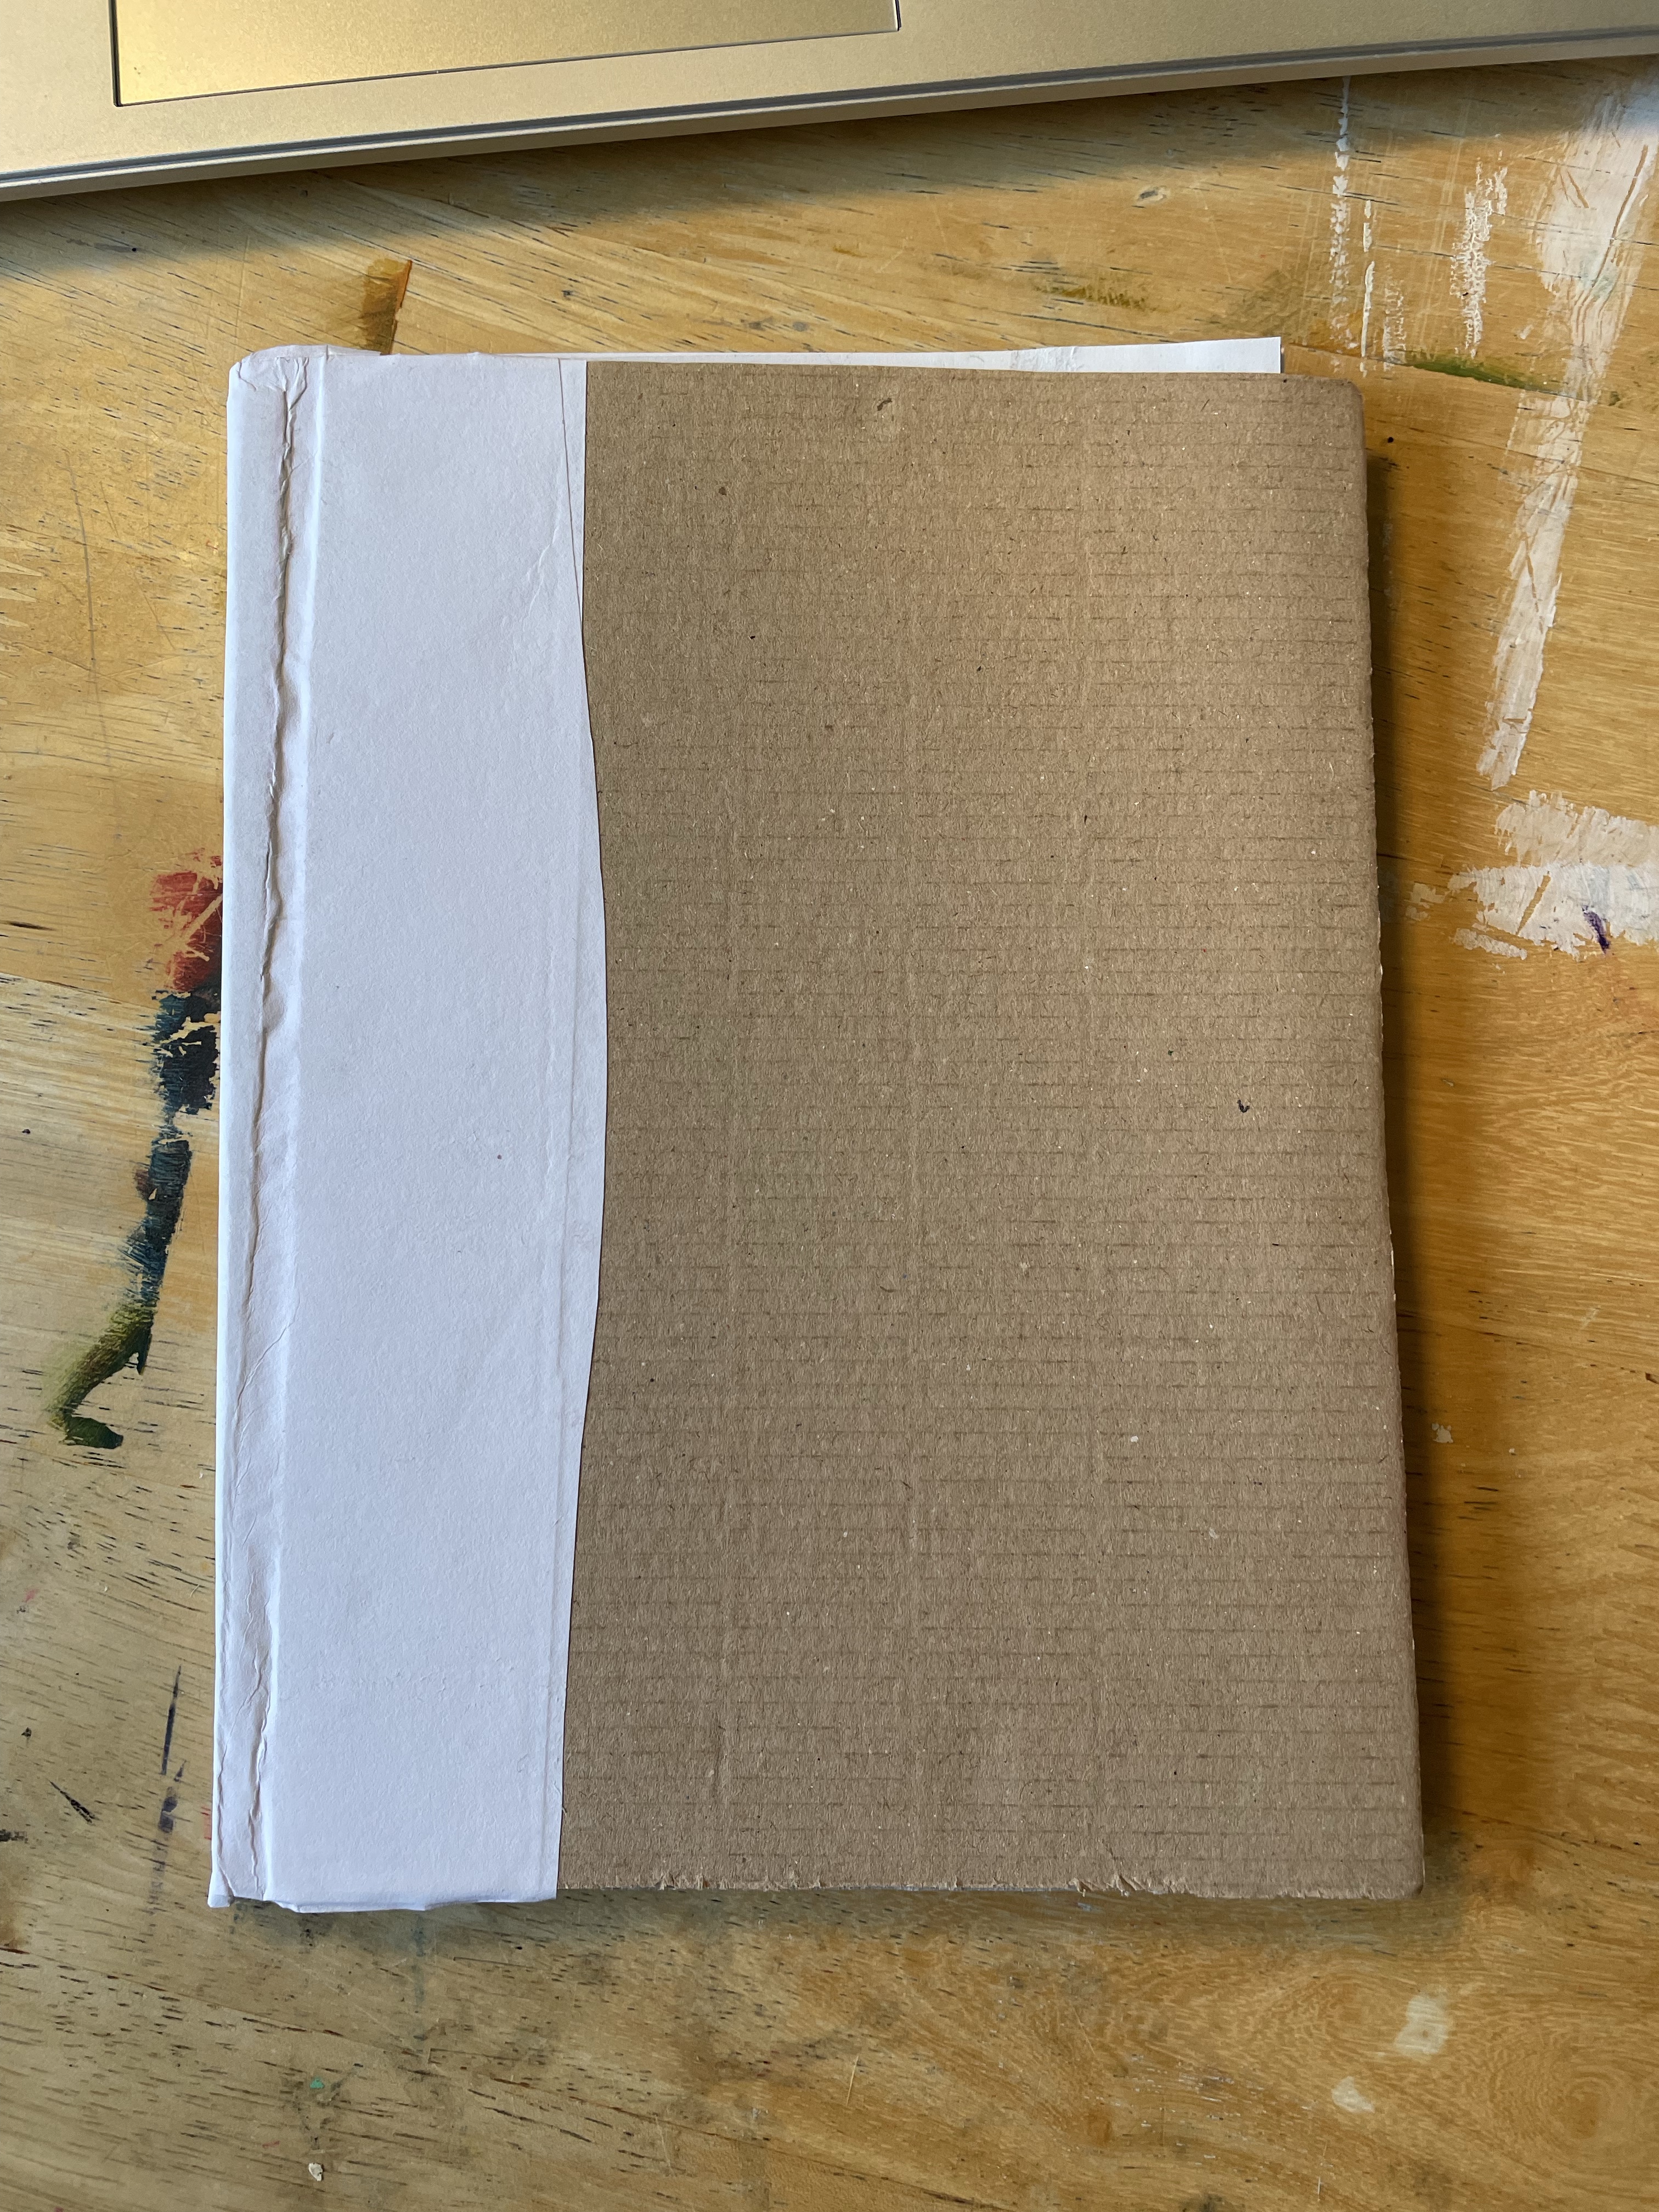
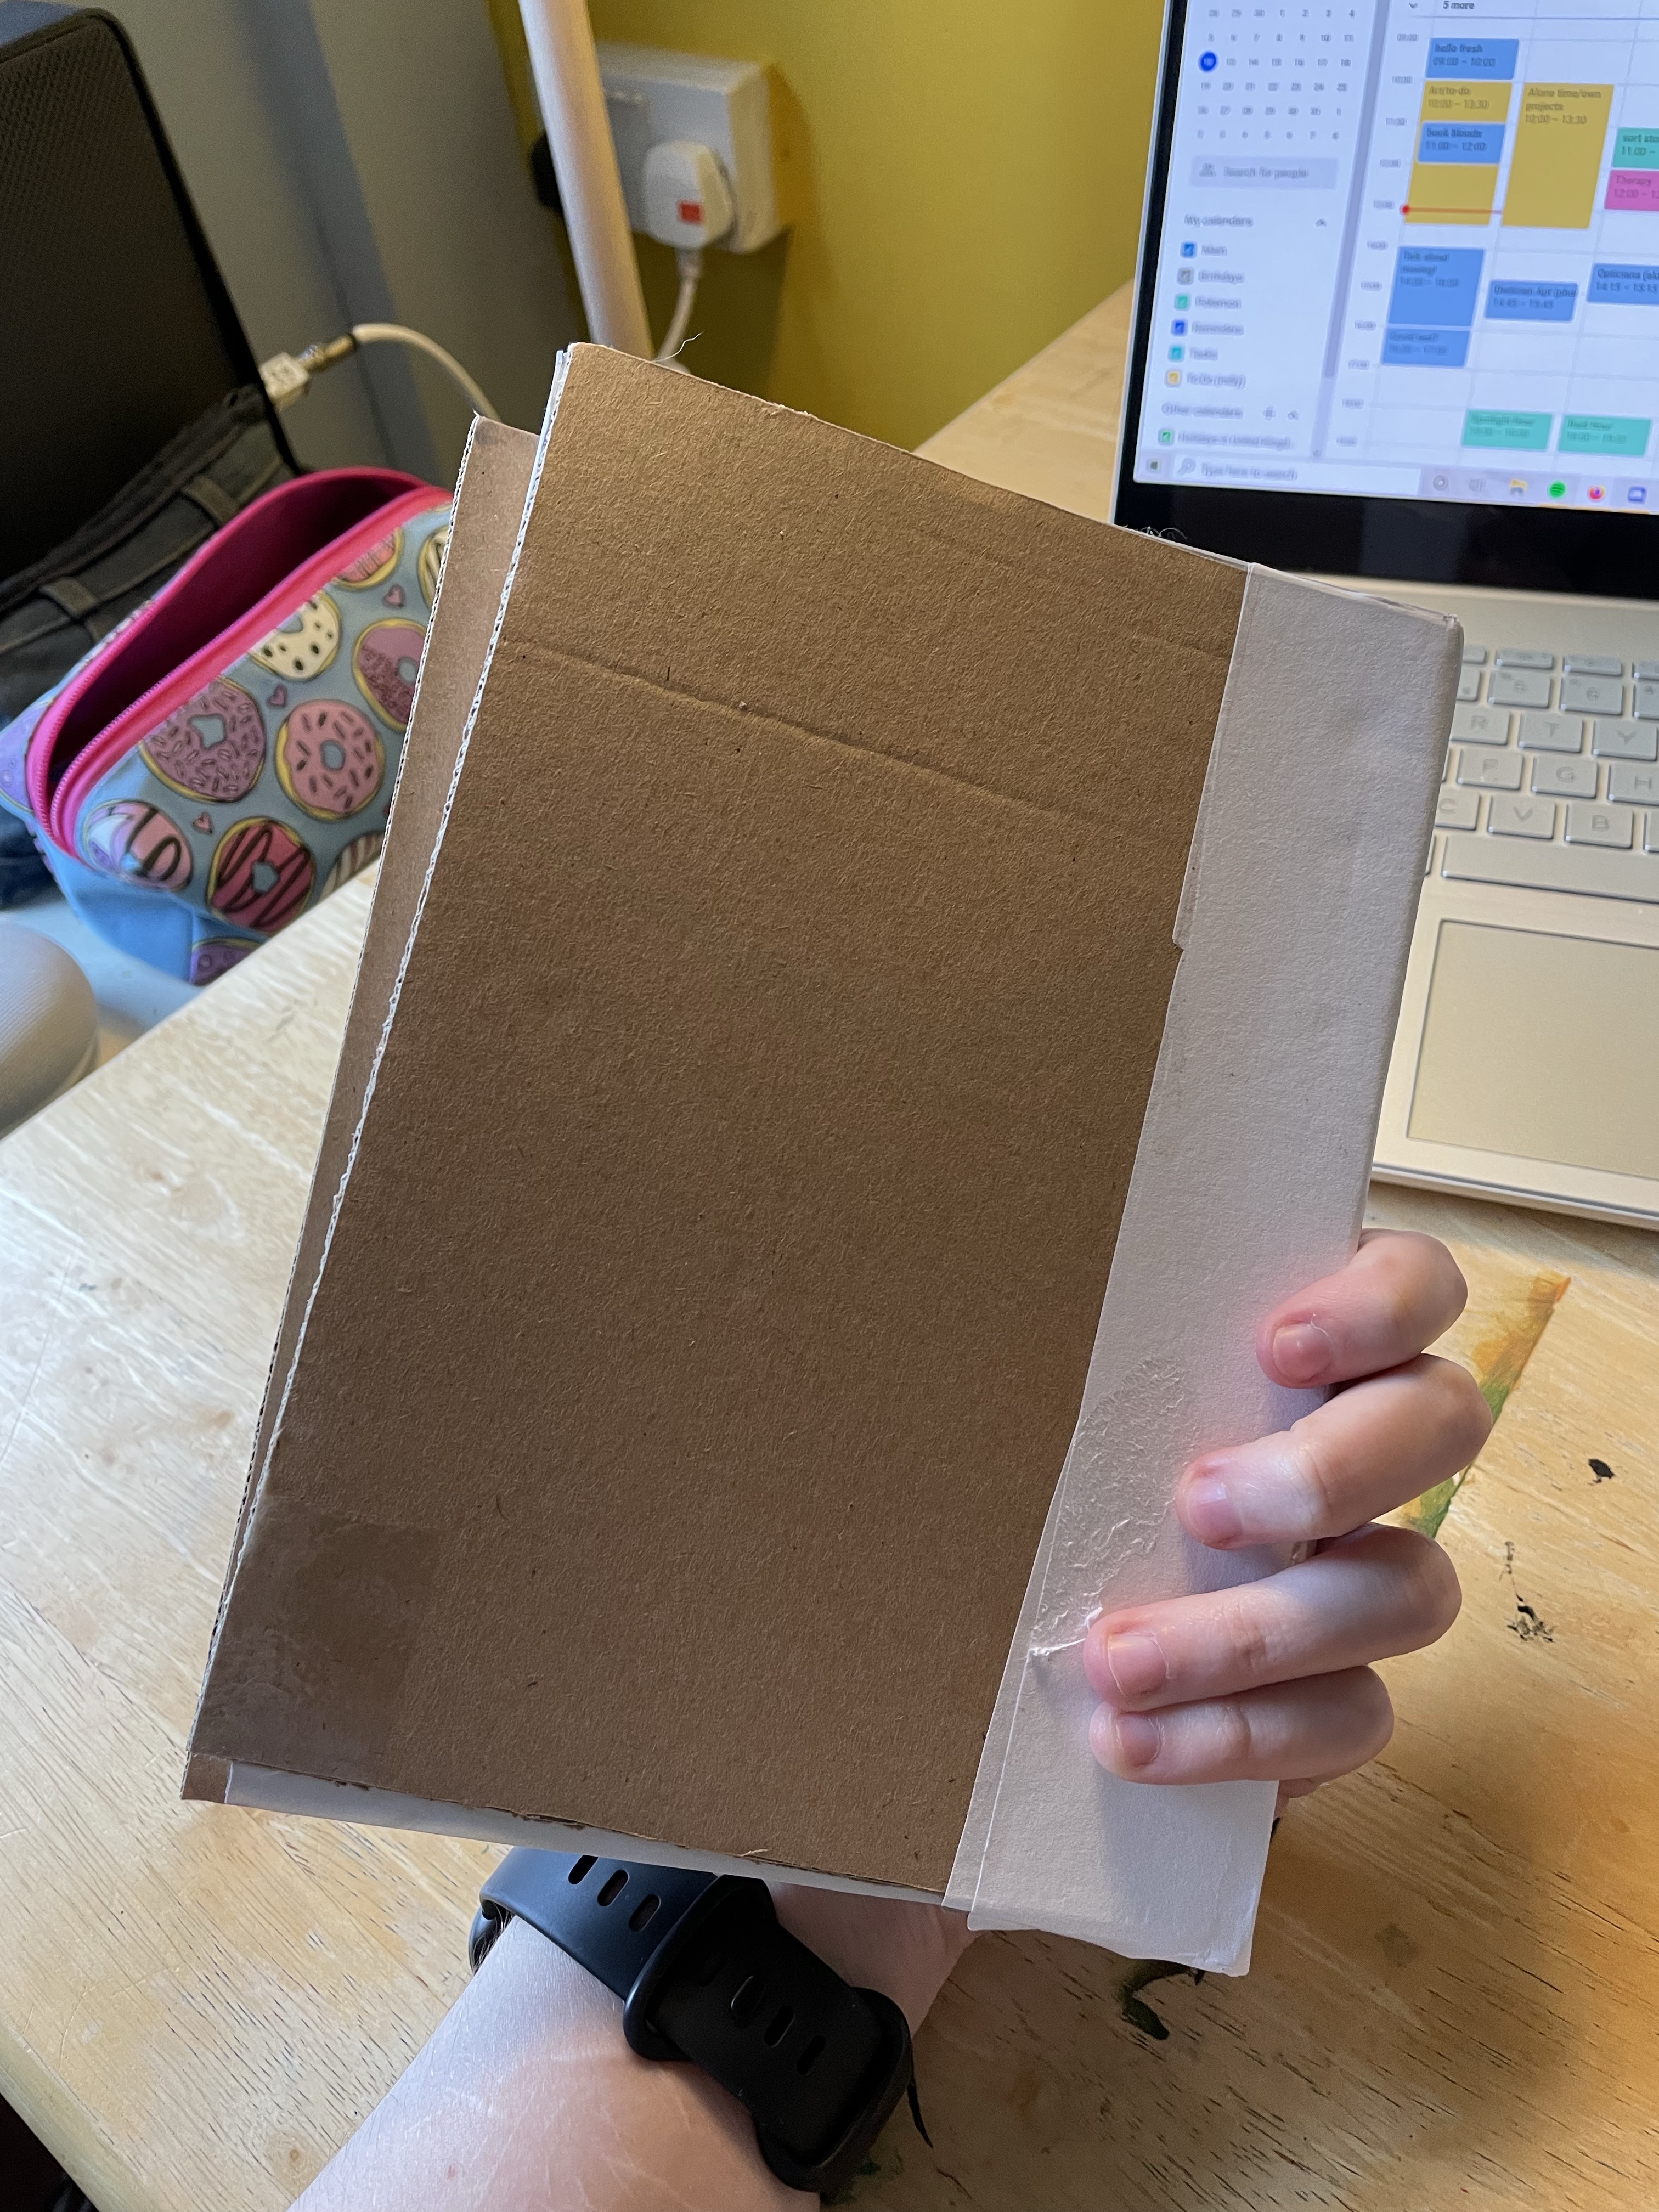
Next, I decided to cut the cardboard I would use for the cover. I used some spare packaging for this, and I made sure to choose a sturdy piece. I cut two pieces slightly larger than my book and a thin piece for the spine. Once again, I took two pieces of printer paper soaked in glue and used them to secure the two pieces with the spine. I placed the spine in between the two sheets of paper as it was so small I thought it would come apart otherwise. Once dry, I coated the inside of each piece of cardboard in glue and stuck down my inner decorative layer to the cover. My book, very excitingly, was complete.
Somehow whilst sticking my pages to my cover, I completely missed the mark, and the whole thing was lopsided. I was gutted. After days of work, the entire thing was a mess. The spine was bent around to the front of the book, and the cover was visibly wonky. After pressing the book and allowing it to dry, I went at it with my craft knives to see what I could do. I trimmed off any major wonkiness and found that it wasn’t so bad after all!
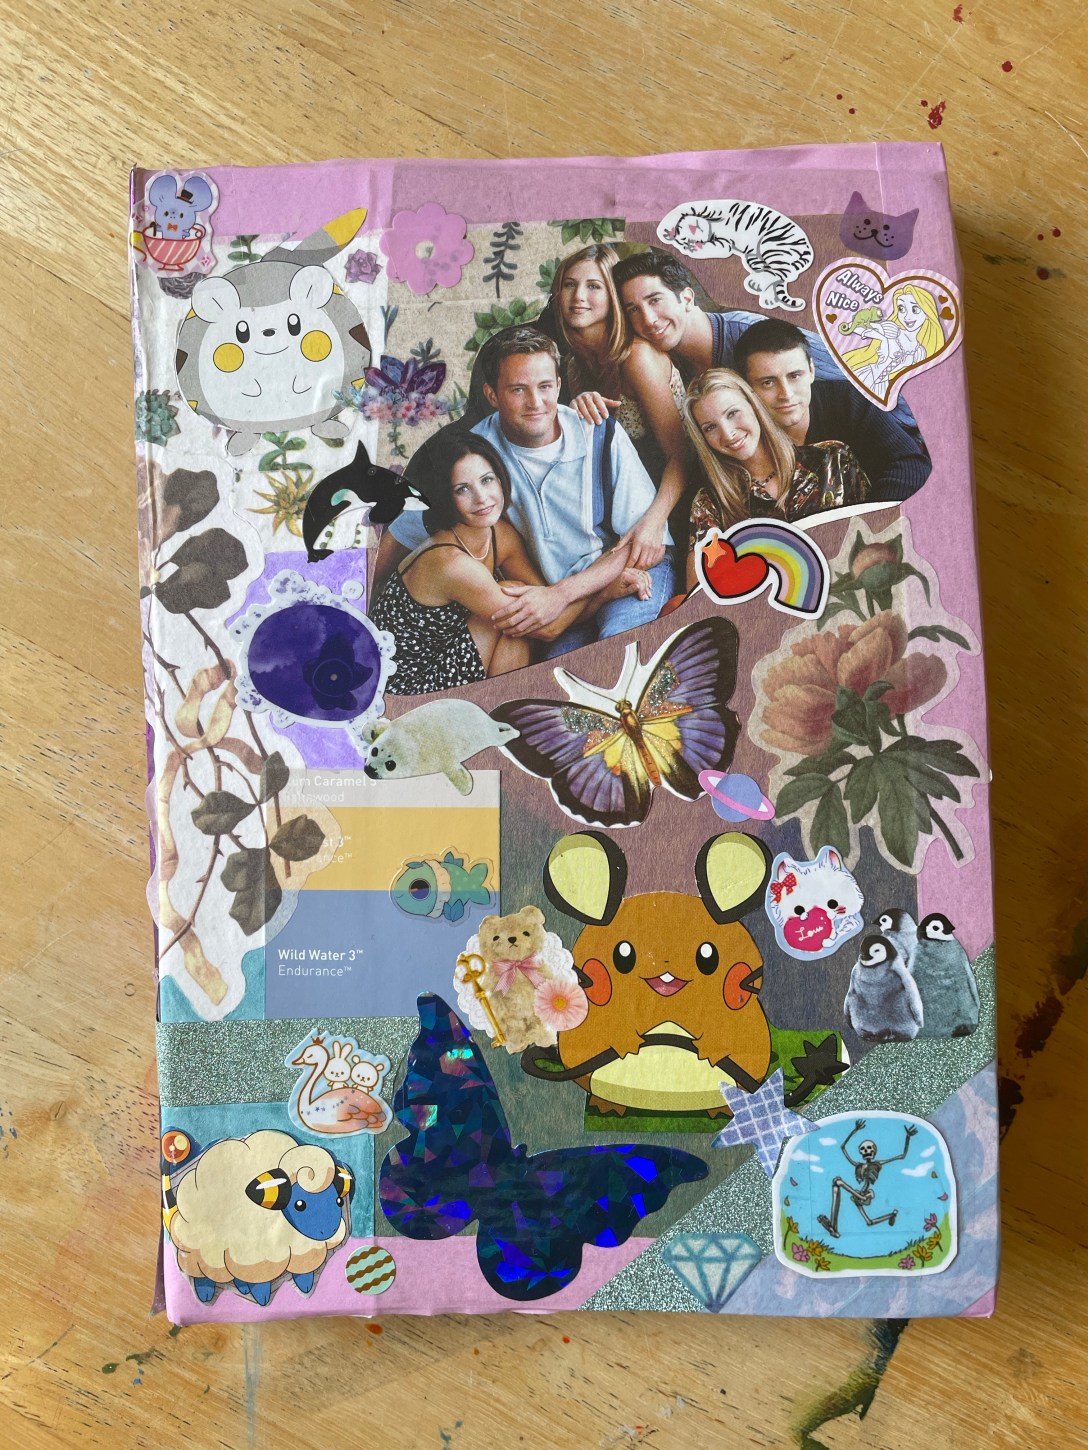
Next came the decorating. I usually don’t like to decorate the front of my sketchbooks – I just leave them as they are. However, I had been researching 80s/90s style binders and felt hugely inspired. I decided to try out something similar for myself. I used a combination of washi tape, stickers, and cut-outs from magazines/collage pieces to decorate the cover. It is so far from my usual style, but I absolutely love the result. The sketchbook feels so personal and perfectly suited to me in every way it could be.
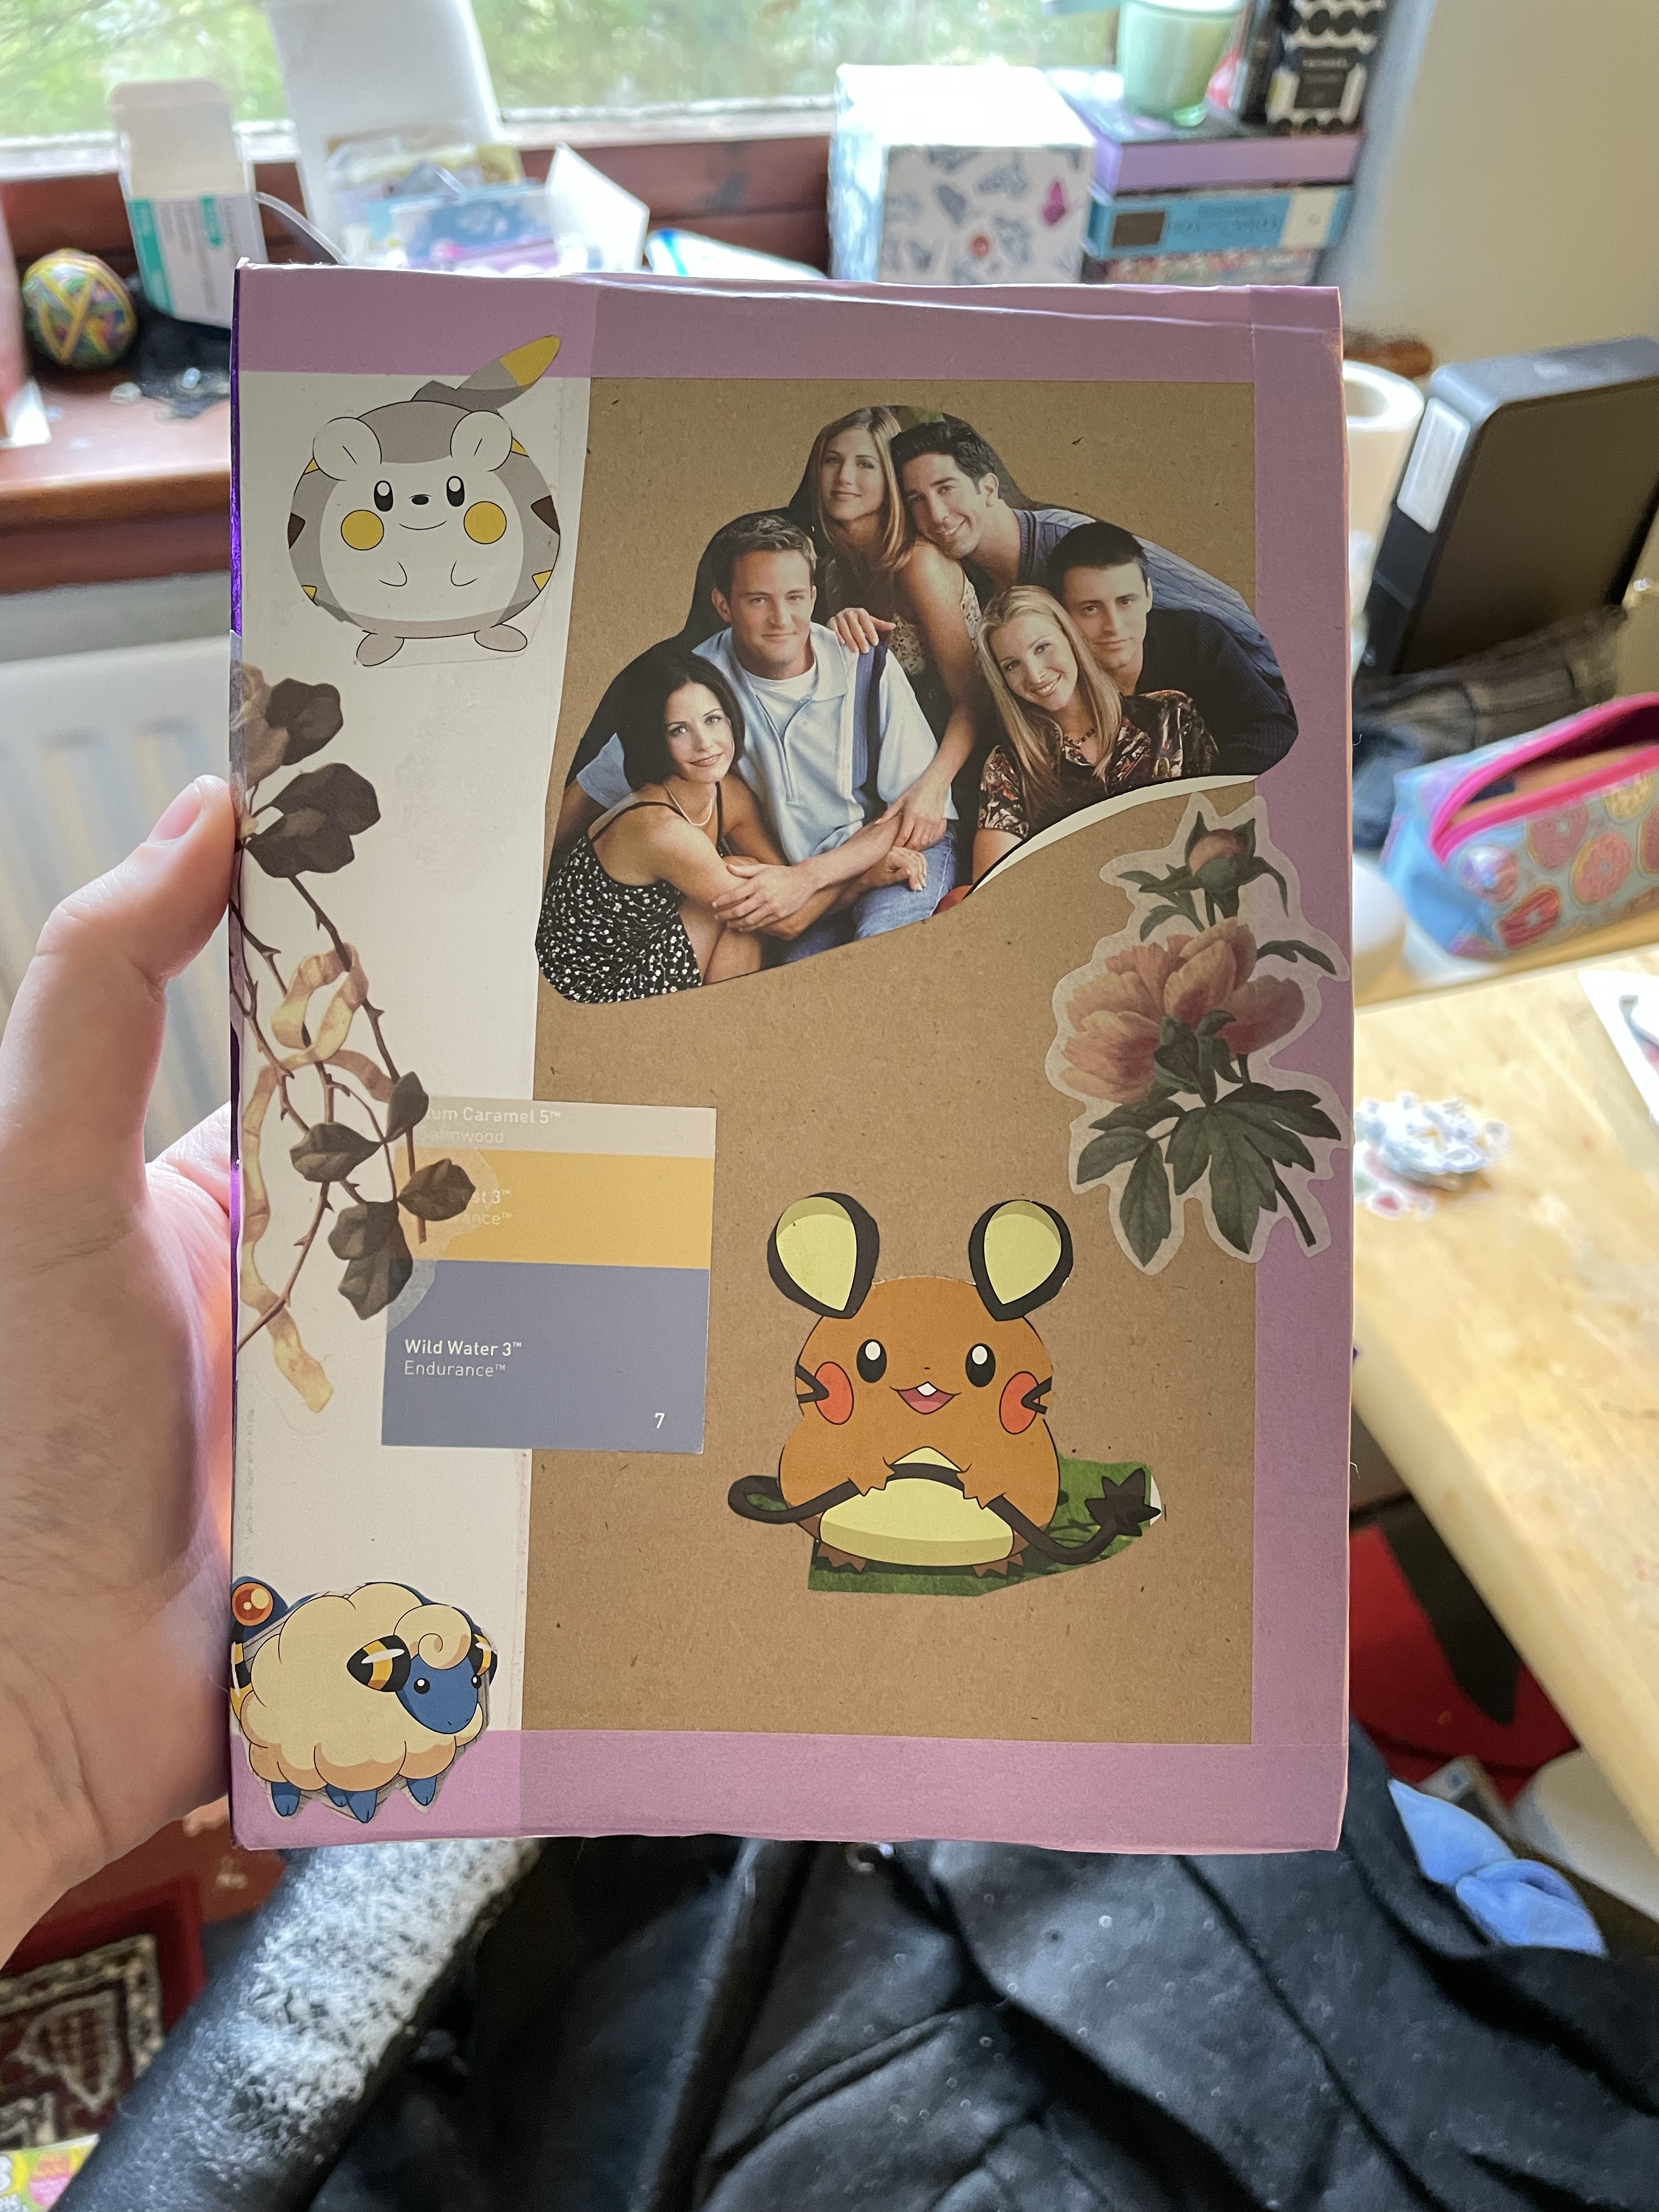
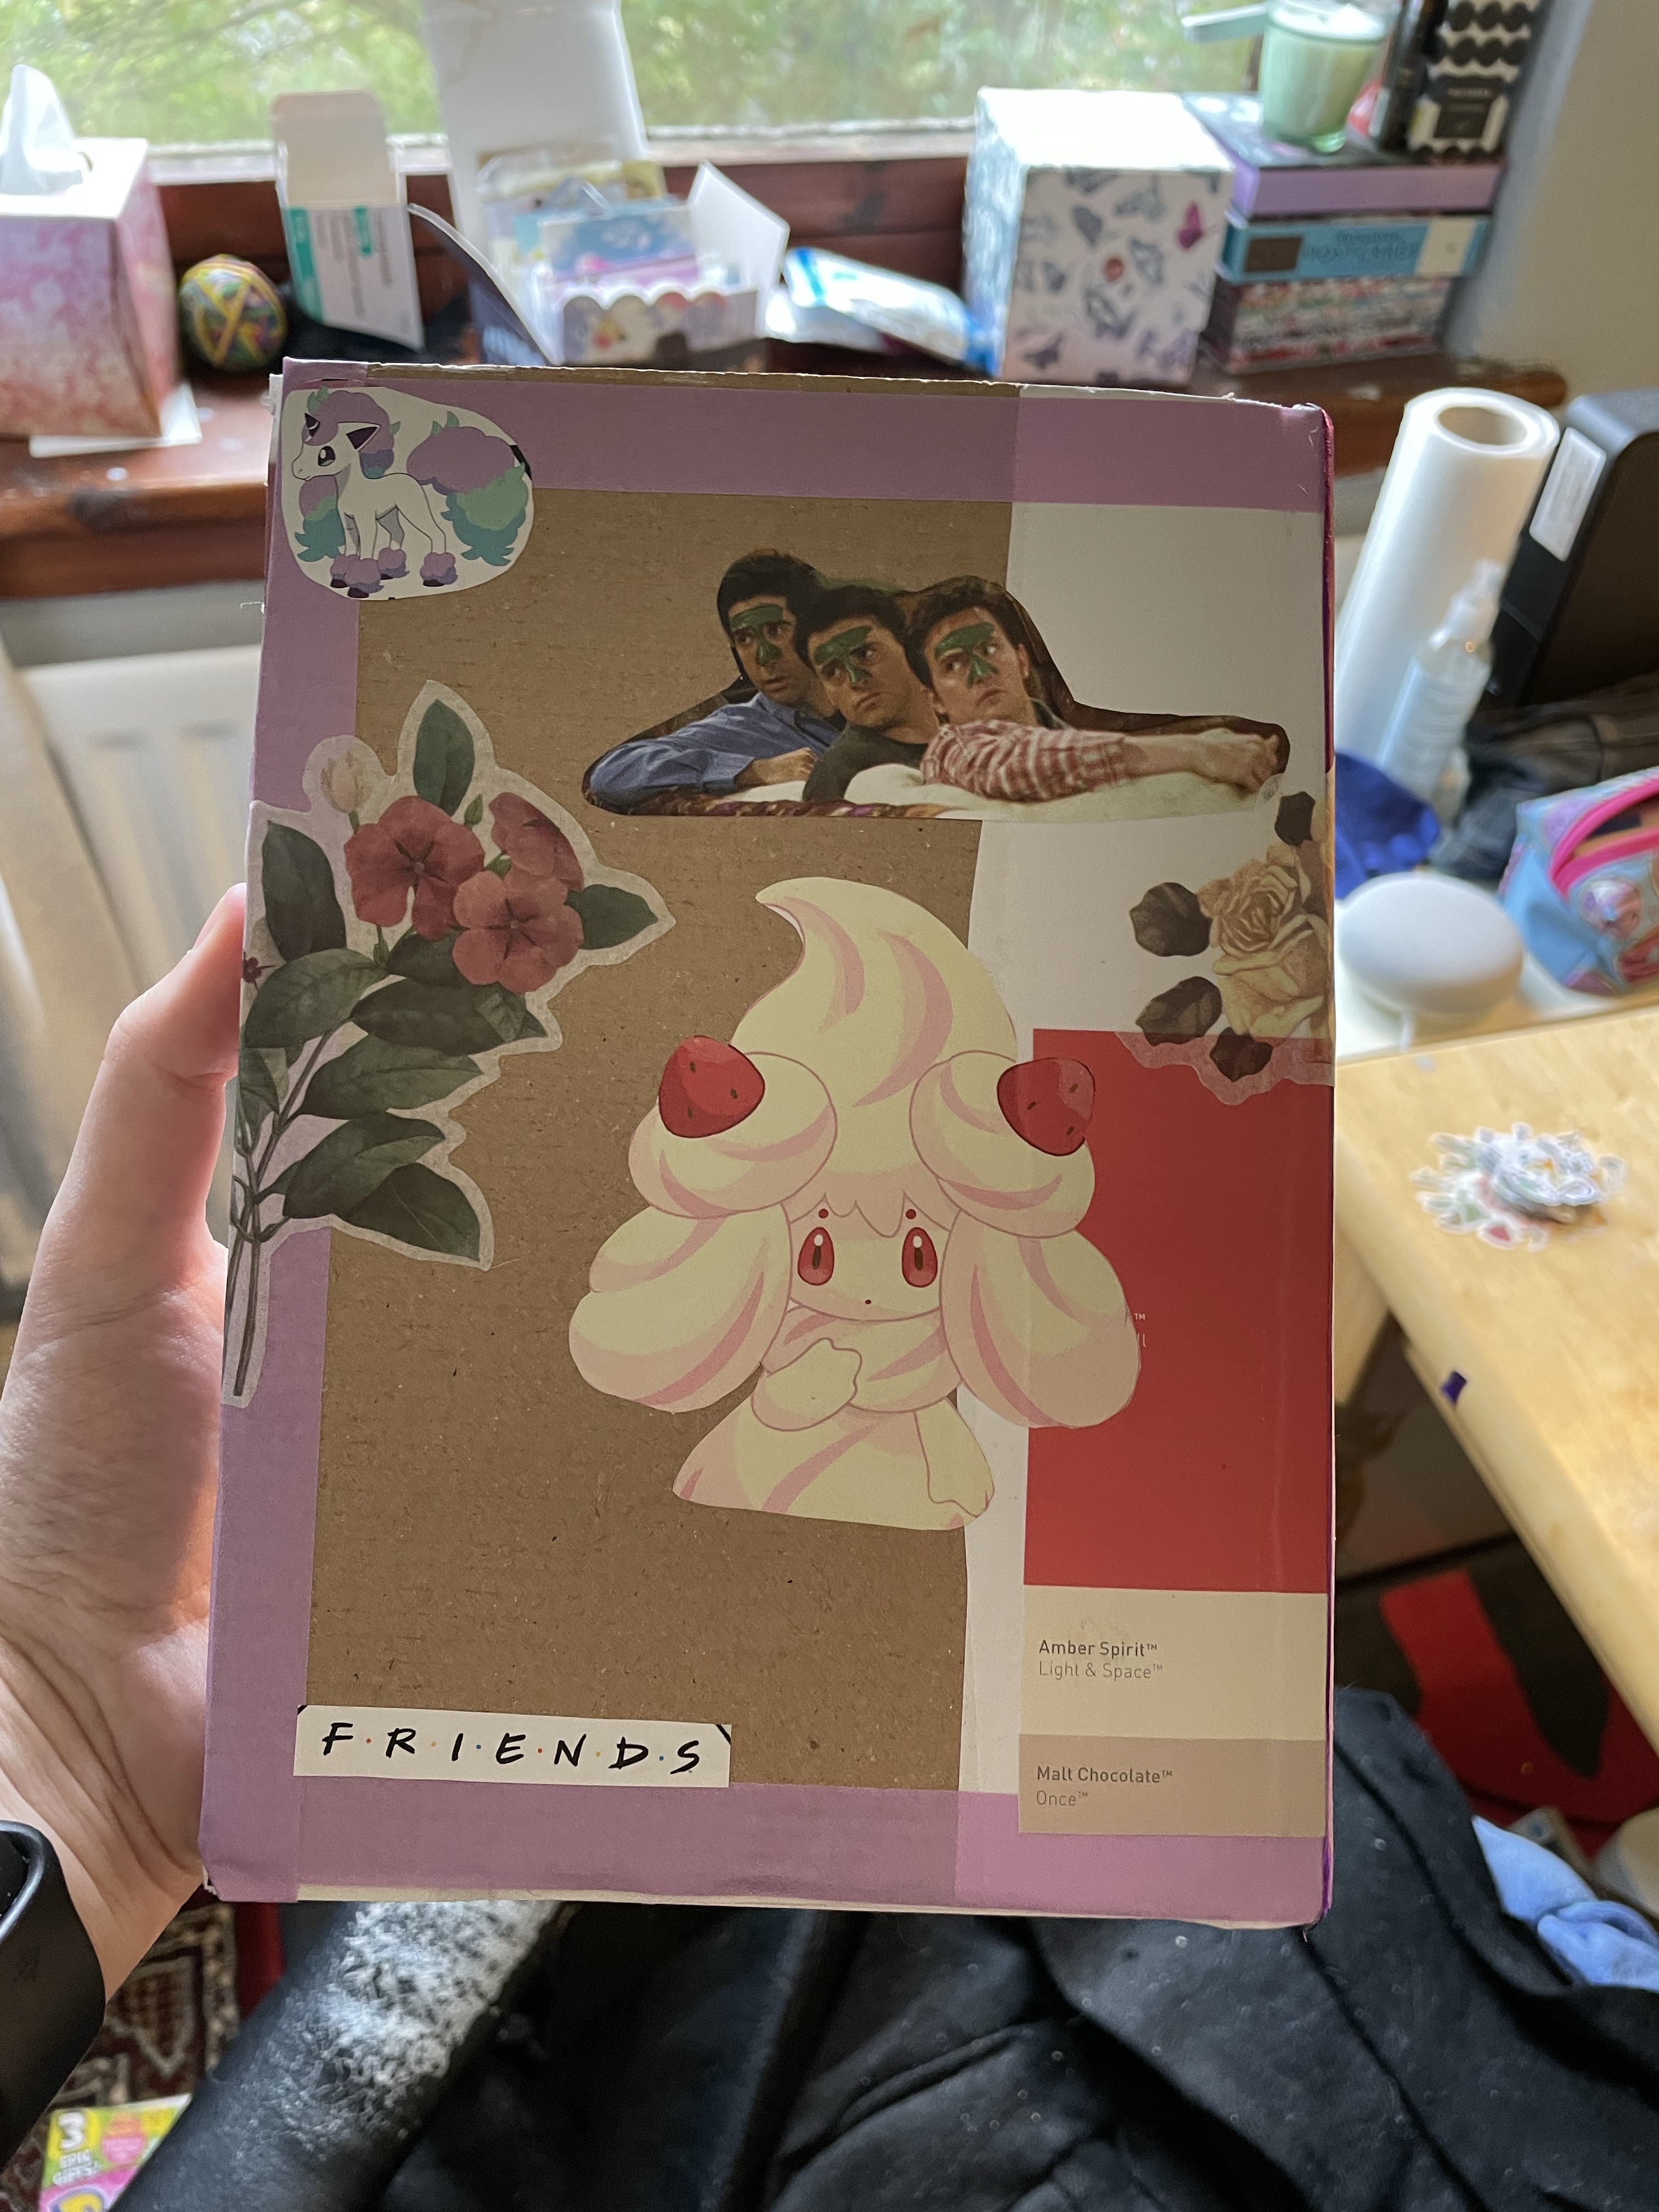
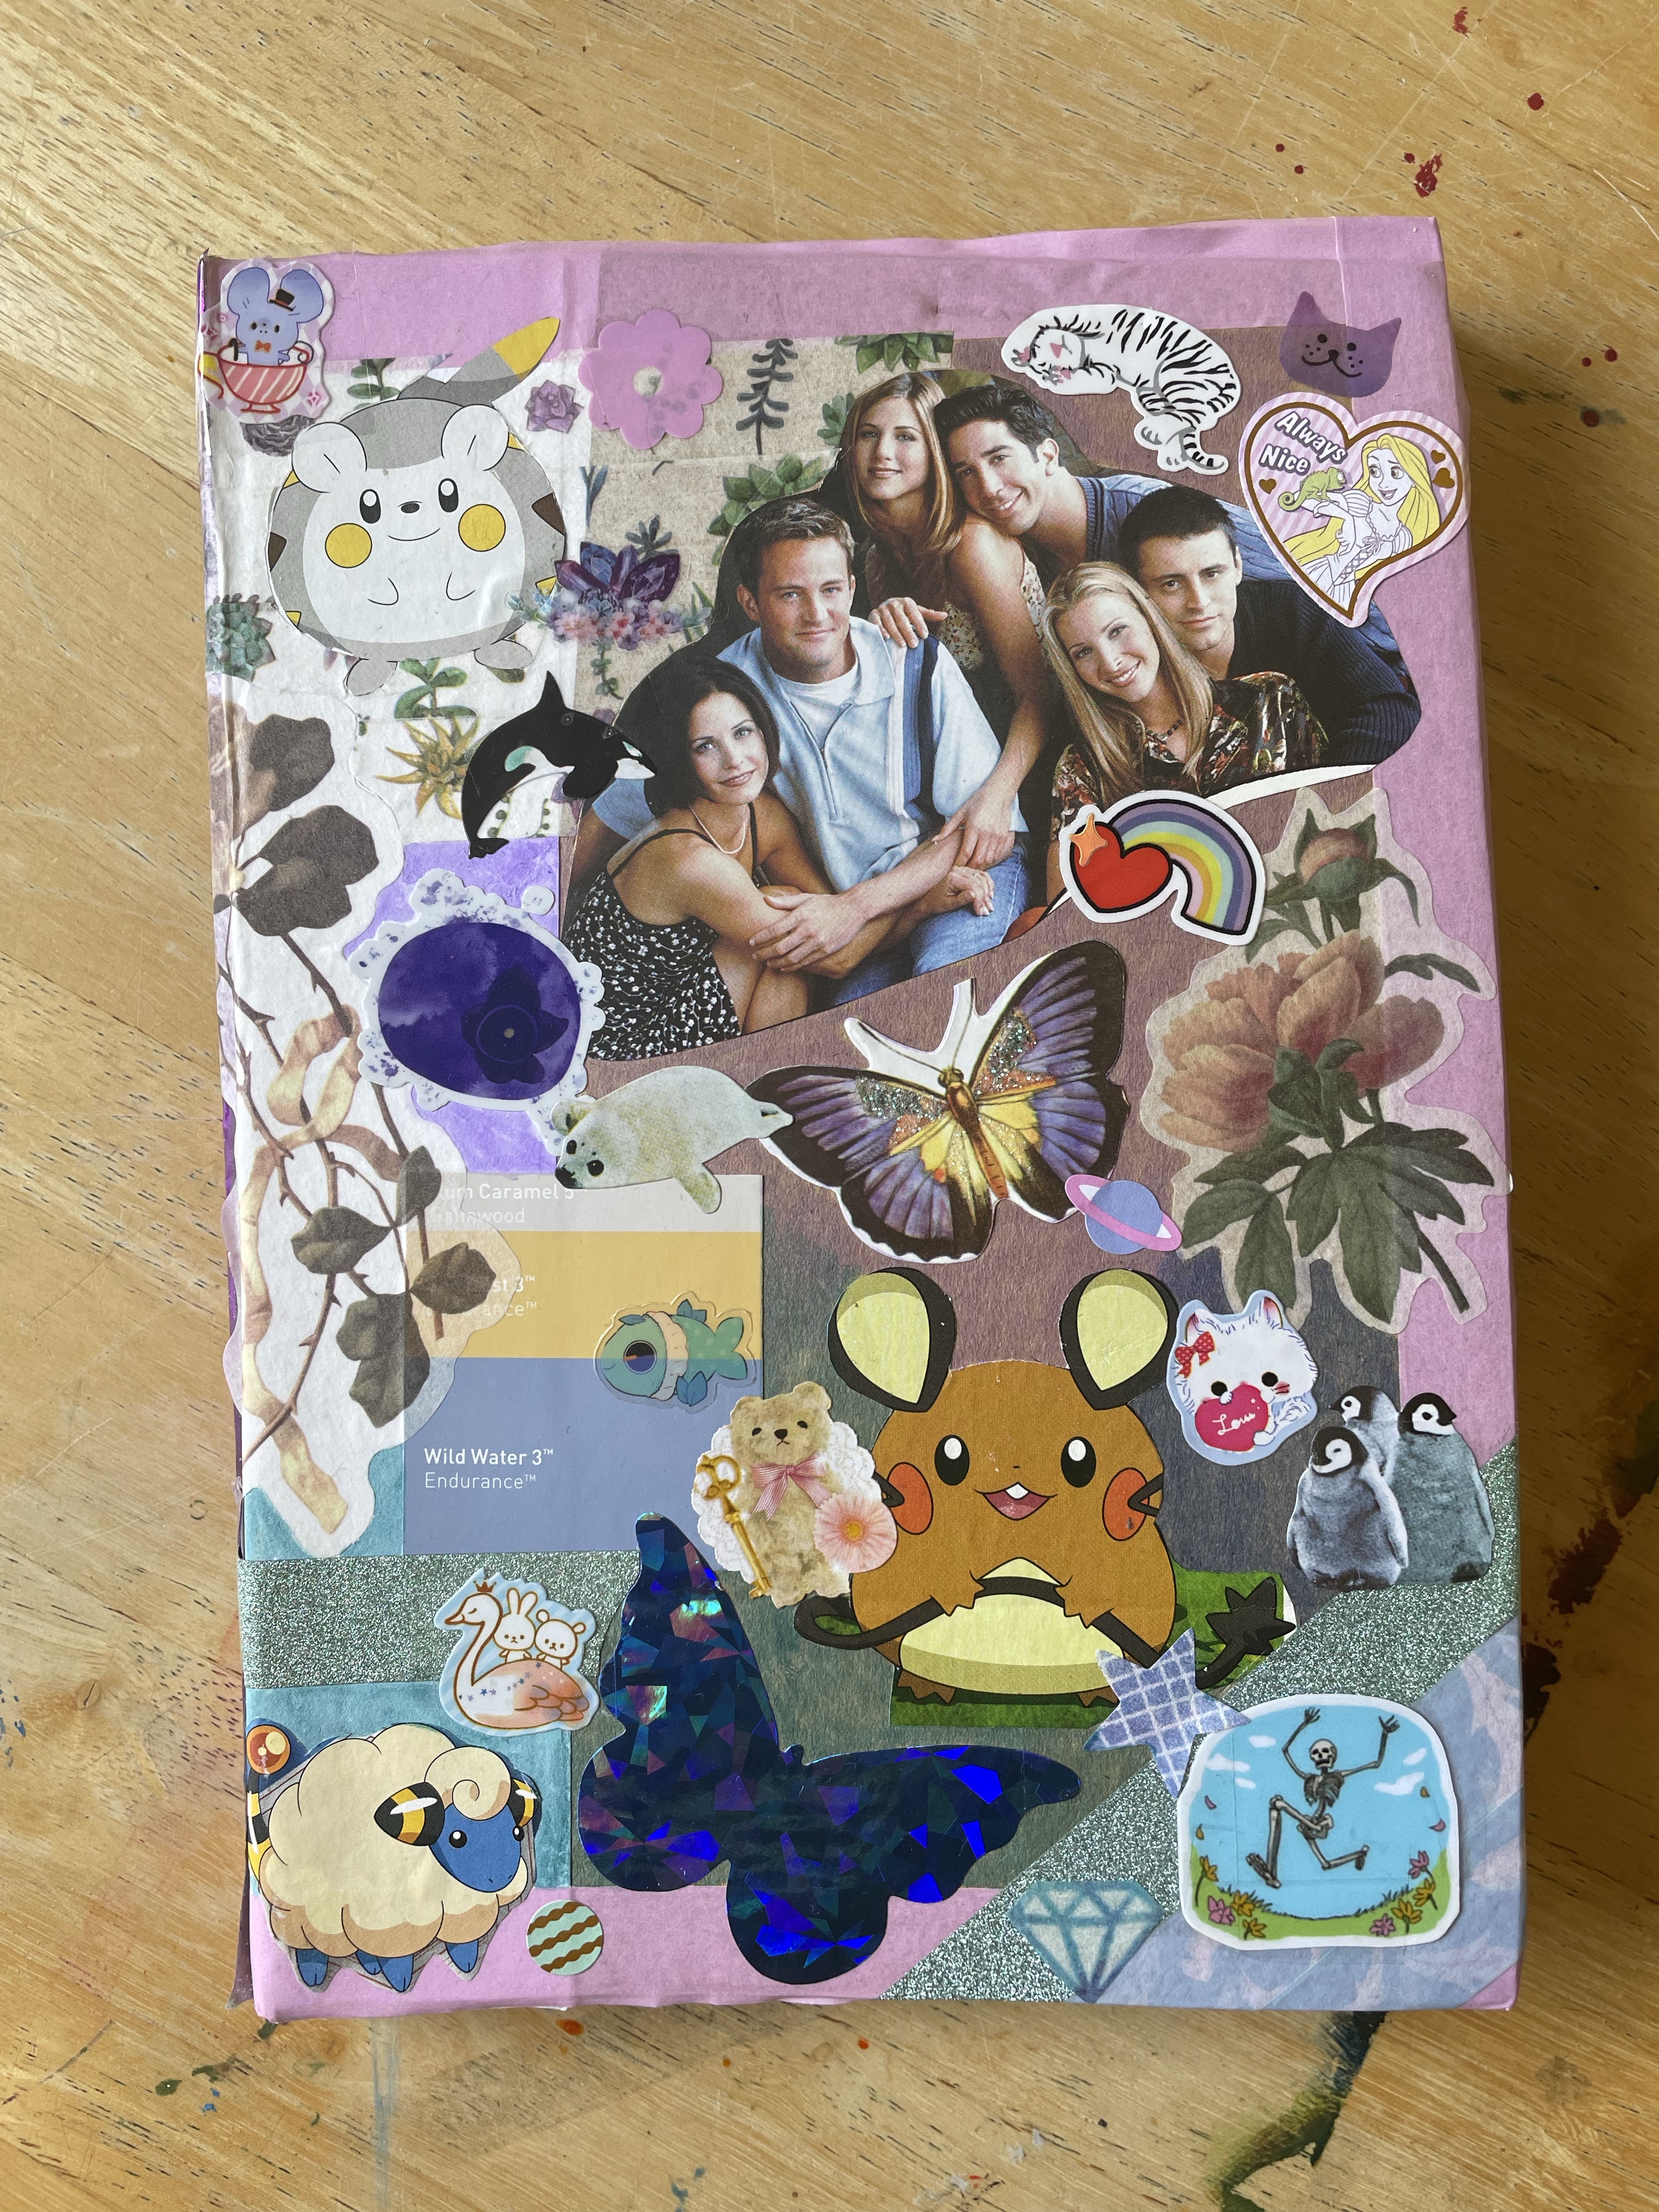
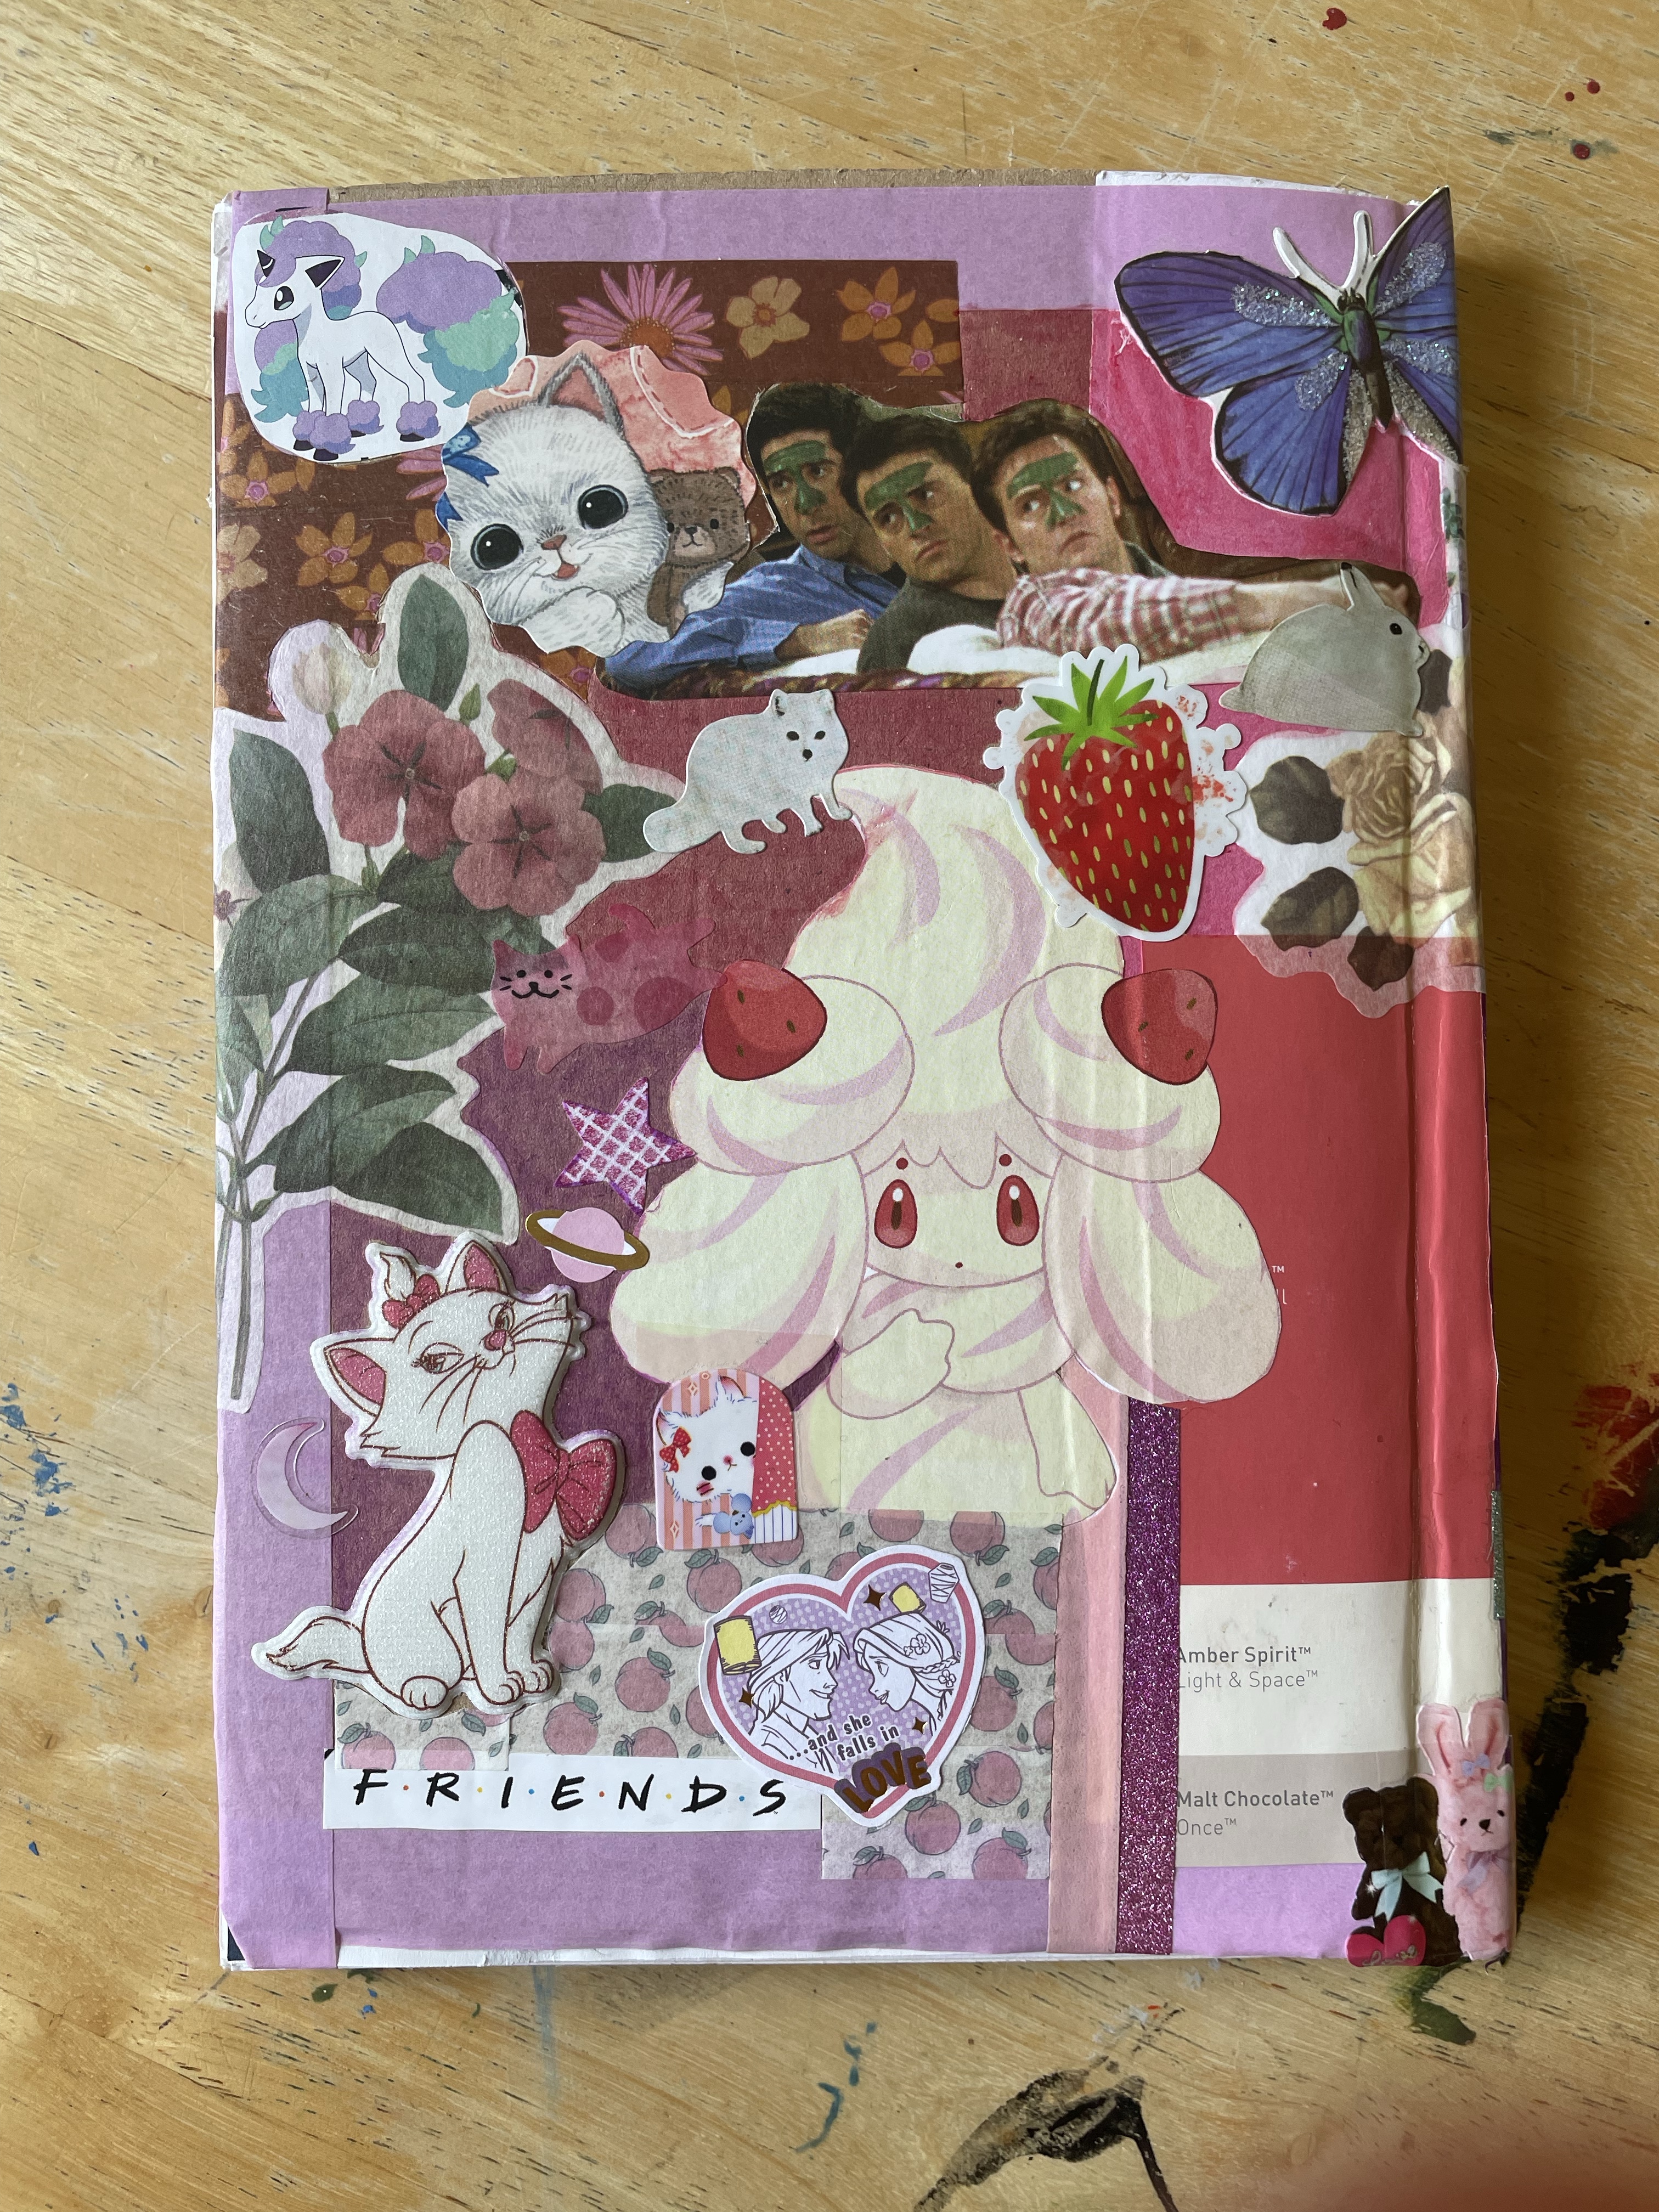
I have since been using the sketchbook, and I have to say – it is wonderful. The only real difference I would make is ensuring I don’t add the cover incorrectly! Everything else went as planned, and the pages are lovely to work on, bend without issue, and more importantly, I want to work in this sketchbook!! I am excited to fill it because the whole thing is mine, I created it, and it is a project within itself. I loved the process of making it, and I definitely want to continue making my own sketchbooks. As time goes on, I hope that I develop an even deeper understanding of bookbinding and make even better sketchbooks.

[…] I took a few days away from the exercise to think over these ideas a bit more and figure out which direction I wanted to go in. I also began making my own sketchbook, as it was the most exciting prospect to me at the time. I loved the process and ended up with a sketchbook that was perfect for my needs, which I suppose is the main reason to make your own in the first place. You can find my learning log post describing the process, the choices I made, and why, here. […]
LikeLike